Pleased as I was with my iron-pipe tables, I ended up with some parts that I knew would make a great lamp. In particular this size reducer:
so it’s about 18 months later and we’re in lockdown, so I try to modify the USB charger that I built on my TV side table to add the lamp.
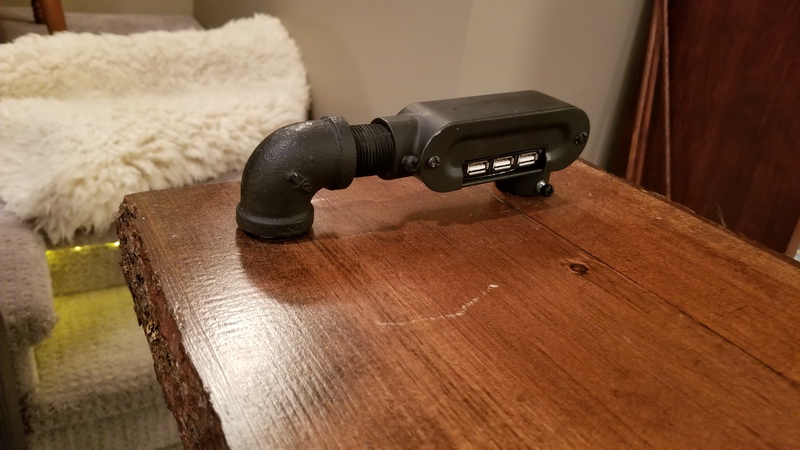
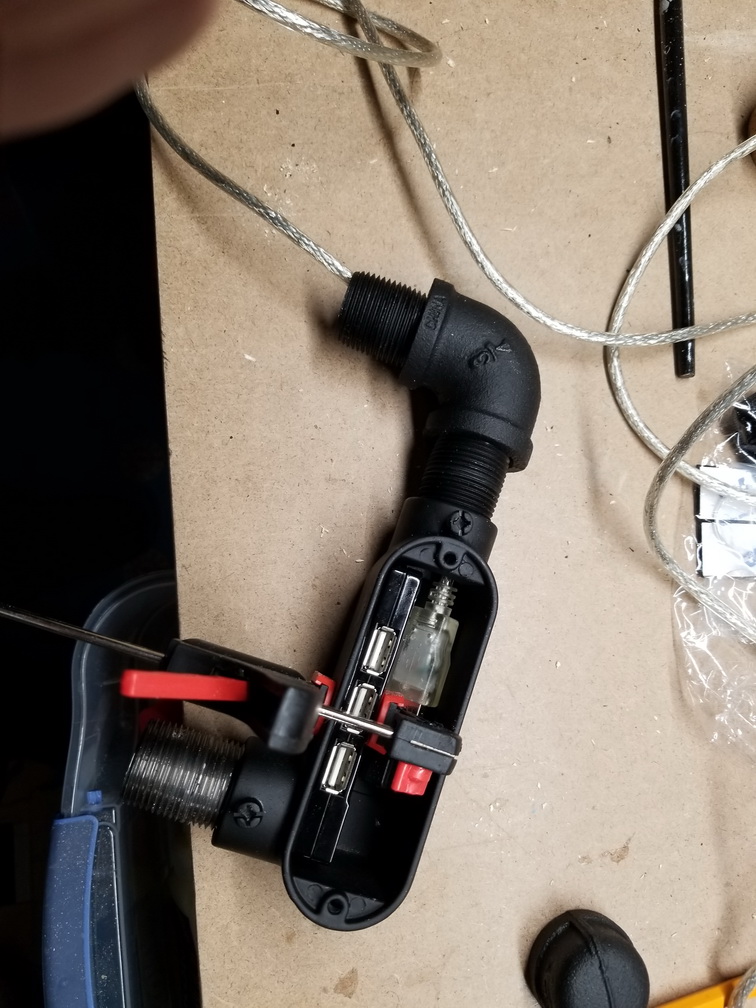
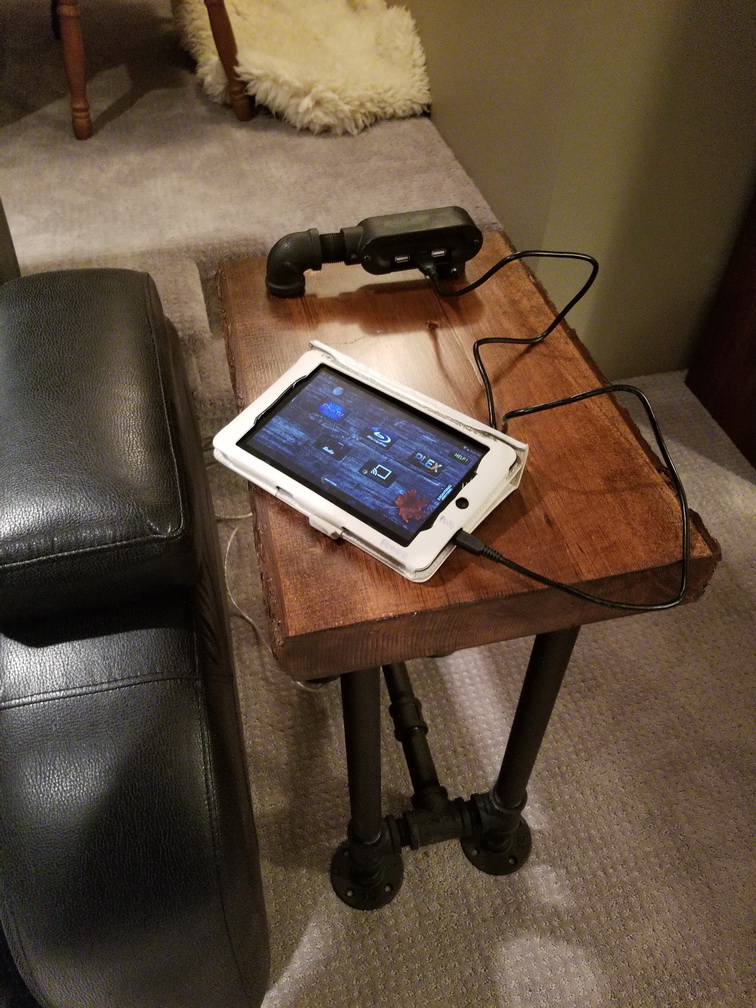
Here’s the USB charger as I have it currently:
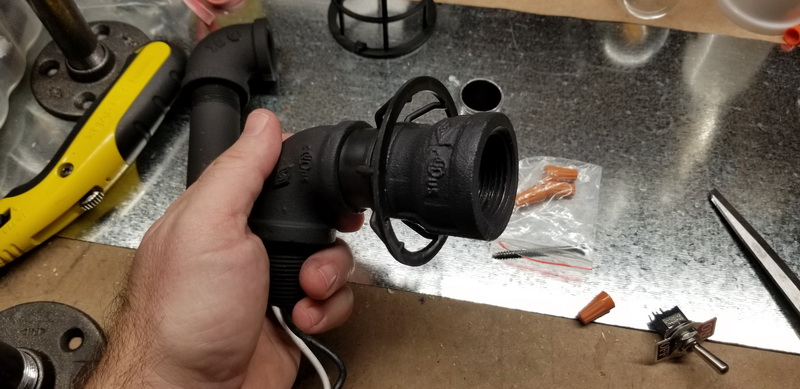
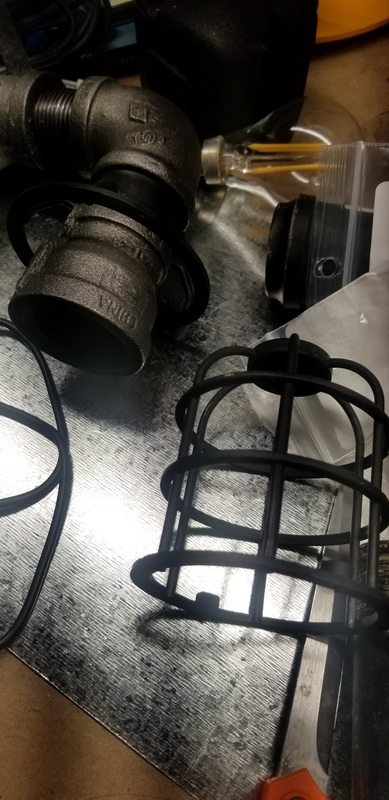
and it looks like i can jam the collar of a faux bulb-protection-basket thingy right above the reducer:
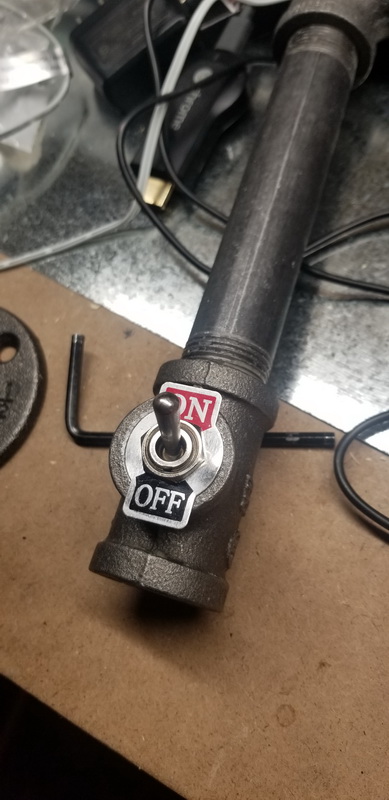
Found a switch big enough to fit into a T-connection:
it actually fit perfectly and almost screwed right in!
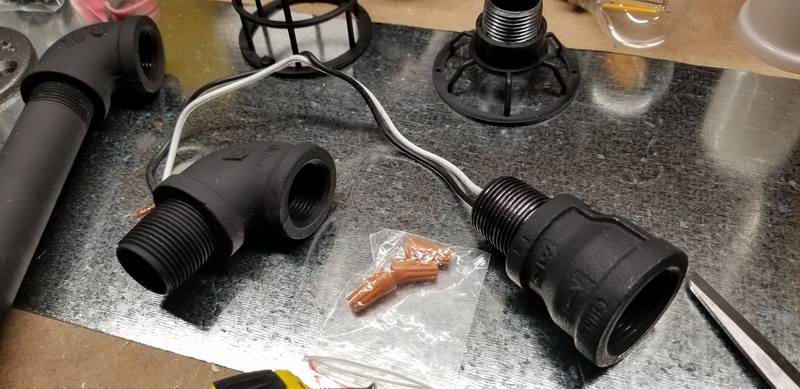
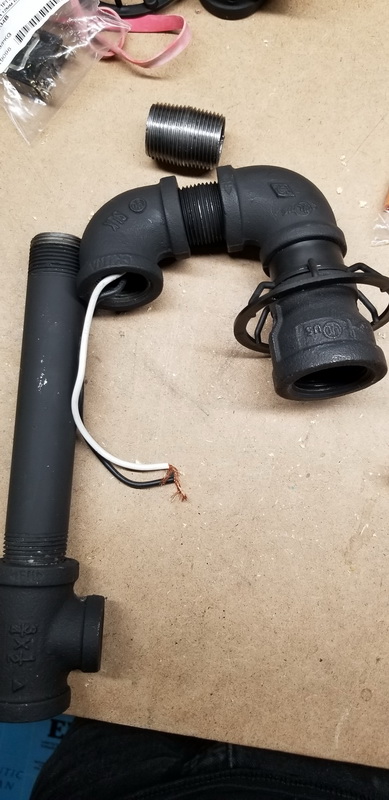
Dang – wires from the bulb pigtail are too short. Gonna be a pain getting marettes in there:
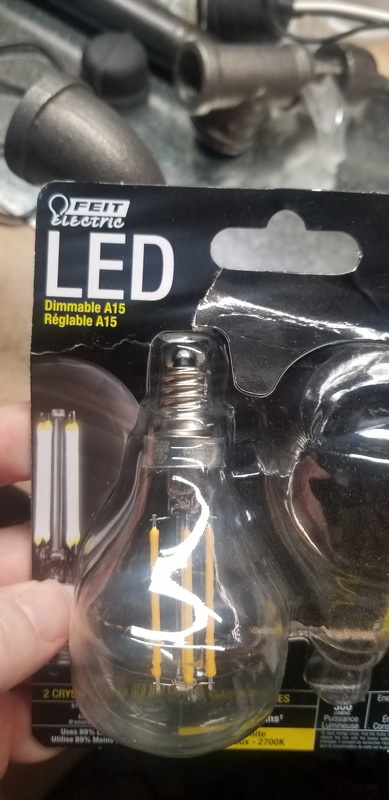
A normal globe bulb won’t quite fit – need a longer neck. These work and look the part:
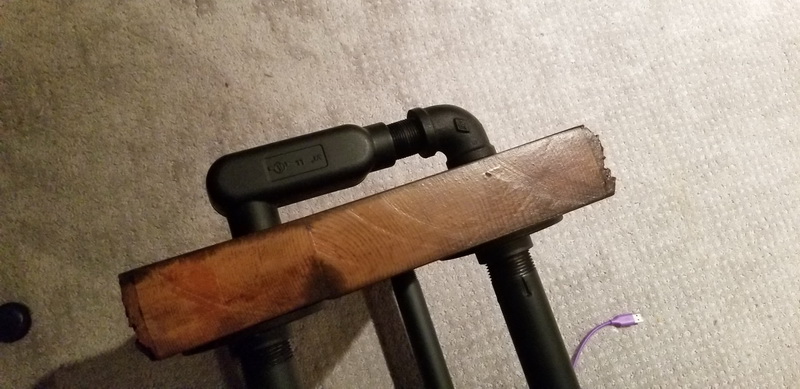
Unfortunately getting the existing elbow out wasn’t easy (and the wire goes through it to the ground). In the end there was some forcing and a little damage to the wood. Oh well – call it vintage LOL
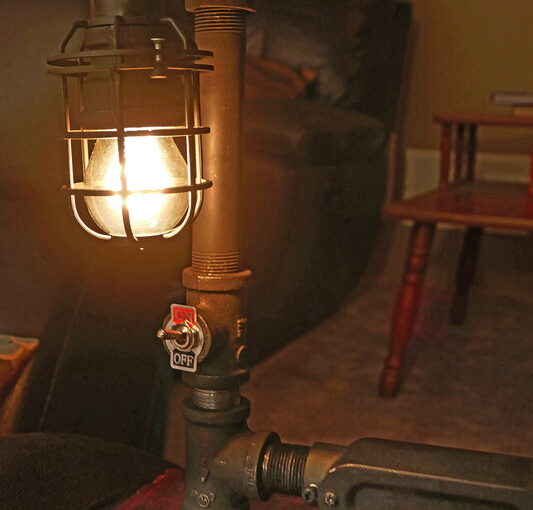
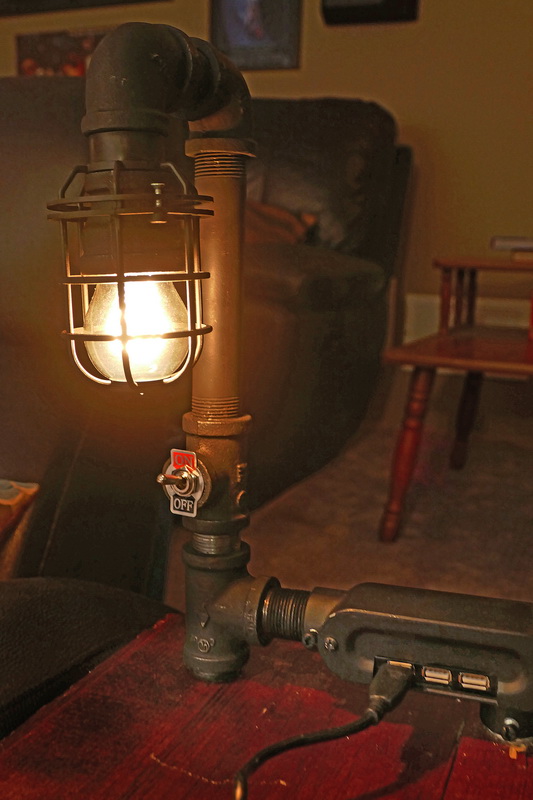
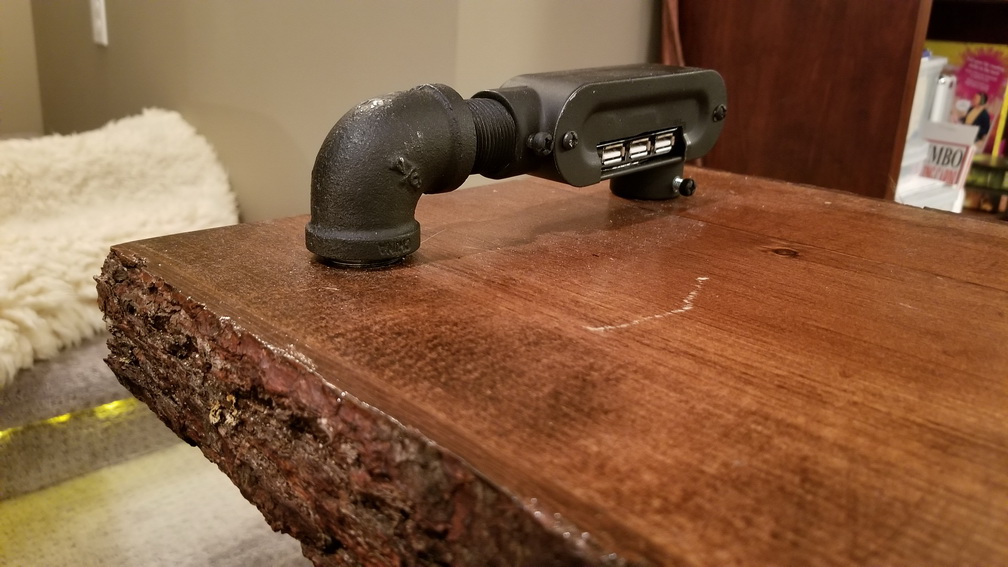
All assembled !
Looks awesome !
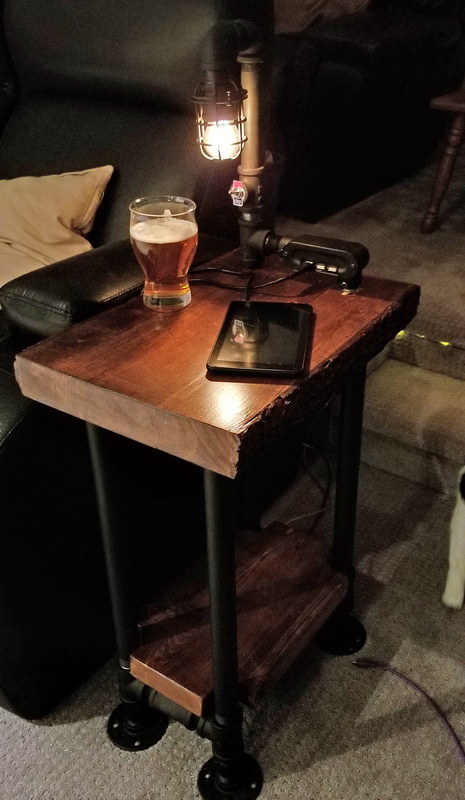
and the obligatory beer shot:
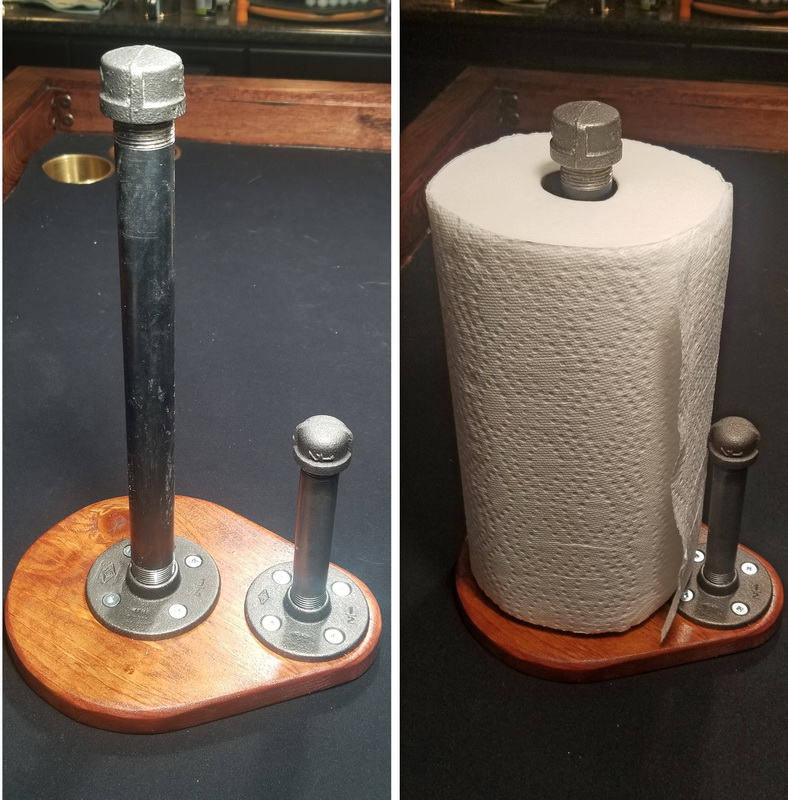
one last thing … (for now) … use left over pipe to make the paper-towel dispenser for the bar:
For some reason I like the look of wood+iron, and it is easy to put together something that looks good … and is incredibly sturdy!
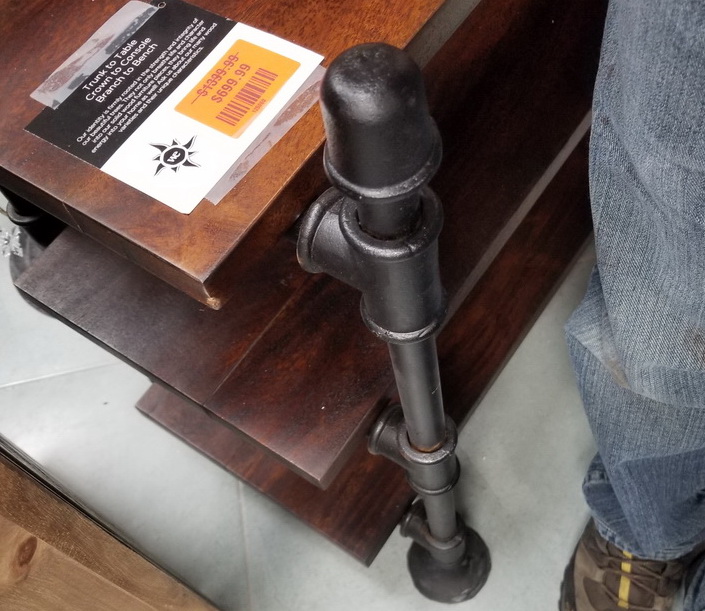
While wandering a furniture store for some end tables for the basement, I saw a neat looking shelf/buffet unit made of rustic wood and iron pipes … but it was $700! (and it was 50% off!) At this point I decided (a) this is the “look” I like, and (b) ain’t no way I am paying that – I should be able to make them myself. It’s just a bunch of piping and boards.
I could make that … !
To make matters more interesting, I was looking at potential shelf boards at Lowes when I found that they were now selling live edge slabs of wood. Awesome – but they are not cheap and only a few look okay (I’m picky). I best be doing a test project first.
Test project – the stair table.
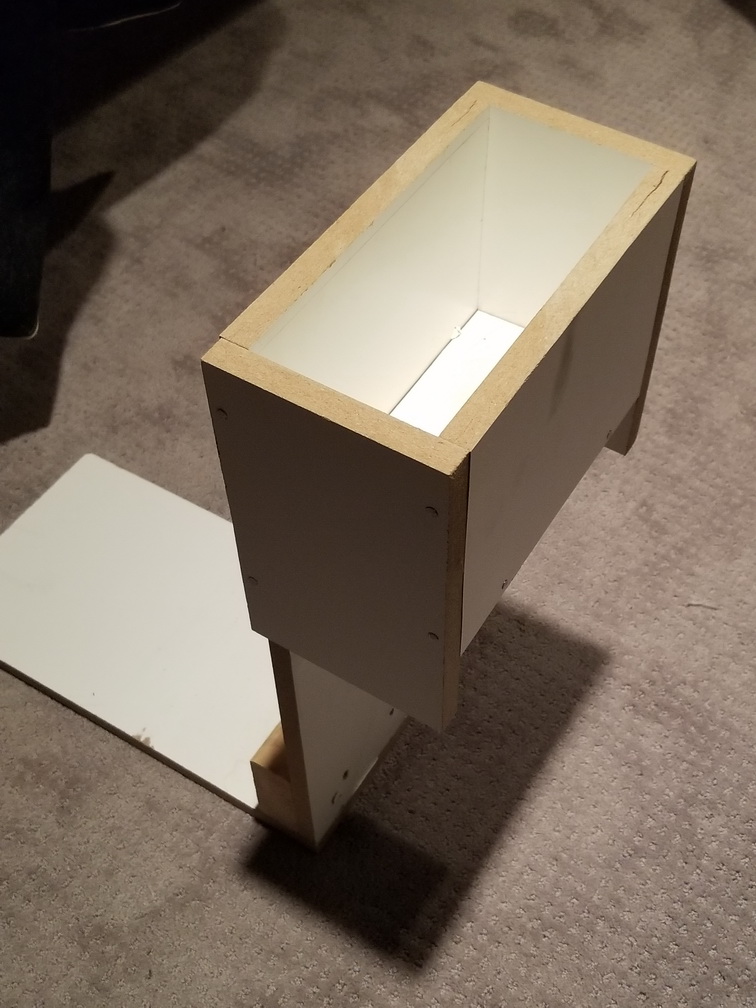
For the test project I am finally going to get rid of that janky drink holder that I slapped together during the basement reno years ago. The top couch is next to a step, so there was no place to put a table and no place to put your drink/popcorn. So I threw this ugly thing together that wedges under the couch:
Ugly drink holder made from leftover bits. Say buh-bye!
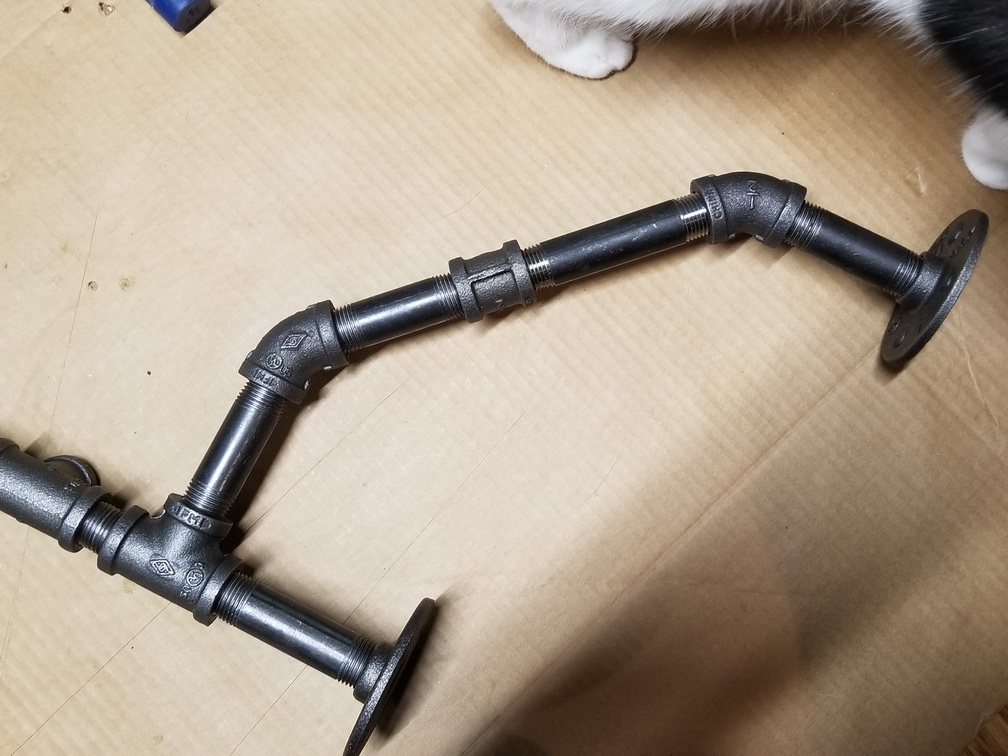
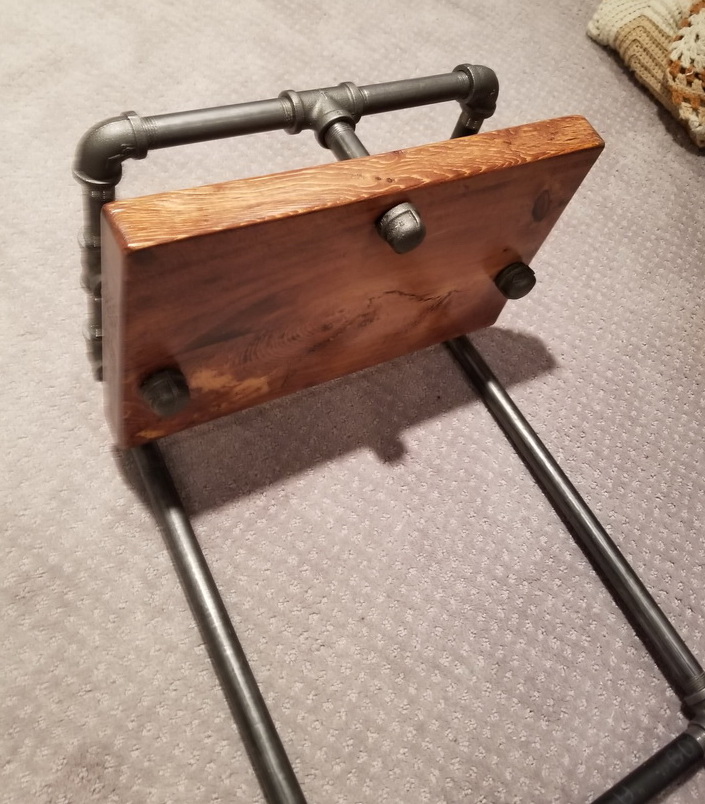
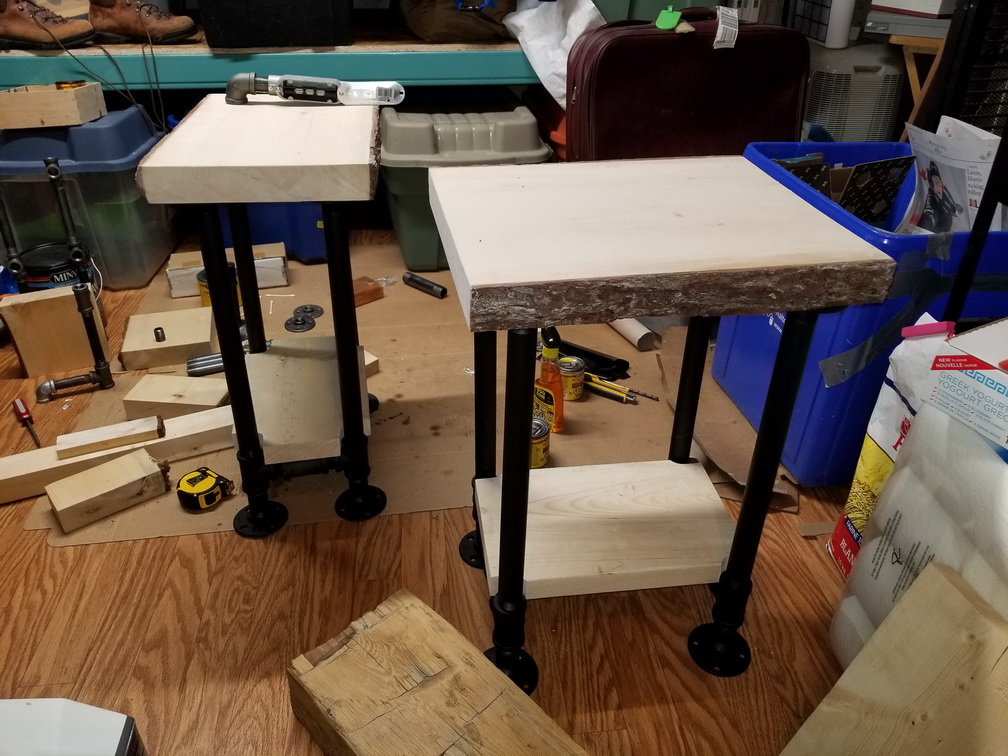
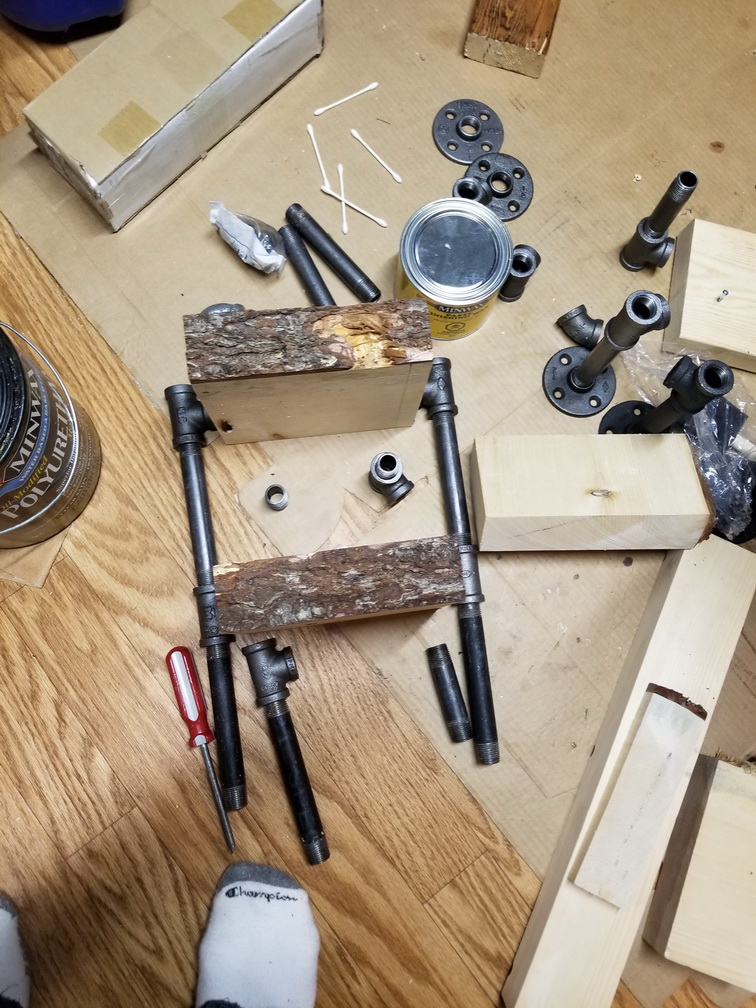
So I assembled some bits and got the basic structure down. (yes – some trigonometry was involved to get the correct lengths!). For this table i will be using 1/2″ pipe and the associated 1/2″ connectors.
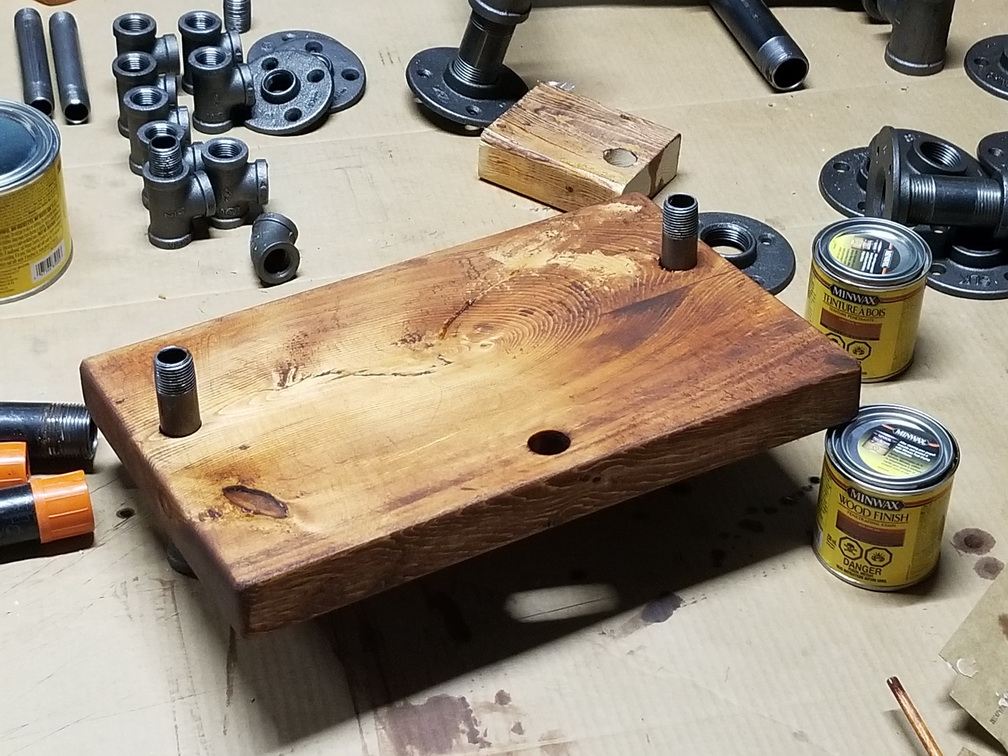
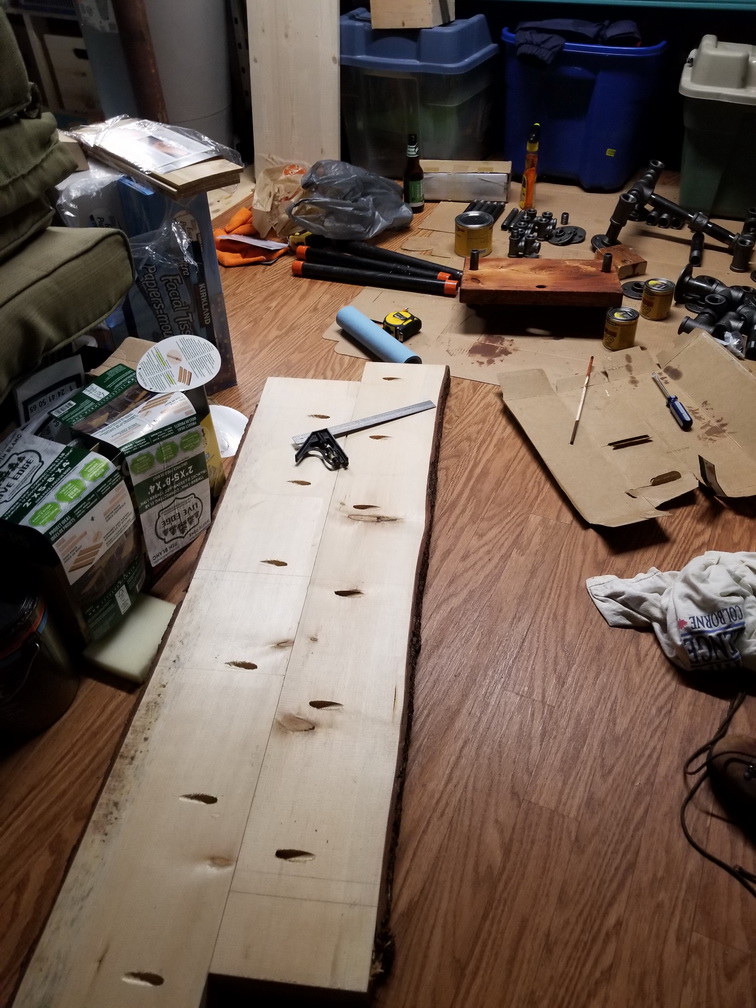
I am not going to use the live-edge wood for this, so I chopped off the end of a pine 2×12, drilled some holes for the pipes, and gave it a rustic staining…
Sloppy application of two different stains to a basic piece of pine board. Dang – that looks great !
I am going to suspend the wood from the pipes – this will give me a nice iron-pipe-railing to keep things from falling off the small surface, and also will save on pipe.
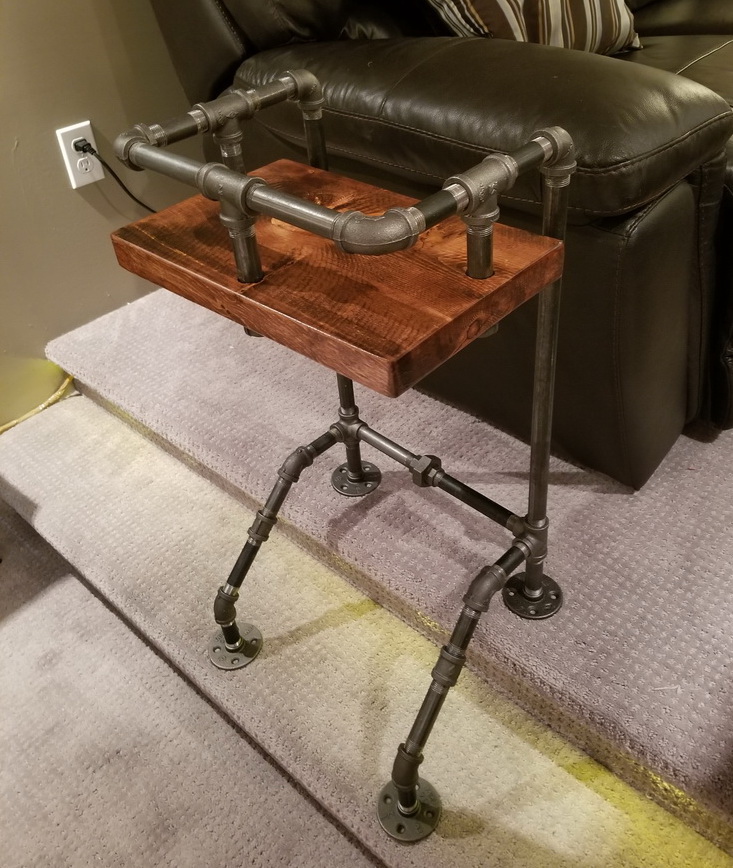
And putting it all together I am very pleased with the results. Much better than the previous thing. And since it has some weight to it, it is actually very stable.
Much better ! More room, less janky.
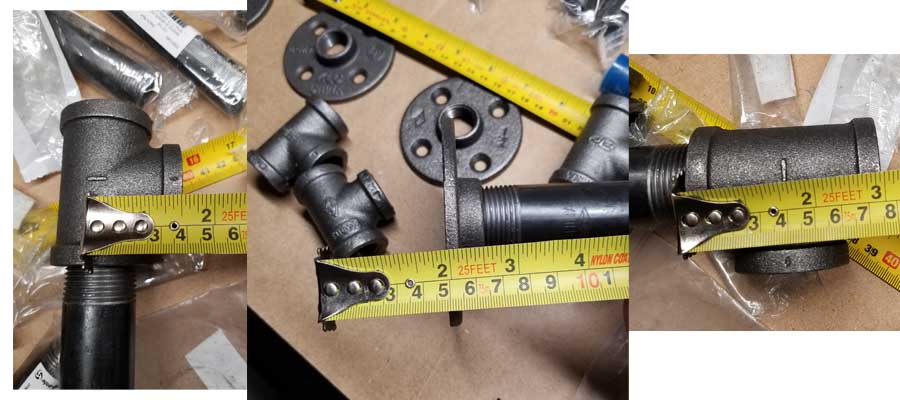
“Nipples”
A few comments on buying parts. I am not able to cut and thread raw pipe (nor do I want to) so I am at the mercy of the pre-threaded sizes available at Canadian Tire, Home Depot, Lowes, etc. (there is great selection at the plumbing stores, but as soon as they find out you are not a contractor they add an extra $50 – just cuz – or deny you service and say bad things about your mother.) Each hardware store had their own collection of size and lengths, so I had to calculate exactly what I needed and keep a list on me everywhere I went.
For some reason, the straight lengths of pipe are called ‘nipples’. Not sure why, but made for interesting interactions when you walk into Canadian Tire and ask “do you have a 5 inch nipple?”
Main end tables
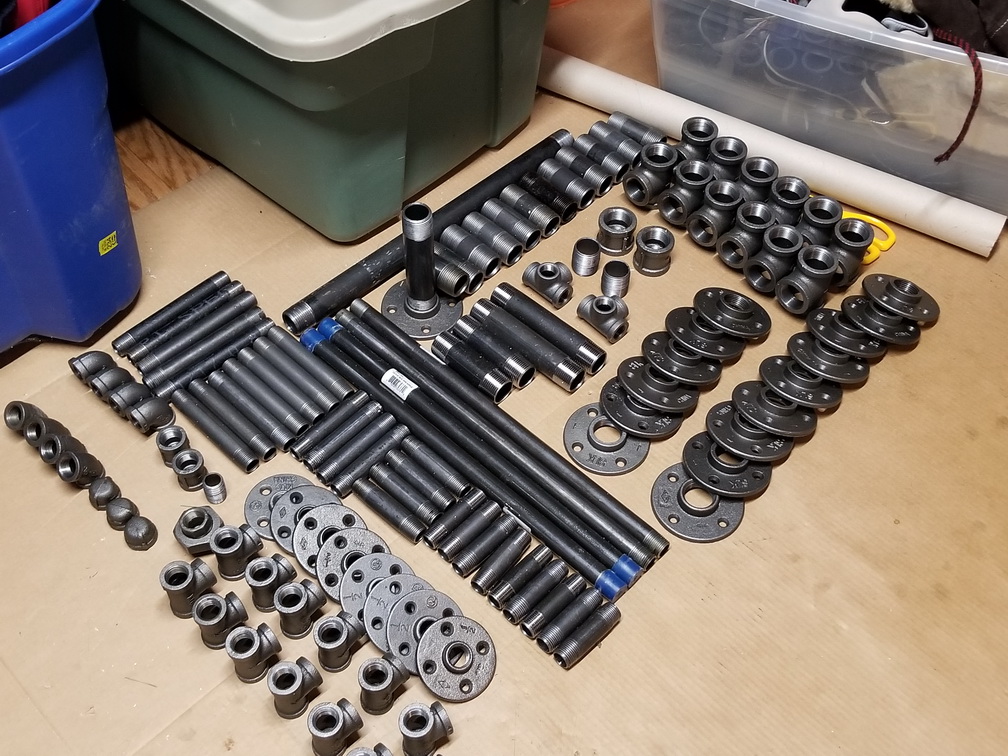
Once I had assembled all the pieces, then came the big job of cleaning, de-greasing, and de-labelling them. To be fair, the people who make this stuff are expecting them to end up in a wall, not on furniture. I also had to wax and/or paint them afterwards otherwise they will rust (because I removed the protective grease).
This was a big job. Thank goodness for child labour.
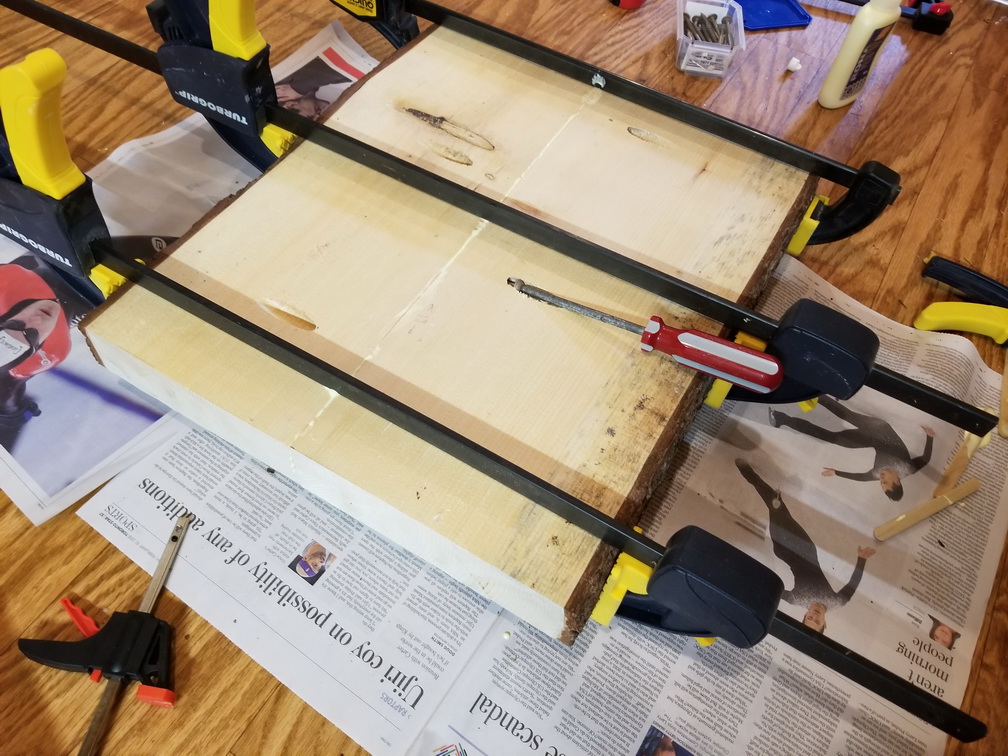
Even though they sold boards with live edge on both sides, I had rather particular width requirements, and also there really wasn’t many pieces with good clean edging on both sides. So here I am gluing the two edges together (skipping over the Quest for finding the specific pocket screws they are pre-drilled for)
glue, clamp, and screw
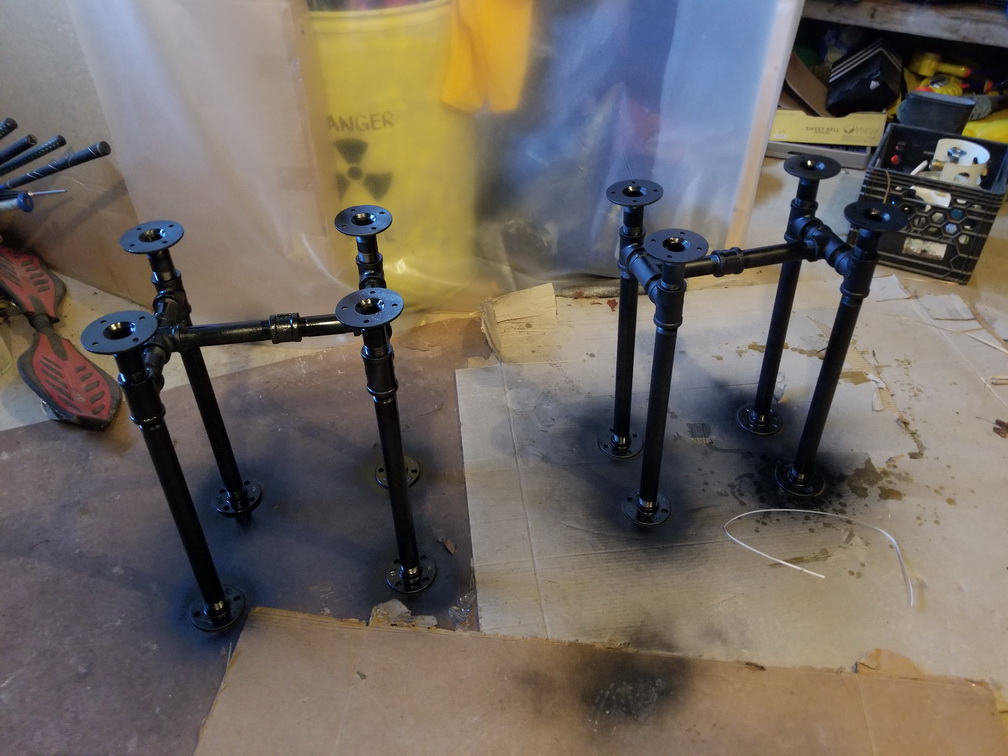
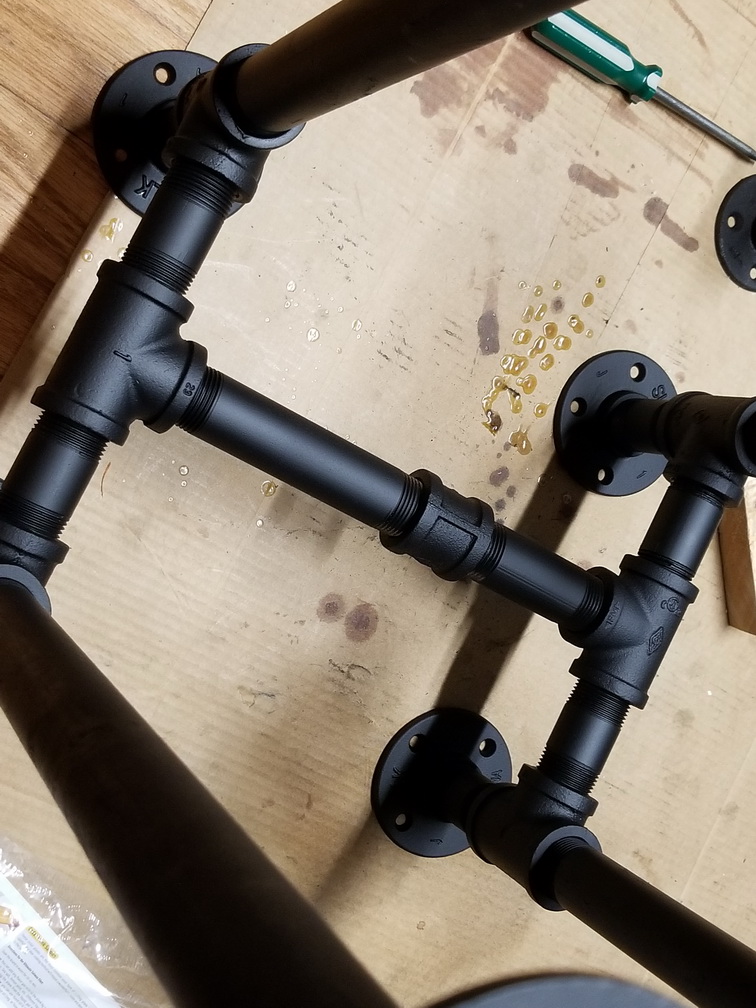
Assembling and painting the legs…
Mmmm… look at those bad boy pipes !
Quick test that everything is okay. Since I was in the cutting and staining mode I quickly made secondary shelves that fit between the legs. I probably won’t use them, but now is the time to make them easily.
We use an android tablet to run our TV etc, and keeping track of the power cord is always a pain. So for one of the tables I will have the power delivered right to the surface. (I have all this piping … it should be easy!)
Here I am glue-clamping a USB hub into an LRL Conduit Body. Yes, this is what it has come to. I am now an expert in conduit fitting nomenclature.
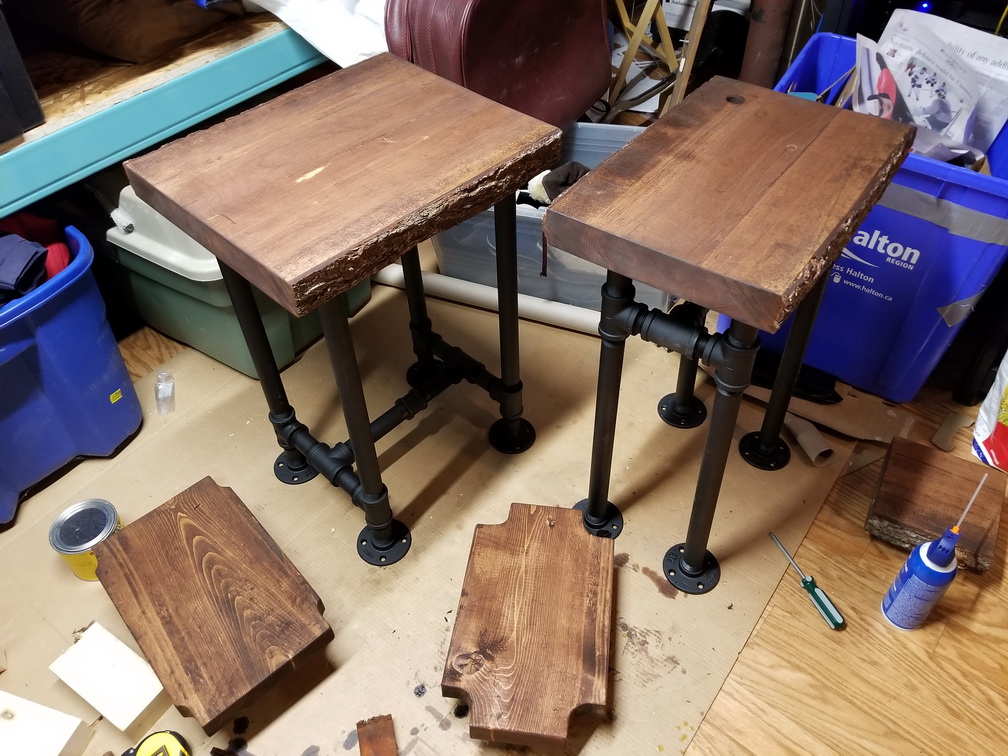
I like the industrial pipe+wood look of the power station.
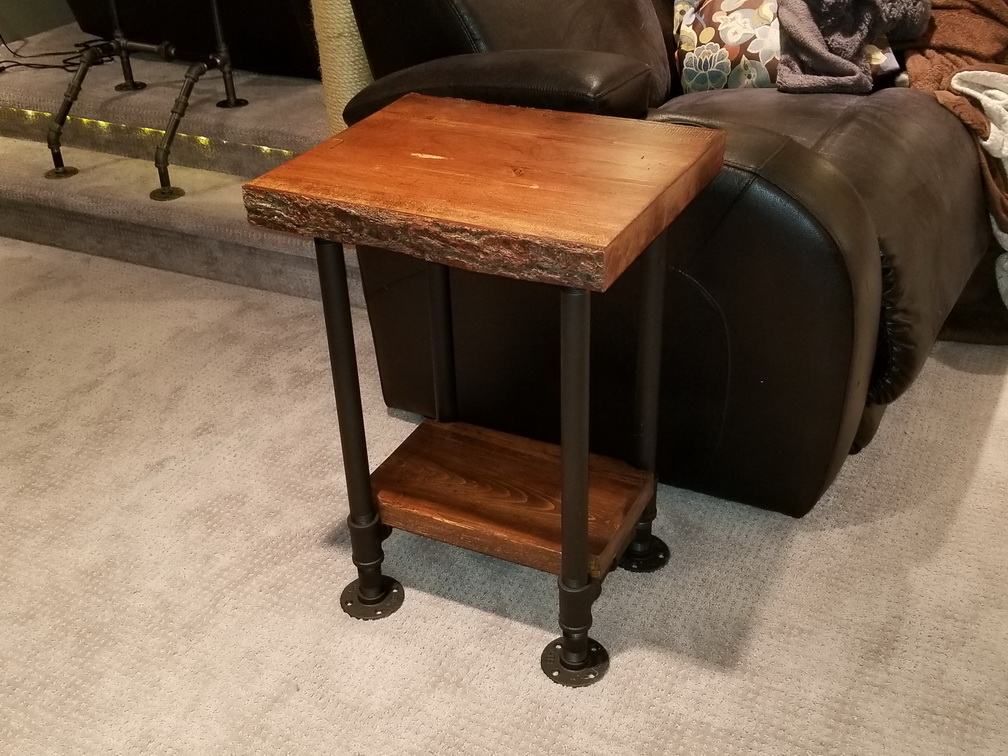
And here is the other end table. In the end I removed the lower shelf so you can see the piping, but I still have it on hand just in case.
The Leftovers Project
Okay, whenever I am doing a project with custom materials and there are bits leftover I am like …” I should be able to use these for something…”. (I hate throwing stuff away). This project is not different. I have left over wood and piping …. how about a little shelf unit to hold my craft beer sample glasses !
Yep .. this will work Looking nice ! Maybe I should add a light …. 🙂