Converting an old oil lamp to LED

Another fun project concept that I will probably apply to everything I can think of…

First things first: big credit for the inspiration of this project goes to Adam Savage (of Mythbusters fame). I watched a video of his where he built an old-style gaslamp, made it look old, and then put a disassembled led-flame bulb inside. I happened to have an small old oil lamp of my father’s so thought I would try the same thing. Video clips at the end of the post. Thanks Adam for the great idea!

Big difference with my lamp, asides from the size, was that I didn’t have to make it look old – it WAS old. When I started taking it apart the insides were caked in soot! I cleaned out the big chunks, but I didn’t want to clean it up TOO much 🙂

I found some small tube shaped led-flame-bulbs online:
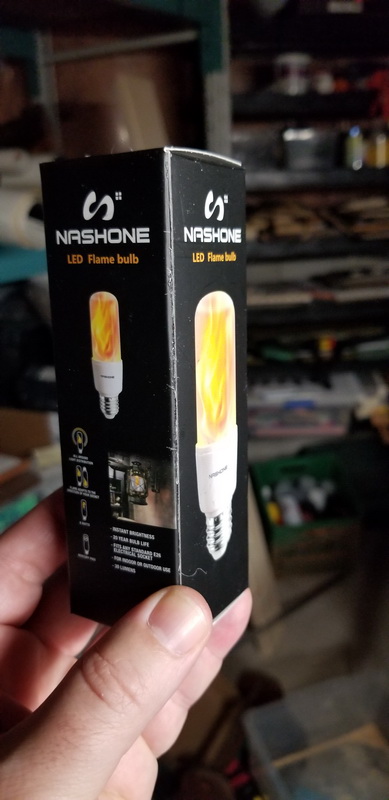
and they look like they will fit quite well. My original plan was to hang the bulb upside down from top so I could keep the original wick, but that was going to get complicated. Asides from figuring out a firm way to attach it to the insides (and all the soot) there is also a spring mechanism up there for the vent shield.
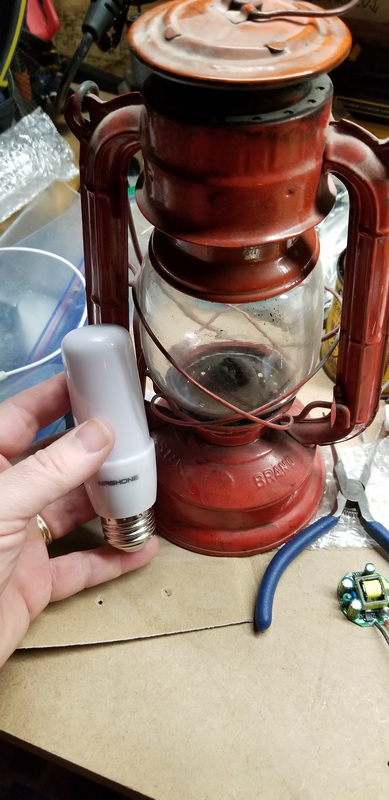
Let’s take the bulb apart and see what’s inside ! LEDs mounted on a rolled-up circuit tube, and a small circuit board:
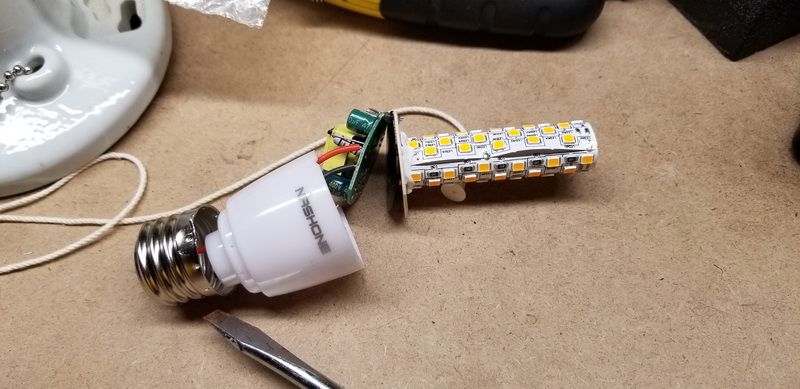
Since LEDs are usually driven by DC power (and electronic circuits to make flame patterns etc) , the circuit board is hopefully just to convert the AC power from the light socket to DC power. Adam double-checked this by disconnecting the bulb-socket and putting 120V AC into the board, and then measuring the power coming out to the LED board. I did the same just to be sure, but also to find out how much voltage I will need to supply with the batteries. Sure enough, 5V (a common electronics voltage):
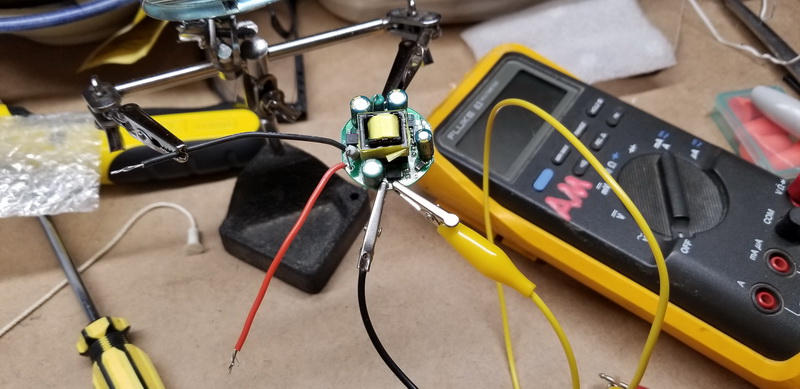
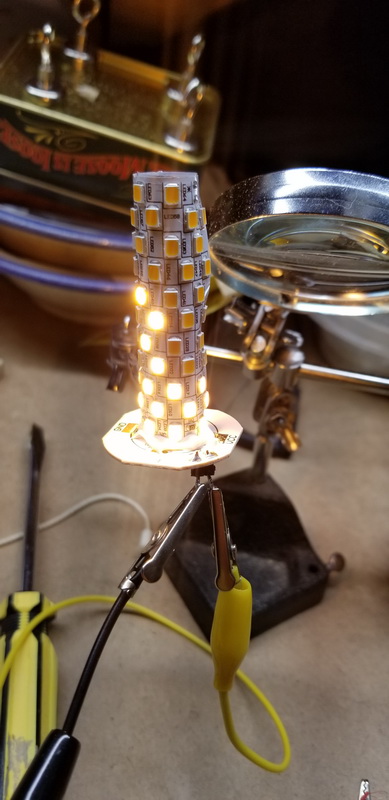
So the big test – I connect the LED tube to a separate 5V power supply to see if it works. Success ! It even detects when it is upside down and runs the flames the other way.
Ok, now to figure out how to mount this inside the lamp. The lamp has all sorts of cool swiveling parts to allow access to the wick without having loose parts – clever designing that today’s products don’t really need.
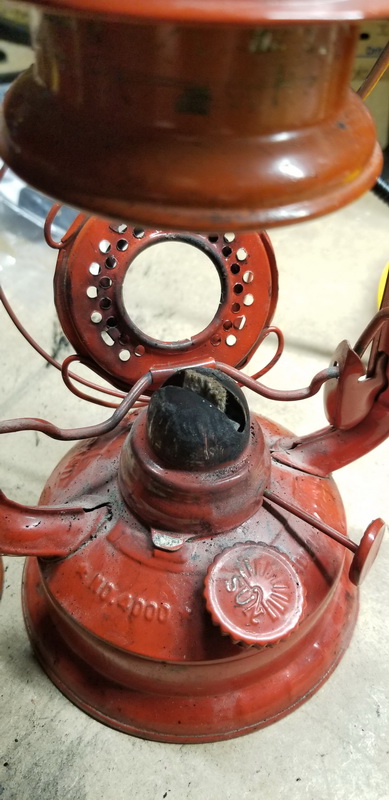
Disassembling to see what I have to work with:
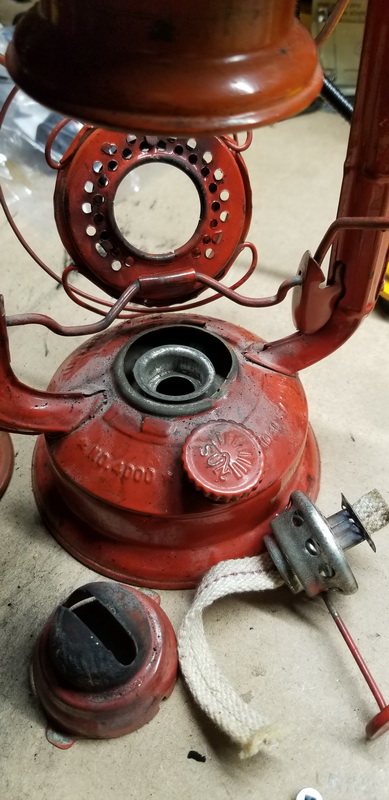
Wow – it looks like the wick feeder shroud might be the perfect size to fit the LED base … and it is ! This is going to work amazingly.
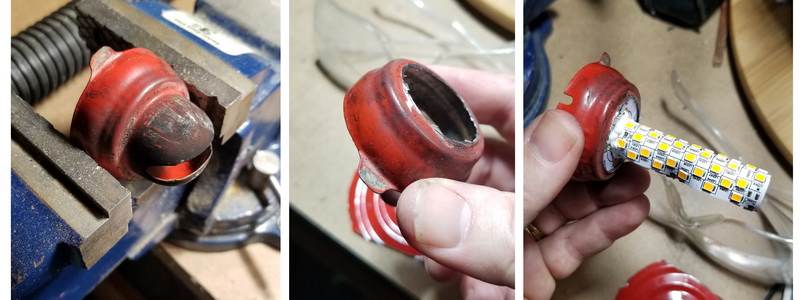
And wow, the plastic bulb cover fits PERFECTLY into the hole in the glass bowl holder. This was meant to be! (The bulb cover got a bit dirty from all the soot, so I rubbed even more on it!)
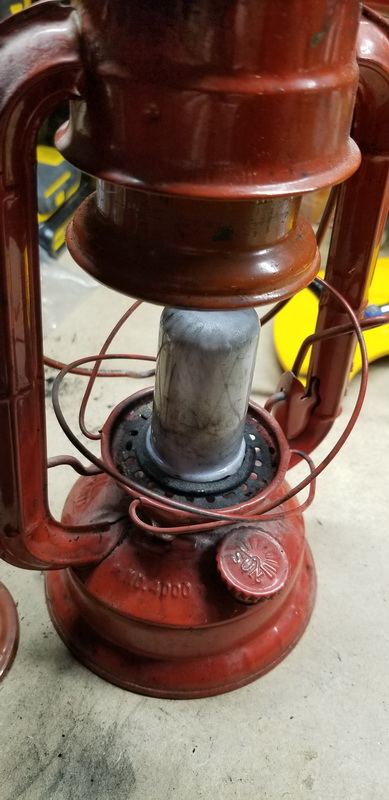
Ok, now to cut a hatch in the bottom for the battery compartment:
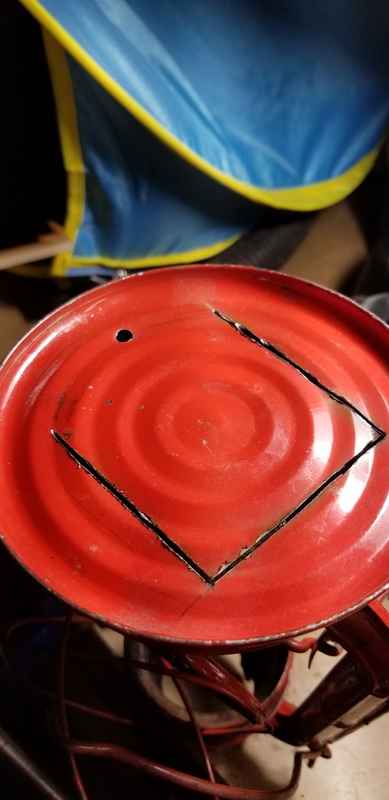
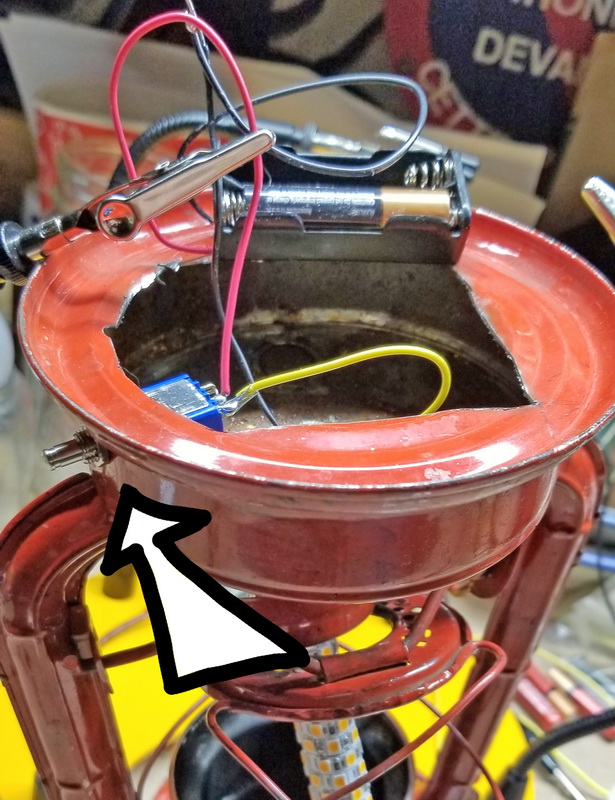
… and drill a hole for the on/off-button. Wiring everything up :
It looks and works amazing ! I am very pleased:
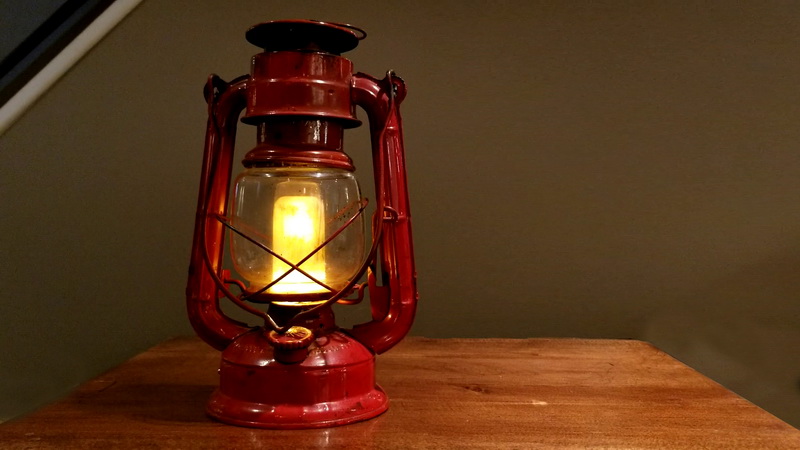
and here is a couple of quick video clips of it running, along with a couple of parts from during the build:

Already I am now looking around the house wondering “what else can I turn into a flame-lamp?” LOL

Thanks for reading !
More Iron Pipe

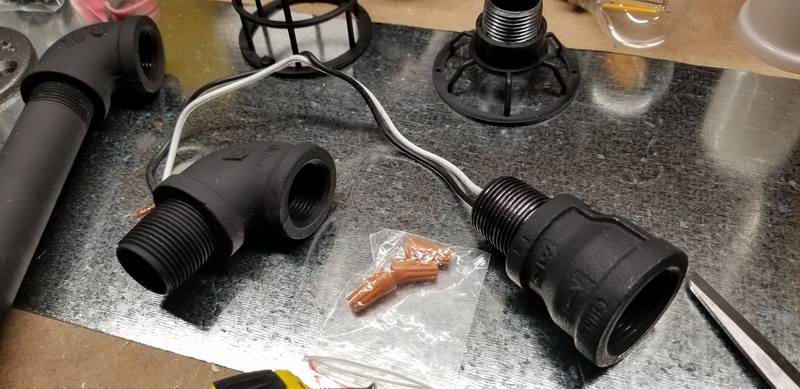
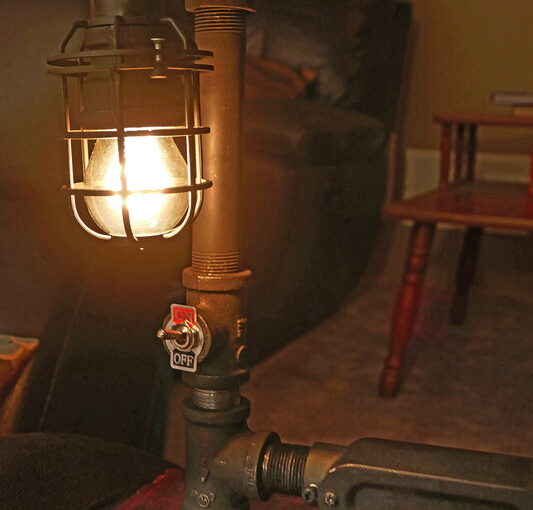
Pleased as I was with my iron-pipe tables, I ended up with some parts that I knew would make a great lamp. In particular this size reducer:

so it’s about 18 months later and we’re in lockdown, so I try to modify the USB charger that I built on my TV side table to add the lamp.

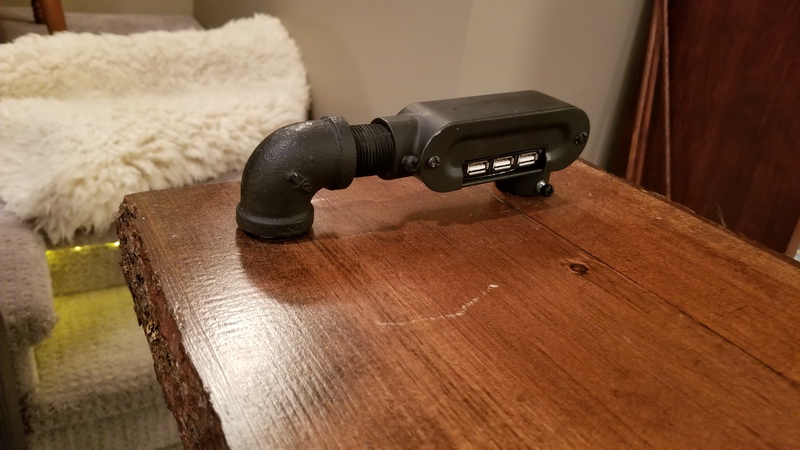
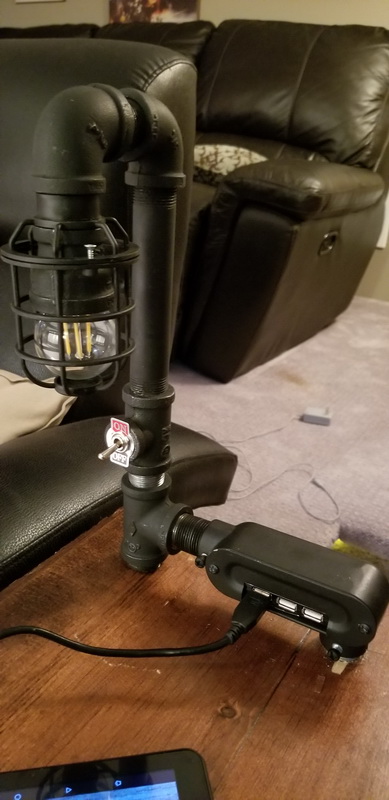
Here’s the USB charger as I have it currently:

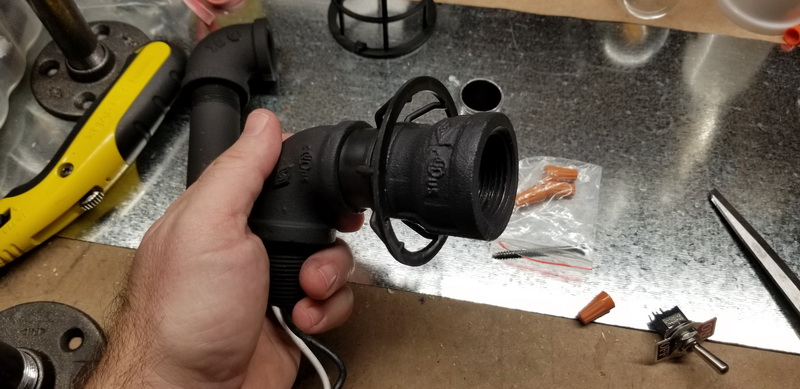
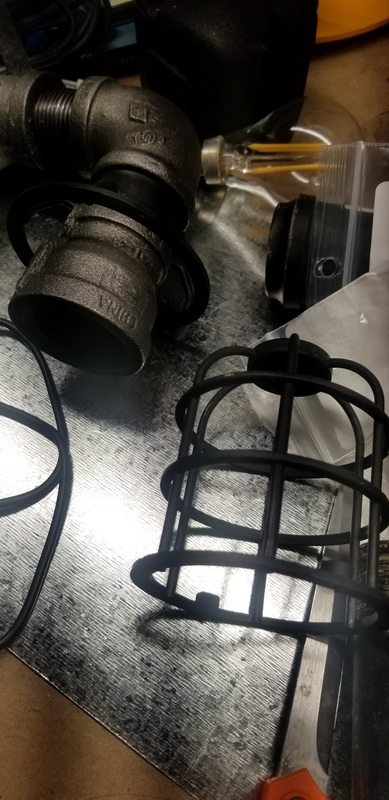
and it looks like i can jam the collar of a faux bulb-protection-basket thingy right above the reducer:

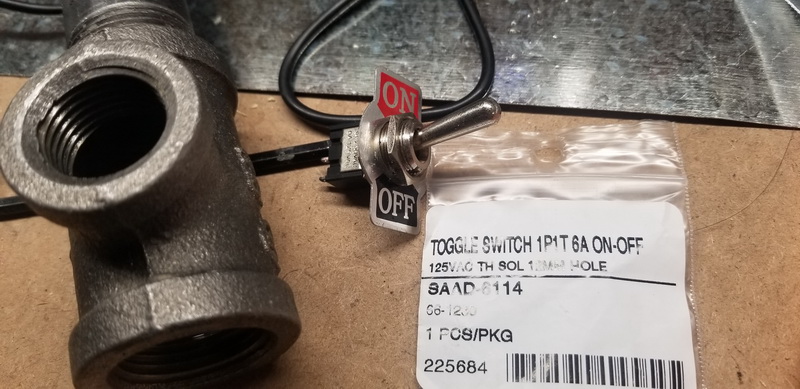
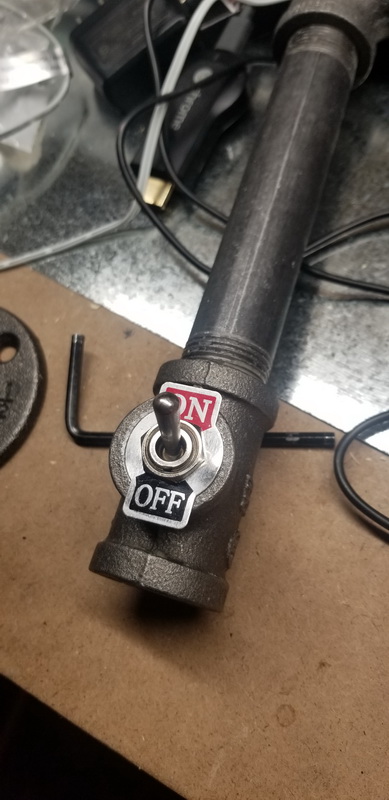
Found a switch big enough to fit into a T-connection:

it actually fit perfectly and almost screwed right in!

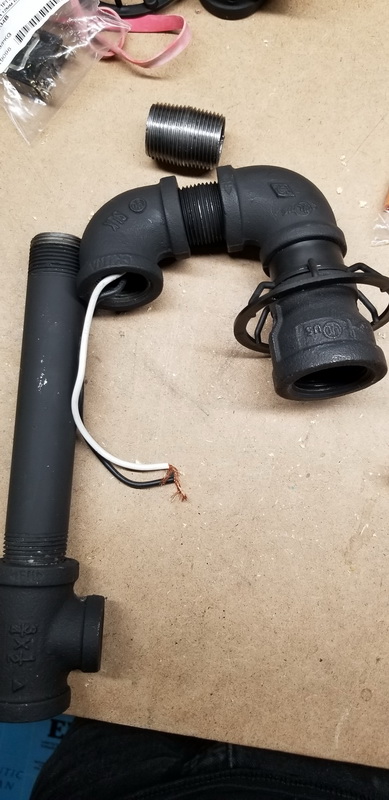
Dang – wires from the bulb pigtail are too short. Gonna be a pain getting marettes in there:

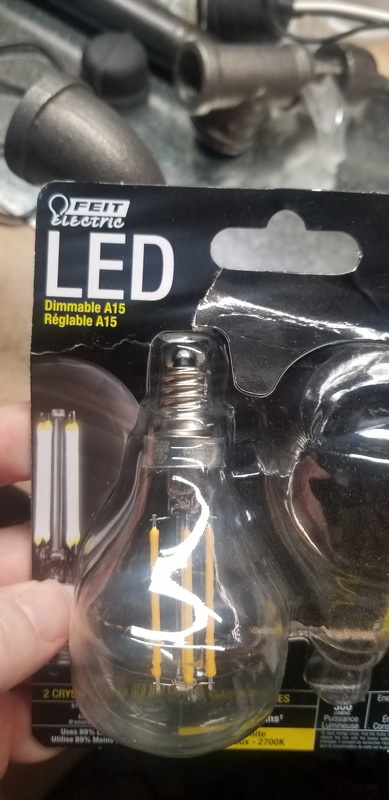
A normal globe bulb won’t quite fit – need a longer neck. These work and look the part:

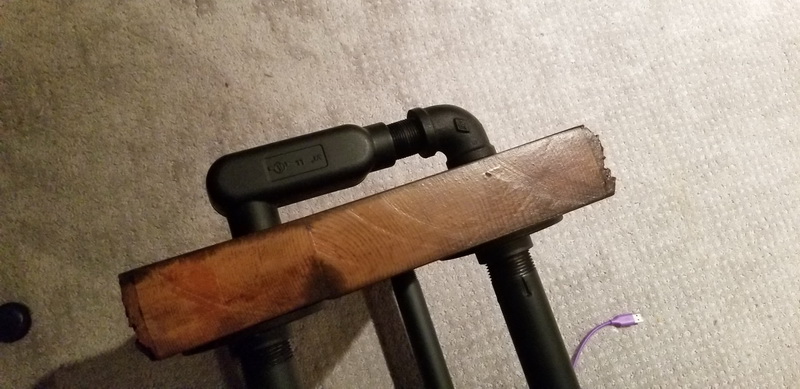
Unfortunately getting the existing elbow out wasn’t easy (and the wire goes through it to the ground). In the end there was some forcing and a little damage to the wood. Oh well – call it vintage LOL

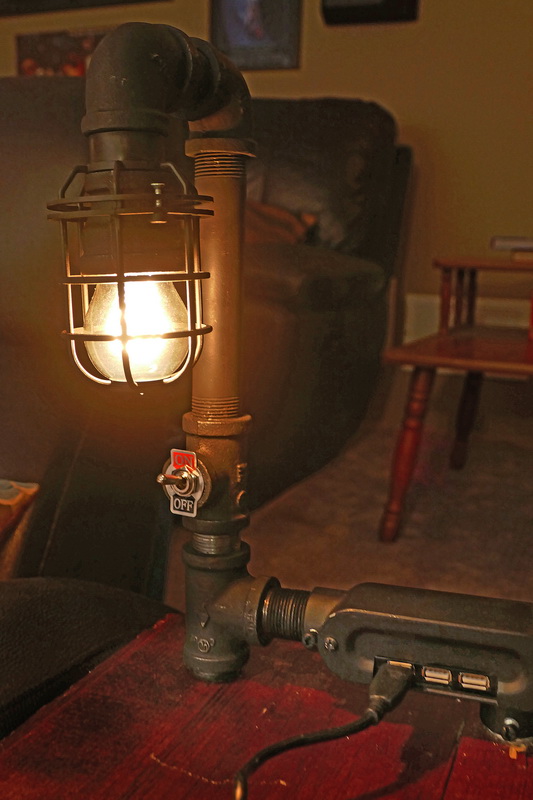
All assembled !

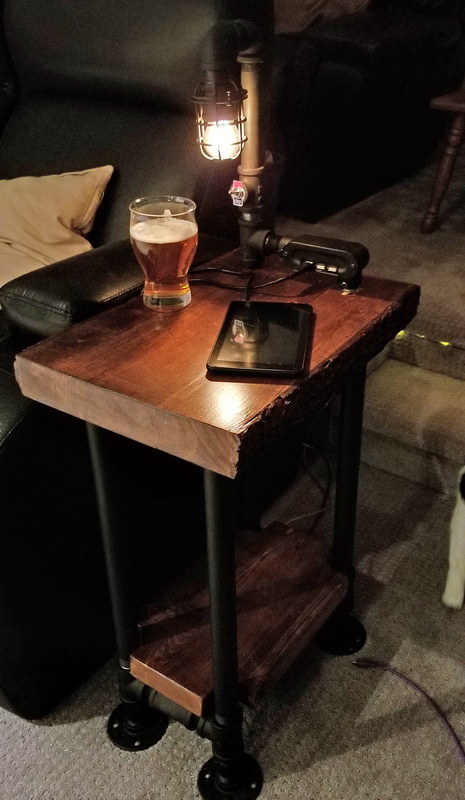
Looks awesome !

and the obligatory beer shot:

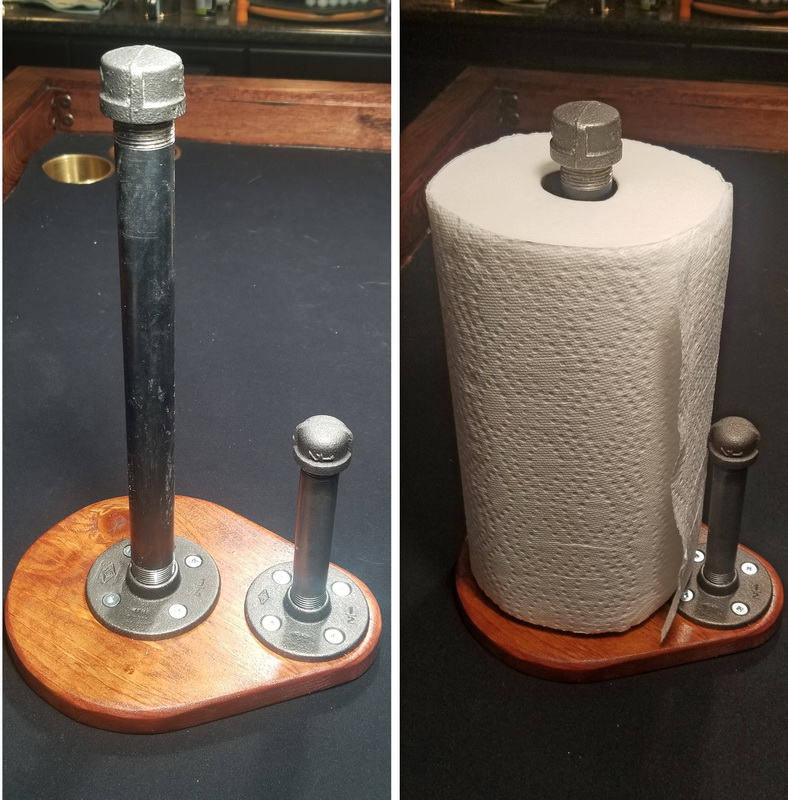
one last thing … (for now) … use left over pipe to make the paper-towel dispenser for the bar:

For some reason I like the look of wood+iron, and it is easy to put together something that looks good … and is incredibly sturdy!

Thanks for reading !
Takenoko – Chibis !

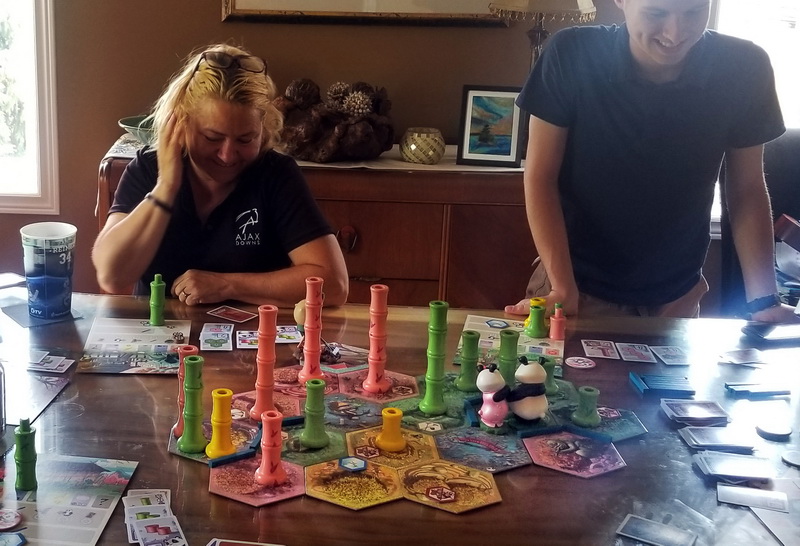
I was lucky enough to stumble upon someone selling the Giant version of the board game Takenoko and we really enjoy playing with the large panda and bamboo pieces. It’s a fun game.

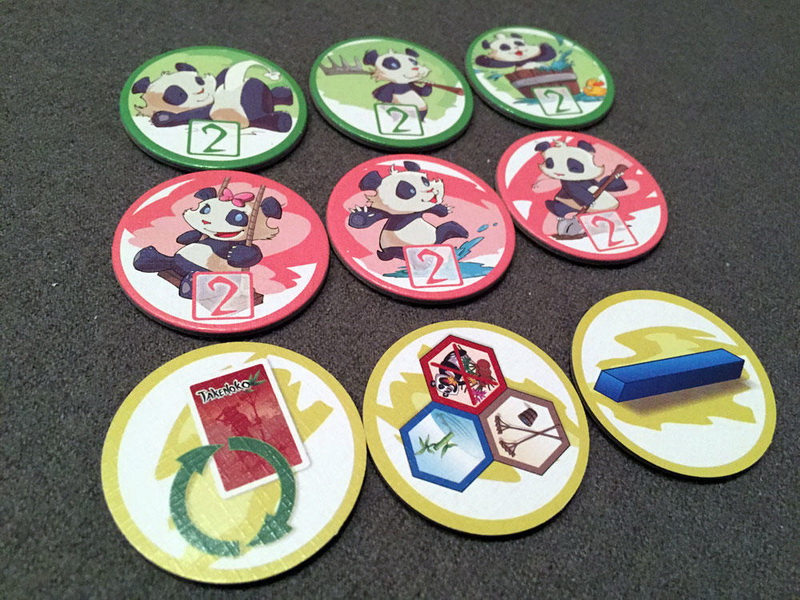
Once we got the hang of playing, we added in the Chibis expansion which adds a Lady Panda and panda babies ! Although the expansion came with a nice big Lady Panda figure, the baby pandas are just these 2 inch cardboard discs to represent what bonus action and points you get:

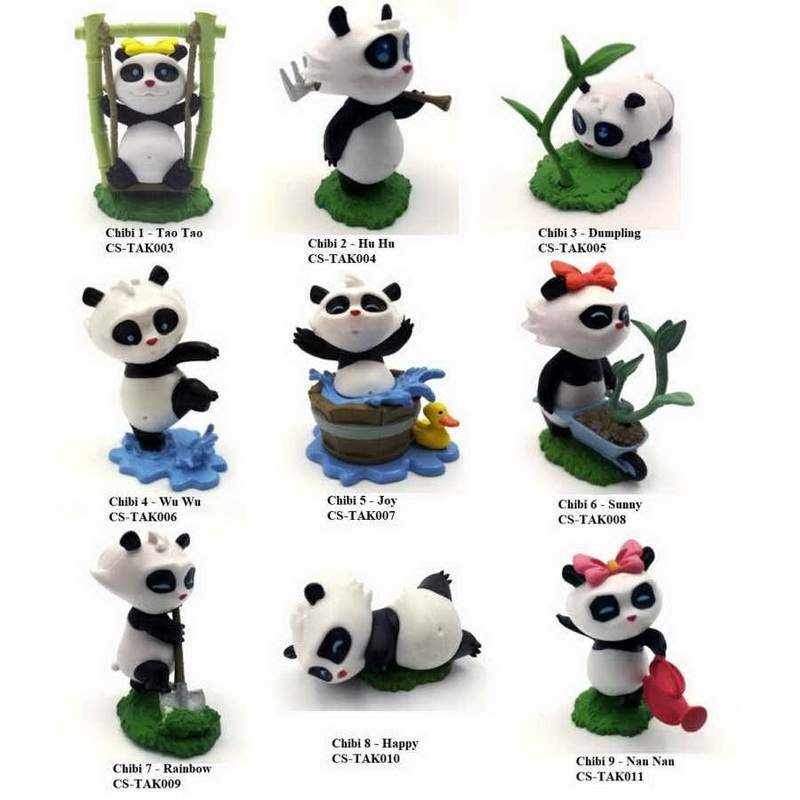
And that works fine and all, but as one who likes to have my gaming experience bling’d-up to the max I gotta get those baby panda figures! Sure enough a google search finds a whole set of cute chibis that match the artwork of the tokens from the game:

But strangely there is no correlation to which colour they relate to or what bonus. – so you can’t really use them. AND, on top of that, they’re about $15 each ! Uh … no.

So I kept my eye out for another alternative. Someone on the ‘net created some 3D models that could be printed that looked okay, but printing at the library is not reliable (and currently not available) and it would still cost a bit and would take a long time.

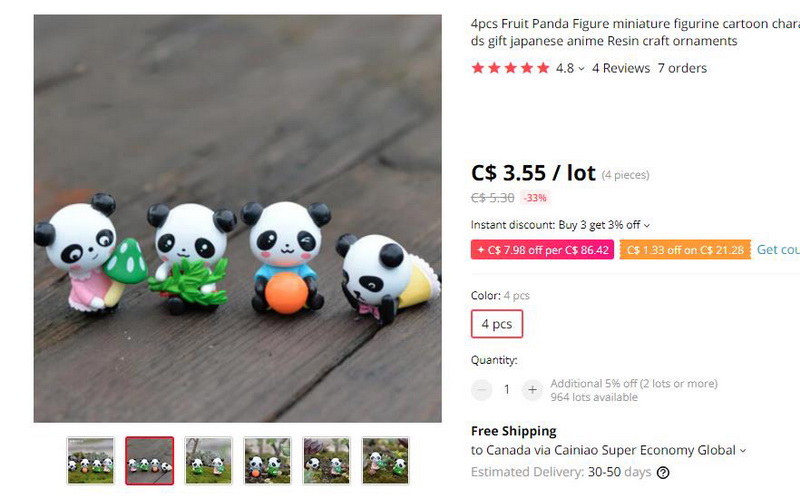
Then I came across a post on Reddit by /Luke_Matthews where he had found these cute little figures on AliExpress that were the just about the right size – and at about $1 each the right price!

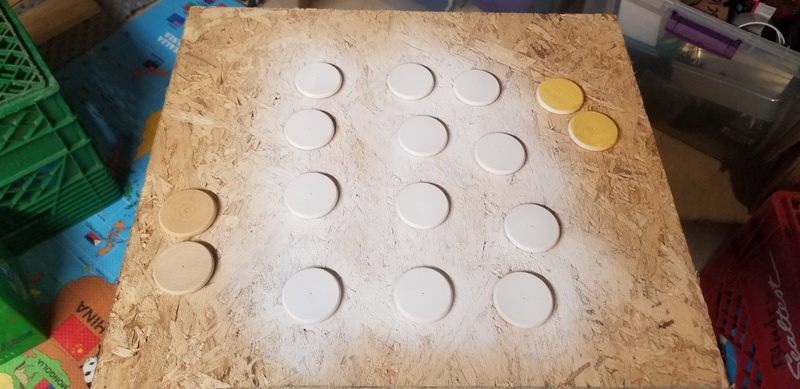
(yeah, they took forever to get here – but free shipping and i am in no rush). Once they arrived I picked up some 1.5″ wooden discs to use as bases for the baby pandas and primed them:

and then went to the local arts and crafts store from some paint. I guess lots of people are doing craft painting this pandemic – the shelves were nearly bare:

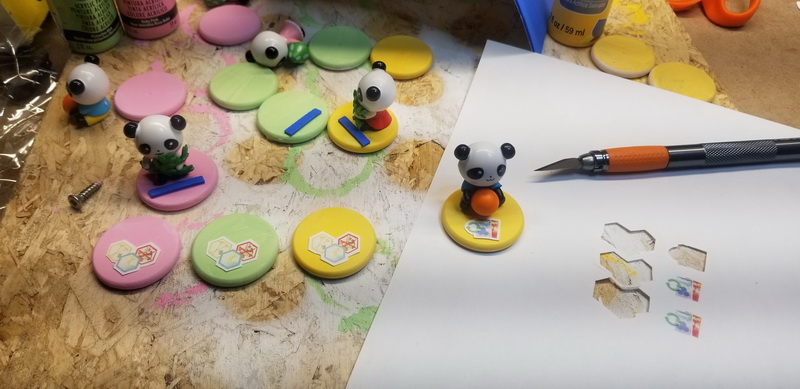
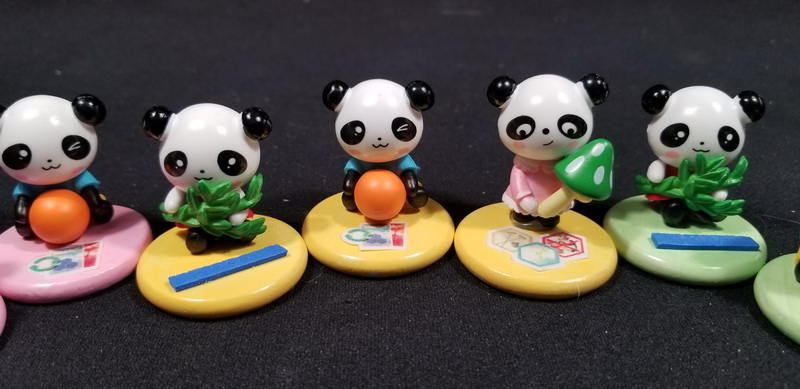
I was lucky to find three colours that were just right, so I painted a bunch of the bases and started testing out the panda positioning. I also printed out the bonus actions to put on each base (the irrigation pipe I used some leftover blue foam I had – more 3D!):

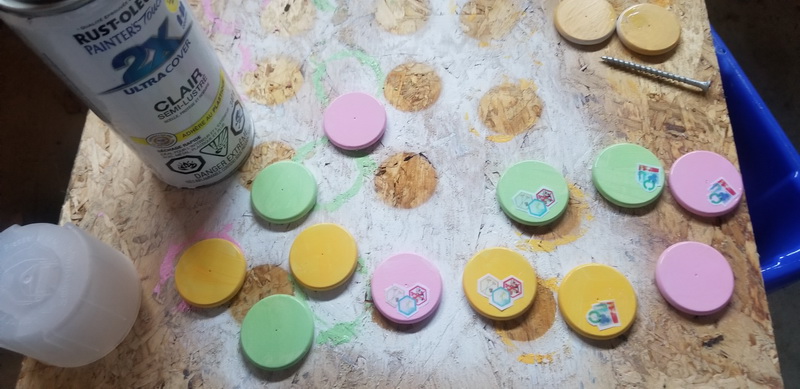
A couple layers of spray-coat to protect them and adhere the paper:

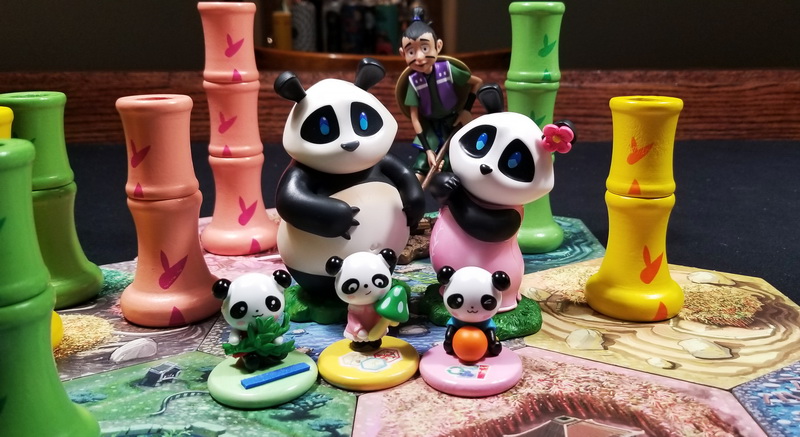
And then all that was left was to hot-glue the pandas on. They look great!

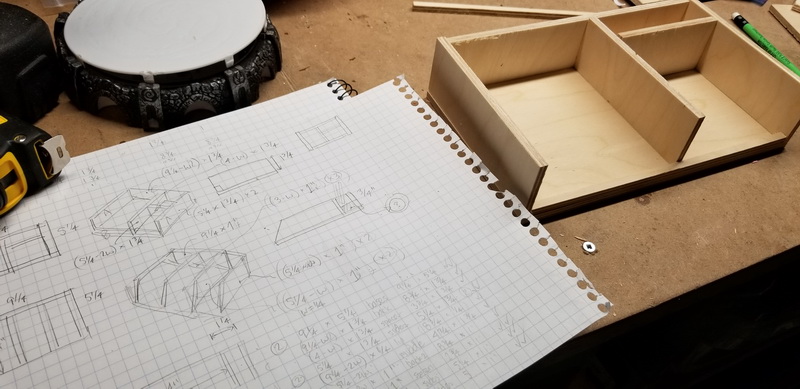
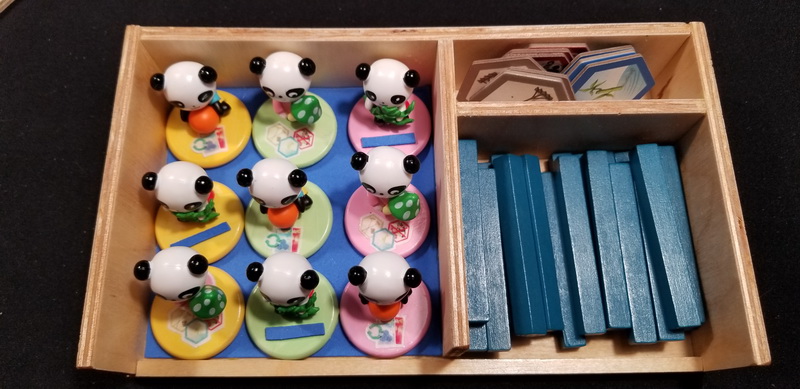
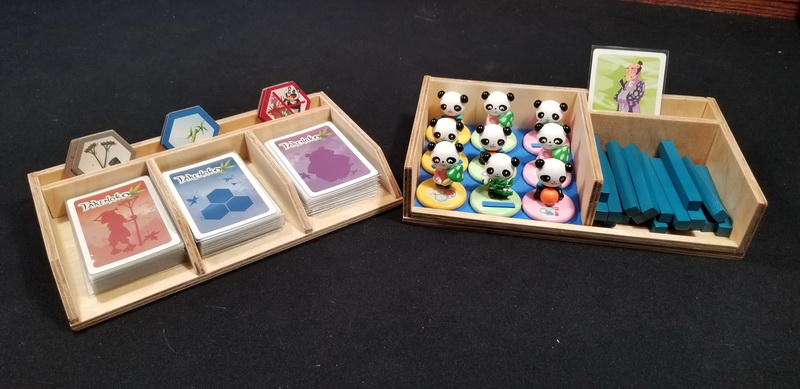
But how do I store them ? They won’t fit in the original game boxes – time to make a matching storage box ! The handy thing is that the original game boxes are made of nice plain plywood, so I can match that easy. Might as well make a card holder as well while I am at it.

The idea is that the storage box would also be the dispenser in the game. This way there is less fiddling during game set-up: just open the box and set it down. We can also use it to hold some other game pieces like the irrigation pipes (which are always lost at the bottom of the bamboo pile)

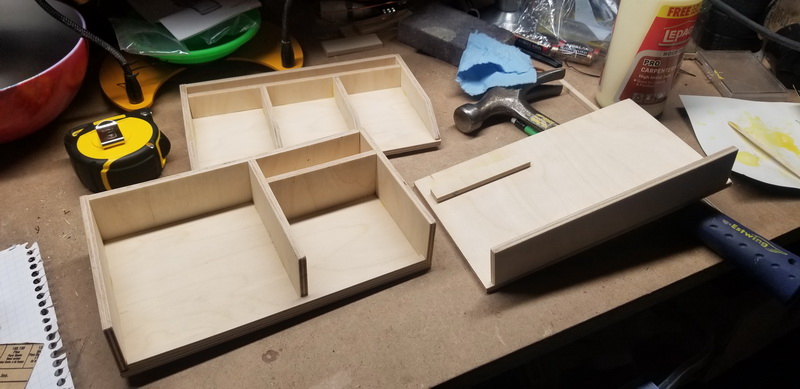
My original idea was that the card dispenser would be the lid of the baby panda box, so they were made the same size:

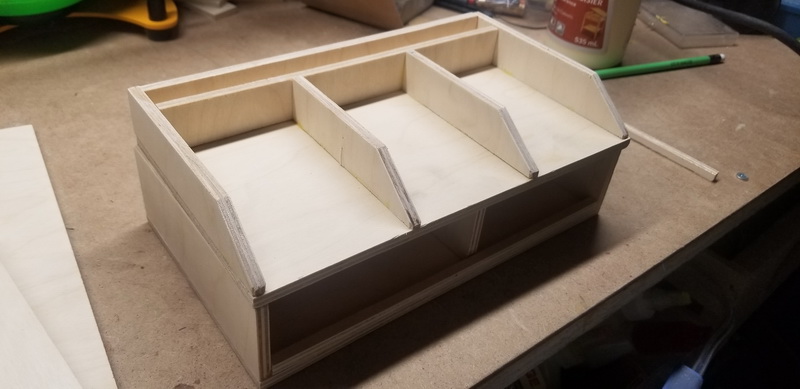
But then I realized that I really wanted the front open, so I would have to make a separate lid that would just drop-on:

More leftover blue foam on the bottom (and underside of lid) and ta-da! Everything fits in nicely:

I put a filler board at the bottom of the back channel of the card dispenser so that the improvement hexes could be visible by all players so they can see which ones are left to get. All easy to set up, and easy to see and access ! Not only is it fun to earn and take a baby panda, but you can now clearly see which colours are still available and which bonus actions.

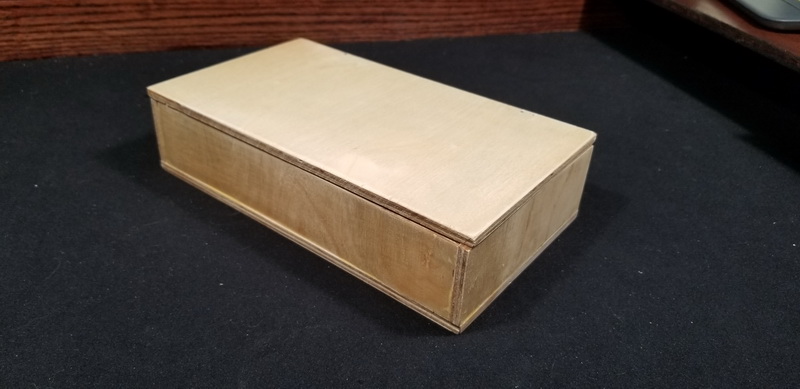
A quick shot of the box with the lid on it:

and the whole Takenoko family is now all happy together! :

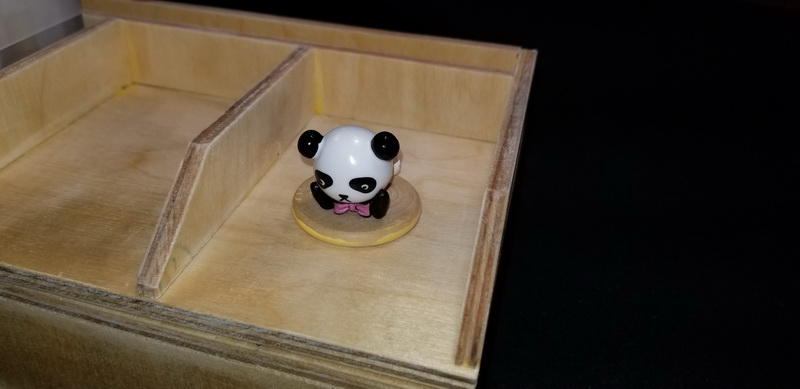
..oh, except for that fourth baby panda that came in the set. She is sulking a bit on the test disc :

I hope you enjoyed this little project !