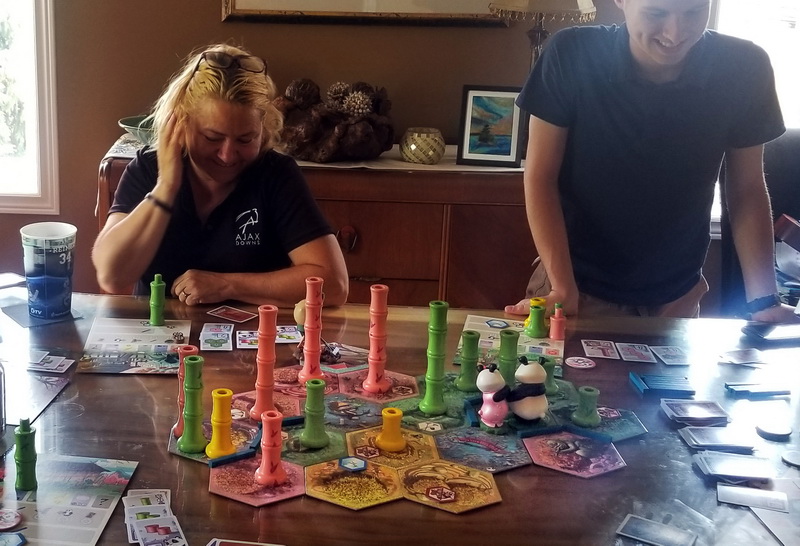
I was lucky enough to stumble upon someone selling the Giant version of the board game Takenoko and we really enjoy playing with the large panda and bamboo pieces. It’s a fun game.
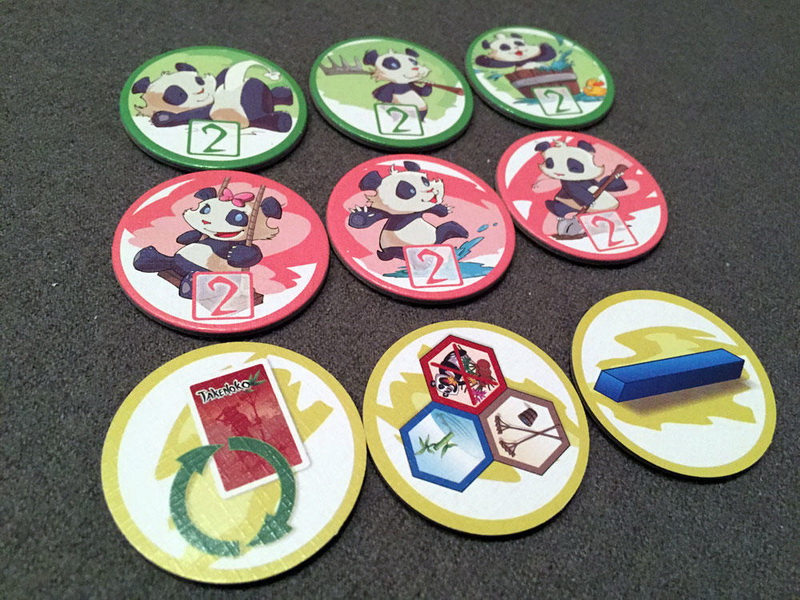
Once we got the hang of playing, we added in the Chibis expansion which adds a Lady Panda and panda babies ! Although the expansion came with a nice big Lady Panda figure, the baby pandas are just these 2 inch cardboard discs to represent what bonus action and points you get:
And that works fine and all, but as one who likes to have my gaming experience bling’d-up to the max I gotta get those baby panda figures! Sure enough a google search finds a whole set of cute chibis that match the artwork of the tokens from the game:
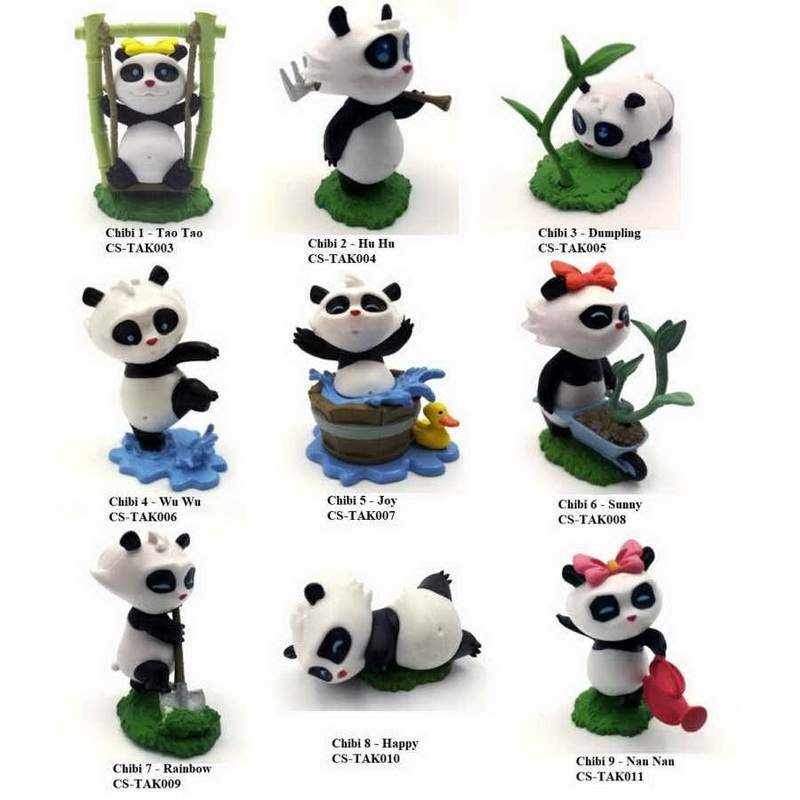
But strangely there is no correlation to which colour they relate to or what bonus. – so you can’t really use them. AND, on top of that, they’re about $15 each ! Uh … no.
So I kept my eye out for another alternative. Someone on the ‘net created some 3D models that could be printed that looked okay, but printing at the library is not reliable (and currently not available) and it would still cost a bit and would take a long time.
Then I came across a post on Reddit by /Luke_Matthews where he had found these cute little figures on AliExpress that were the just about the right size – and at about $1 each the right price!
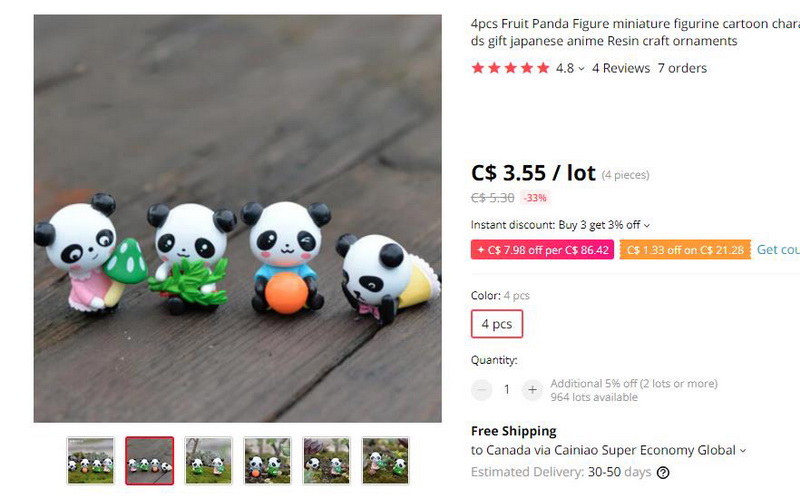
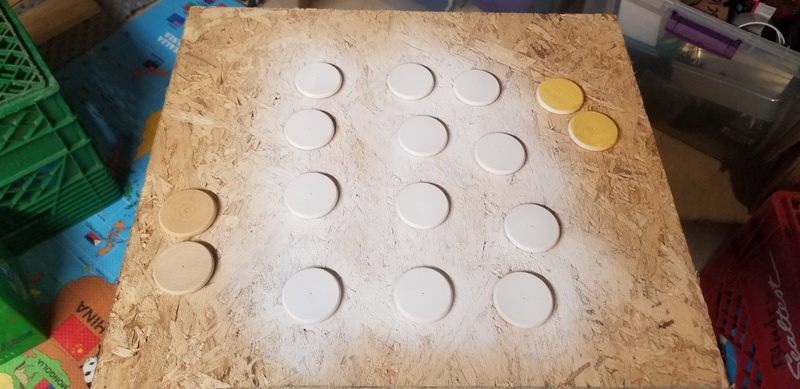
(yeah, they took forever to get here – but free shipping and i am in no rush). Once they arrived I picked up some 1.5″ wooden discs to use as bases for the baby pandas and primed them:
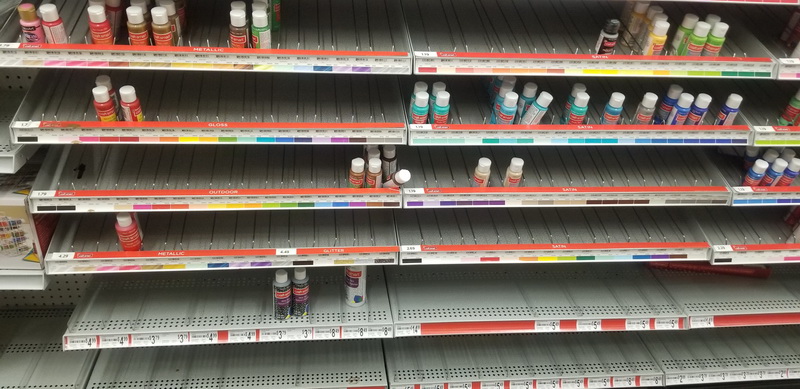
and then went to the local arts and crafts store from some paint. I guess lots of people are doing craft painting this pandemic – the shelves were nearly bare:
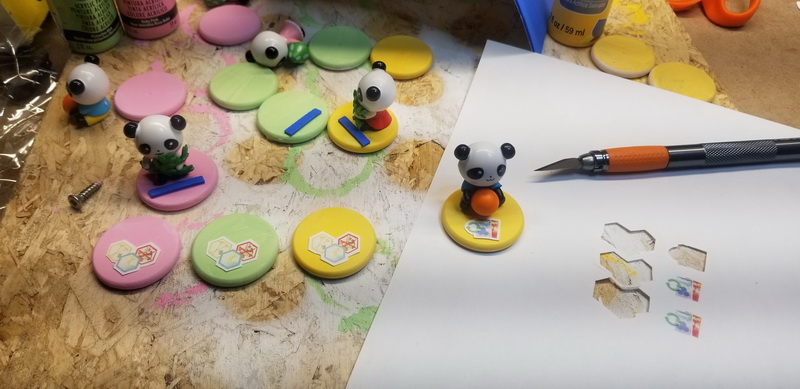
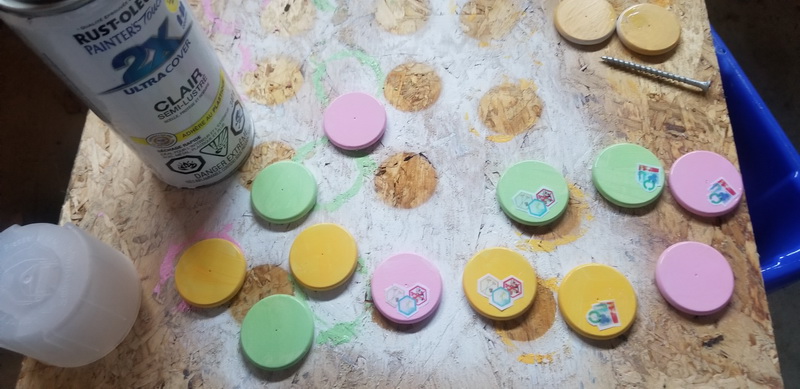
I was lucky to find three colours that were just right, so I painted a bunch of the bases and started testing out the panda positioning. I also printed out the bonus actions to put on each base (the irrigation pipe I used some leftover blue foam I had – more 3D!):
A couple layers of spray-coat to protect them and adhere the paper:
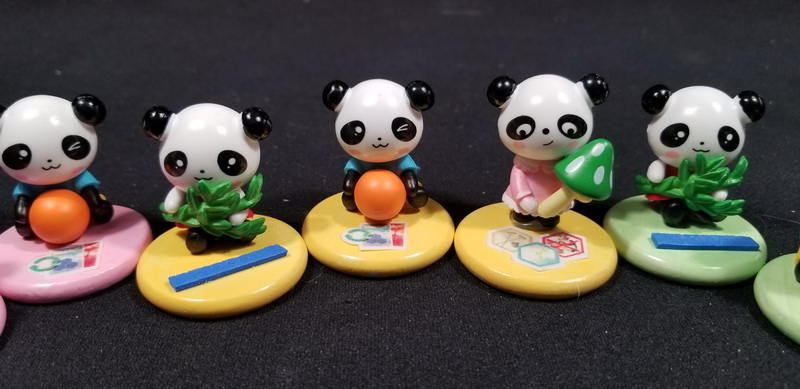
And then all that was left was to hot-glue the pandas on. They look great!
But how do I store them ? They won’t fit in the original game boxes – time to make a matching storage box ! The handy thing is that the original game boxes are made of nice plain plywood, so I can match that easy. Might as well make a card holder as well while I am at it.
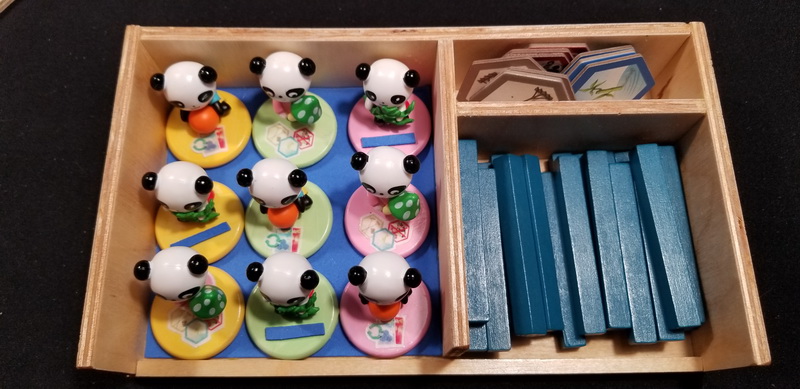
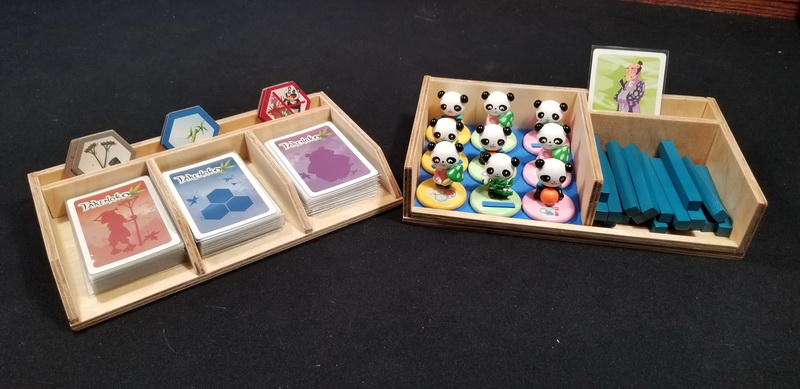
The idea is that the storage box would also be the dispenser in the game. This way there is less fiddling during game set-up: just open the box and set it down. We can also use it to hold some other game pieces like the irrigation pipes (which are always lost at the bottom of the bamboo pile)
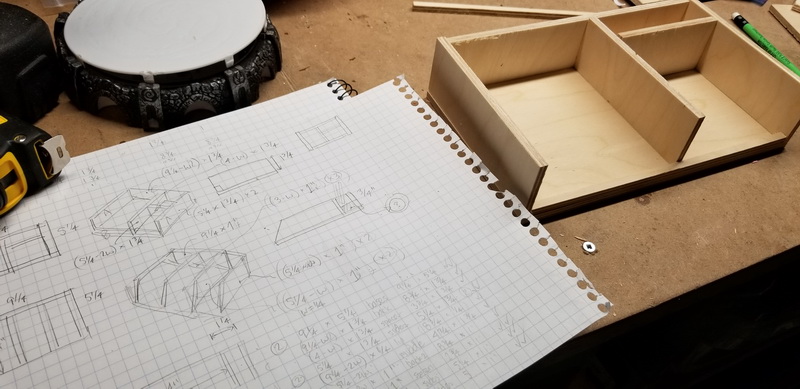
My original idea was that the card dispenser would be the lid of the baby panda box, so they were made the same size:
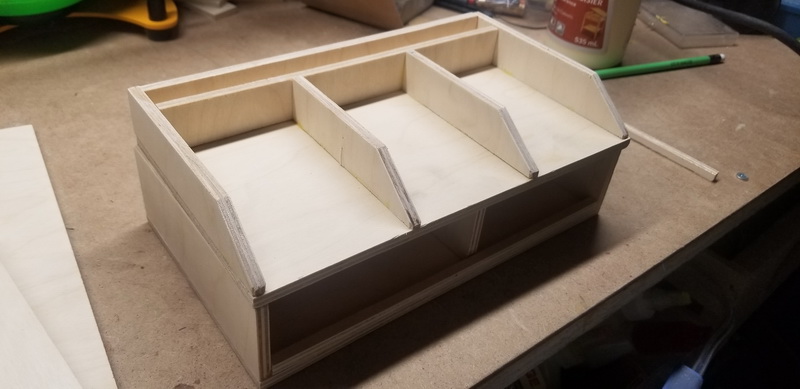
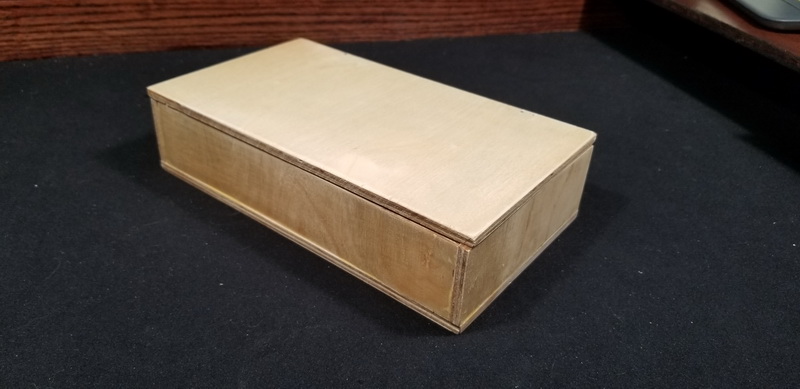
But then I realized that I really wanted the front open, so I would have to make a separate lid that would just drop-on:
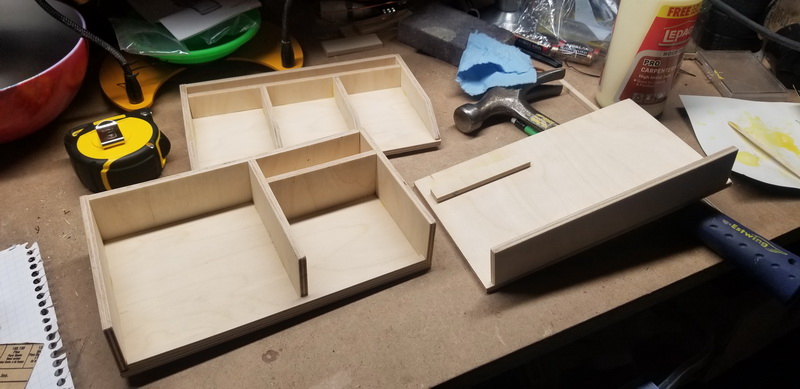
More leftover blue foam on the bottom (and underside of lid) and ta-da! Everything fits in nicely:
I put a filler board at the bottom of the back channel of the card dispenser so that the improvement hexes could be visible by all players so they can see which ones are left to get. All easy to set up, and easy to see and access ! Not only is it fun to earn and take a baby panda, but you can now clearly see which colours are still available and which bonus actions.
A quick shot of the box with the lid on it:
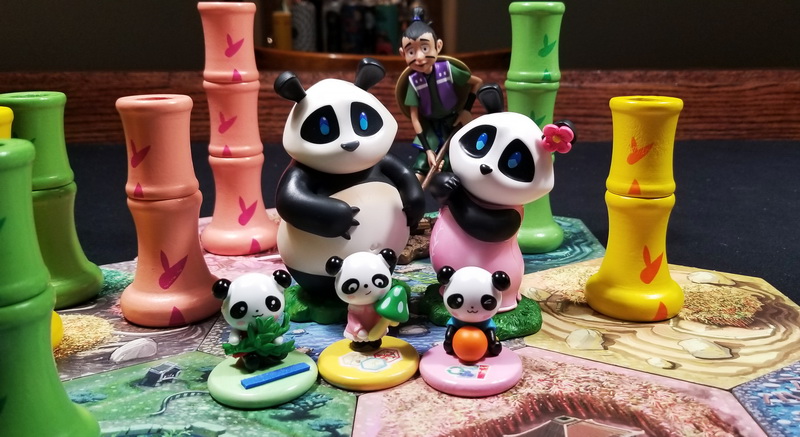
and the whole Takenoko family is now all happy together! :
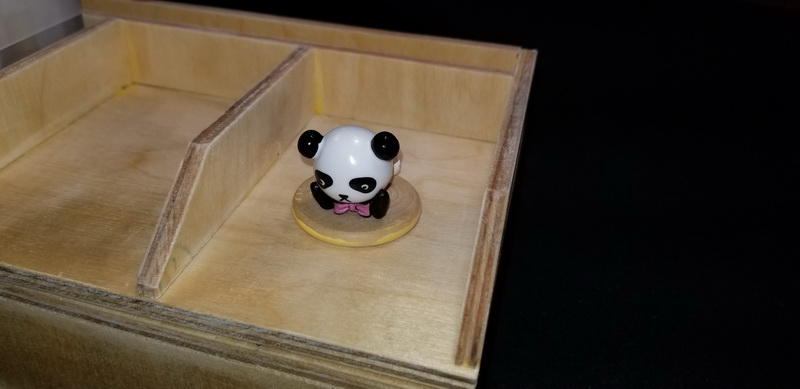
..oh, except for that fourth baby panda that came in the set. She is sulking a bit on the test disc :
I hope you enjoyed this little project !
