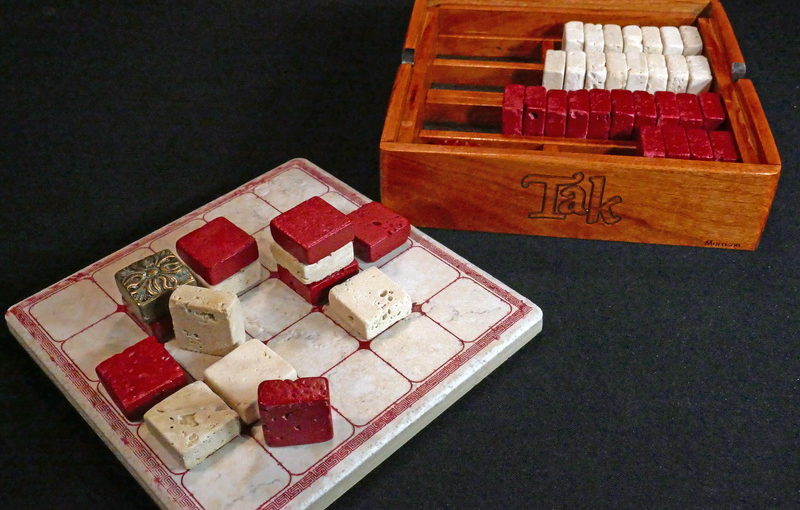
While getting ready for our family vacation I was looking around for some portable games and ran across Tak: A Beautiful Game. Tak has just simple pieces and if you are pressed you can play a basic game without the board (which is just a 5×5 grid). I even found some posts where people were talking about how they can have quick game while waiting for their food at a restaurant, and since there is usually blocks of waiting while travelling I thought this sounded good.
However when I went to buy it, it was $70 for basically a bunch of wooden pieces and a piece of cardboard. Uh, no. So obviously in the typically busy week before one goes on a vacation I try to quickly make a set.
Tak v1
I picked up a square dowel of poplar and chopped off the required 42 pieces, and found some dowel buttons that would work as great “capstones” ( a special piece in the game).
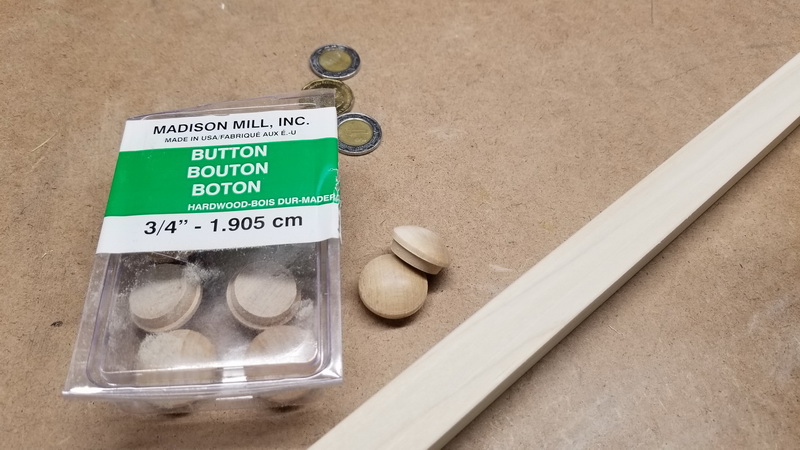
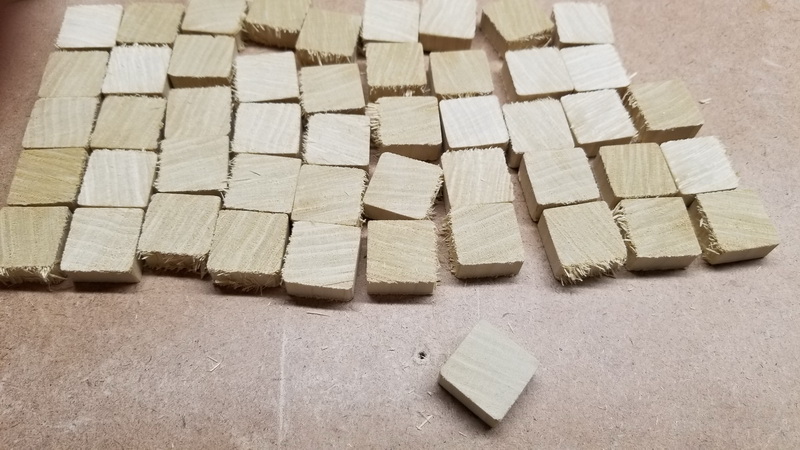
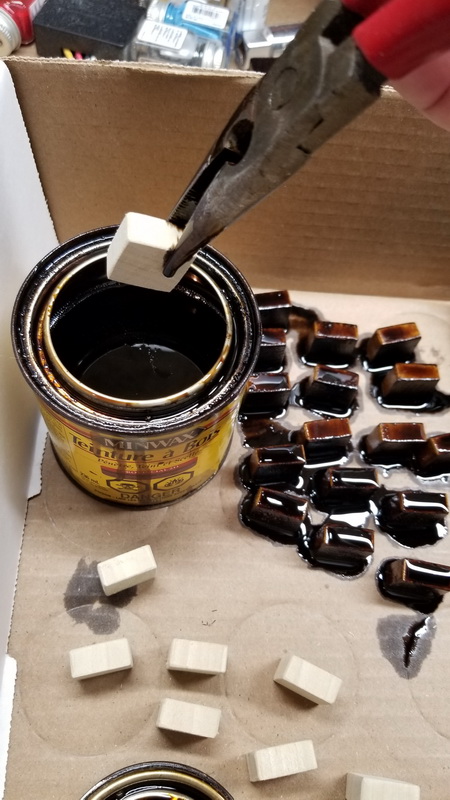
Used some leftover stain to make one half dark and voila – a Tak set in 45min (not counting drying time) for about $5. Okay, so the dark pieces still smelled a bit like wood stain for the first few days of the trip, but I had them closed up in a bag most of the time.
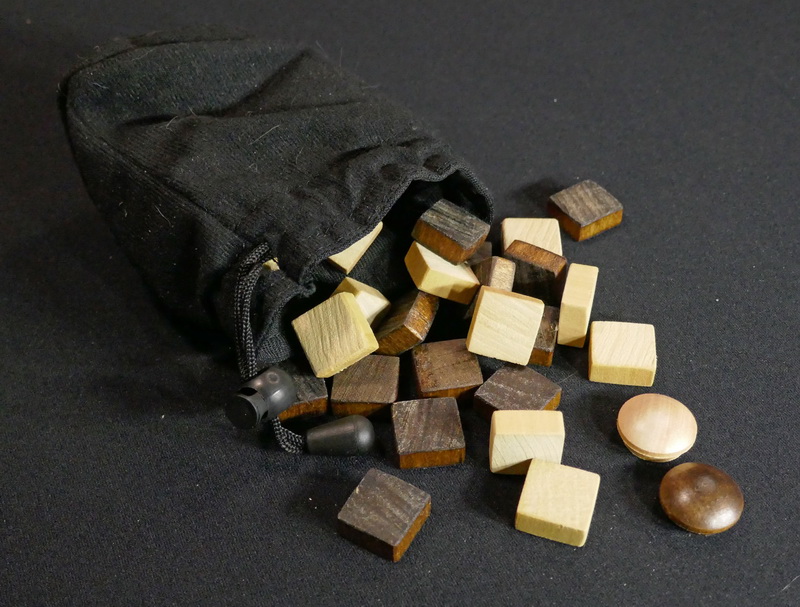
We only played a couple of times on the trip, but overall the game is not bad and I think it has potential. The tiles I made worked fine, but they felt a bit light (knock over easy) and could be a smidge larger. And of course I just can’t let things rest if I know I can improve it. *sigh*
Tak v2
Since the game only has simple components but is quite complex I think is has a ‘classic’ feel to it, like chess, checkers, or mancala. So I wanted to give the set I made an Old World feel to it. Even the official rules frequently refer to your pieces as ‘stones’.
The player pieces…
For the player pieces there are lots of options for 1 inch square tiles if you walk around the local home improvement stores.
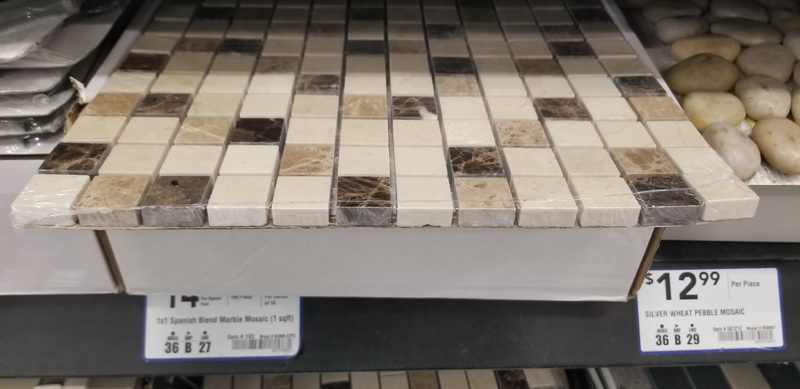
I found the perfect thing at Home Depot: a tile mosaic for a bathroom/kitchen trim. It’s made up of 1″ square travertine tiles, and even comes with a special piece in the middle that I can use as the capstones! They look nice and ‘old’.
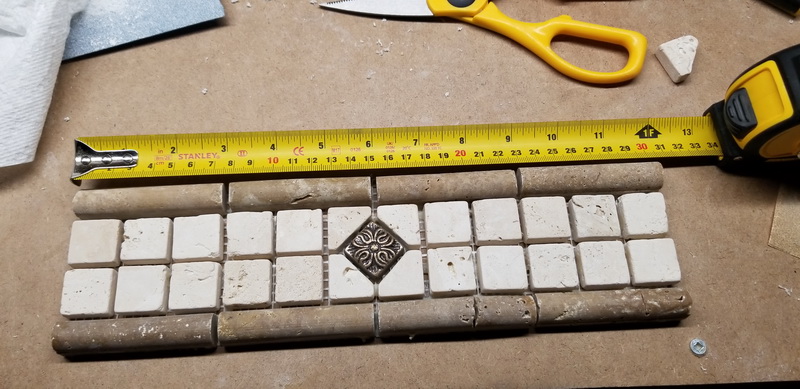
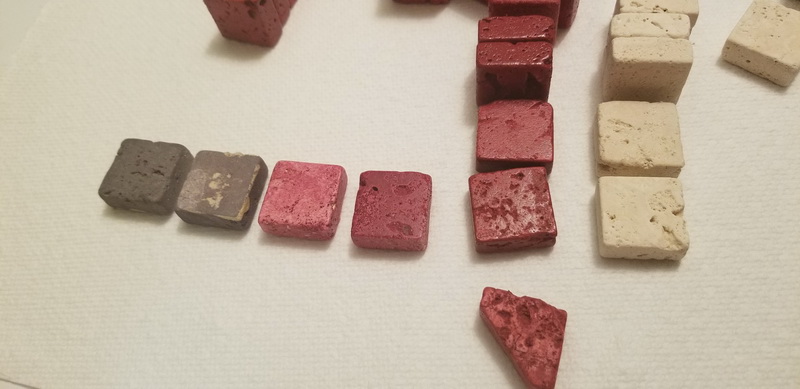
I tried different methods to colour half of the pieces, including something that I read online about soaking them in a glass of cheap red wine. In the end I just spray painted them “colonial red” (the “wine” stones are on the far left LOL).
The game board…
For the playing board I looked around and found a nice 99 cent tile that holds 5 stones quite well.
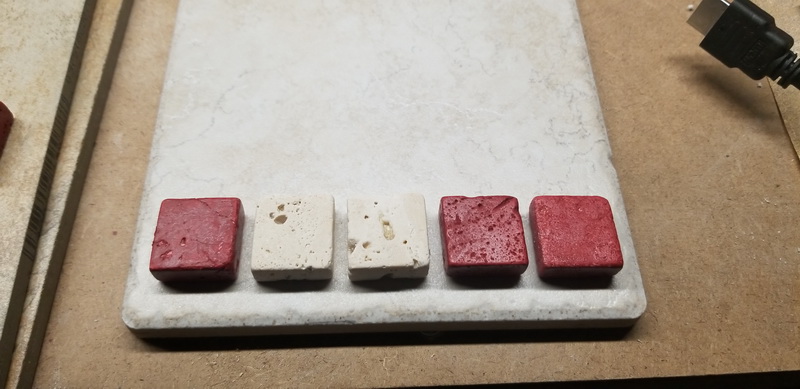
I then put the tile into the laser cutter at the local public library and did some tests to see if I could get a decent engraving on it.
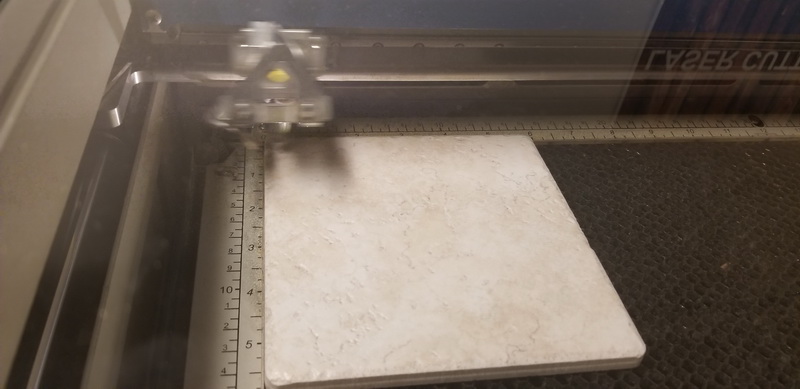
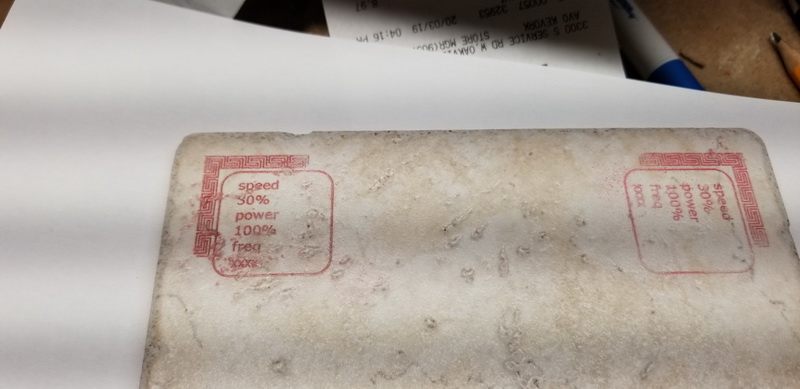
I had to do 2 passes, but found a setting that seemed to get me what I wanted (this image is after I smeared some red paint on it and then cleaned it off)
So i covered the tile with masking tape and then let the laser cutter burn away the tape and etch the stone a bit.
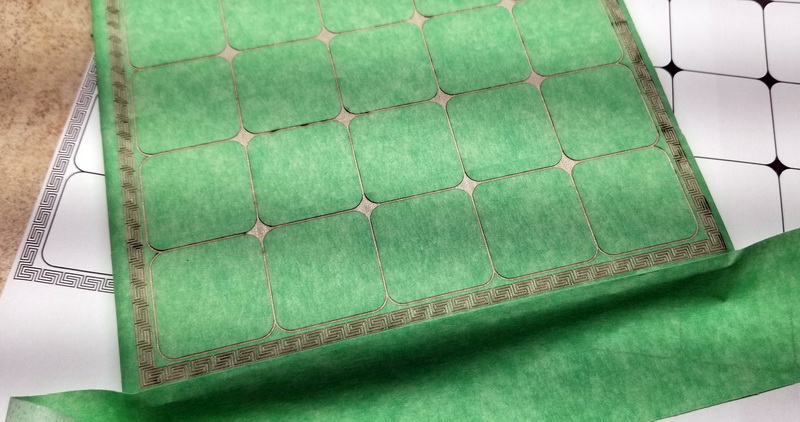
The idea being that I can now spray-paint the lines and then just remove the tape.
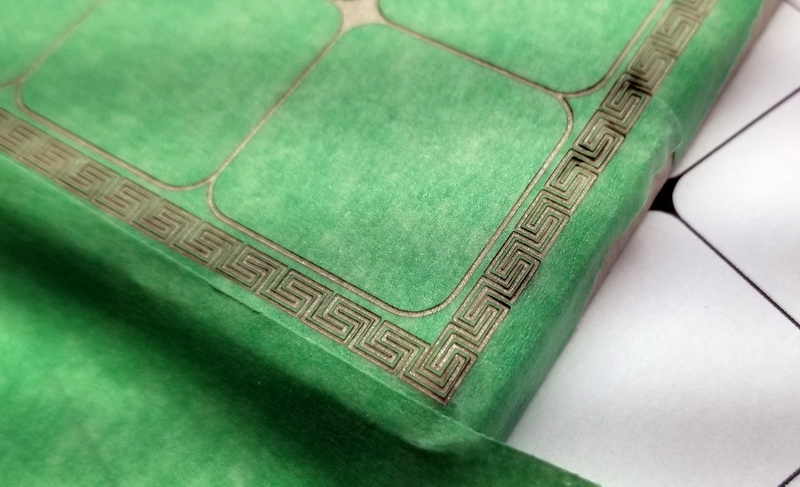
Unfortunately I did not rub the tape down everywhere, so the spray paint got under the tape at places. The small details also resulted in the tiny tiny pieces of tape getting stuck in the etched grooves. All this resulting in blotchy paint. Arg.
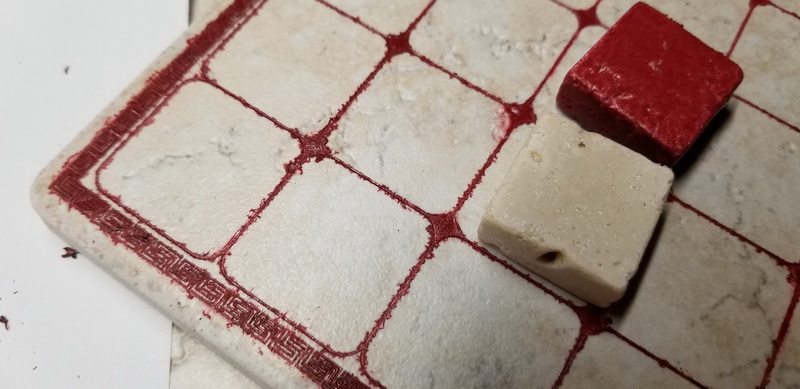
Lots of sanding and tape picking later, I managed to salvage most of it. The mistakes actually give it more of a distressed look:
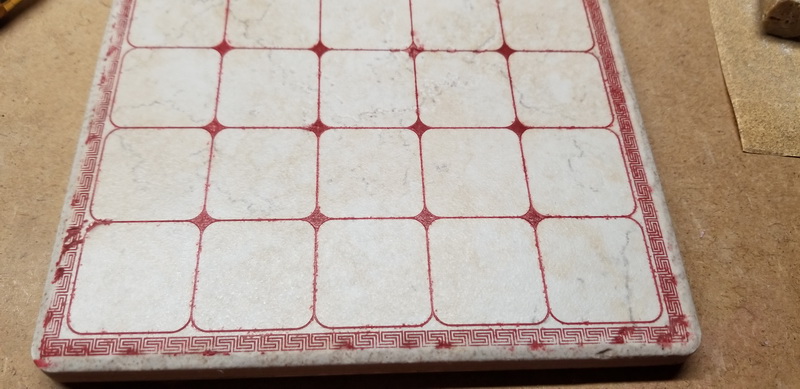
The Box …
Finally, the last step was to build a box for all this. Another laser cutting design !
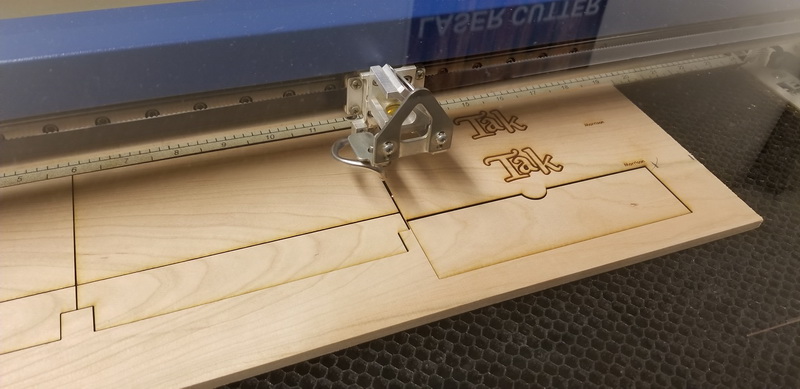
Clamp and glue :
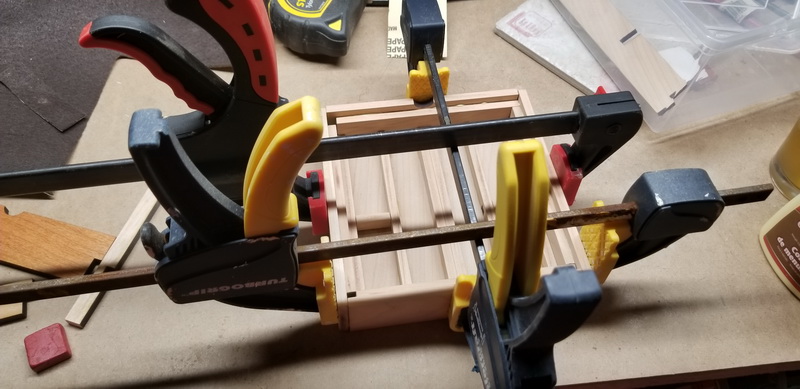
The inner box is done. You can see the channels for holding the stone pieces. They also gives a gap so you can get your fingers in there to pull out pieces. I don’t have to worry about sanding the burnt edges because I am going to put nice panels on the outside.
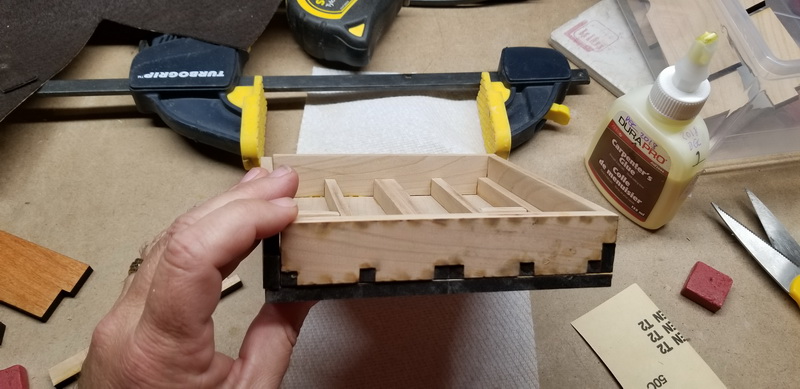
Testing if the tile-board fits in the top, acting as the lid:
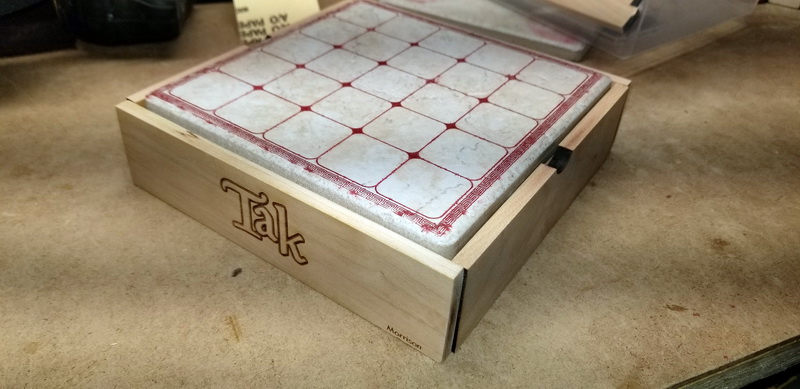
Darn it – you can see that my outside pieces are like, a millimeter too short ! Arg. However, sanding the corners to hide this actually makes it look really nice…
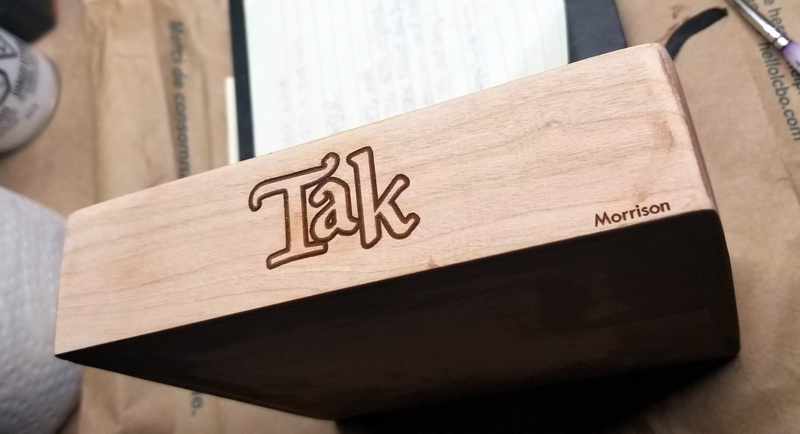
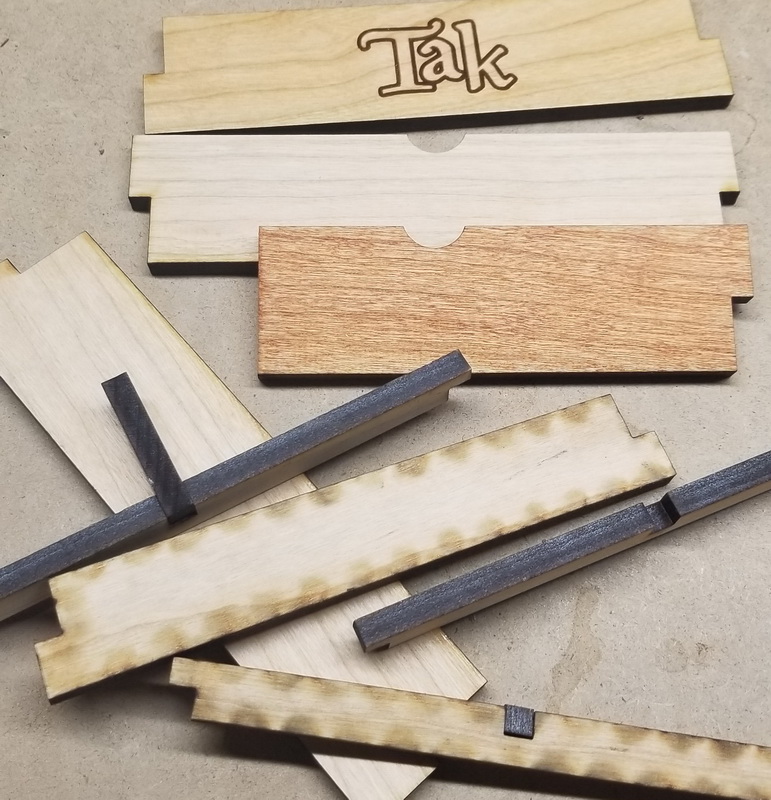
Luckily I made a big mistake on my first set of pieces for the box (ok, not really lucky LOL), so I have lots of test pieces to see what stain+polyurethane combo looks good:
Stained, urethaned, and now putting some sticky felt on the bottom:
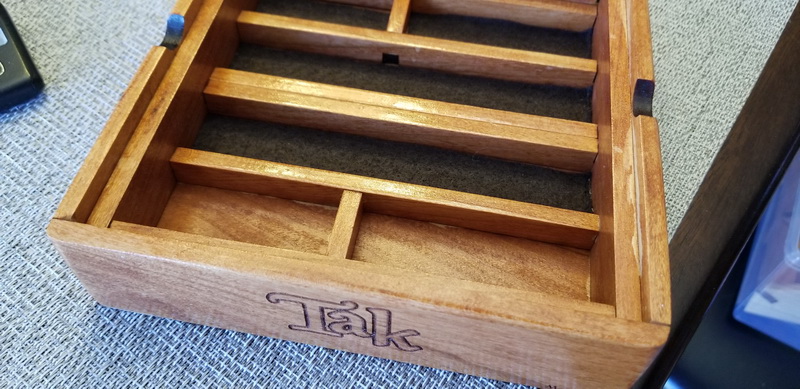
Putting all the pieces together …
Really pleased with the results.
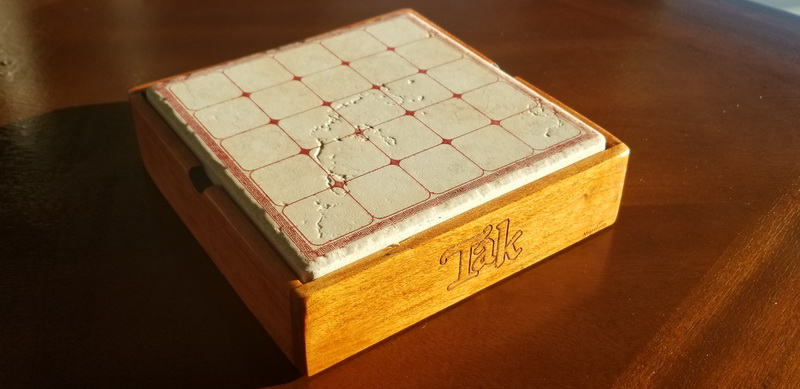
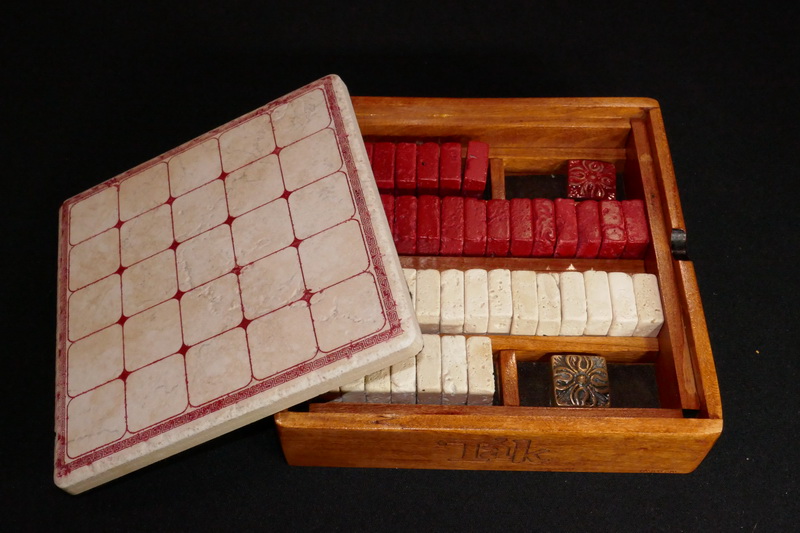
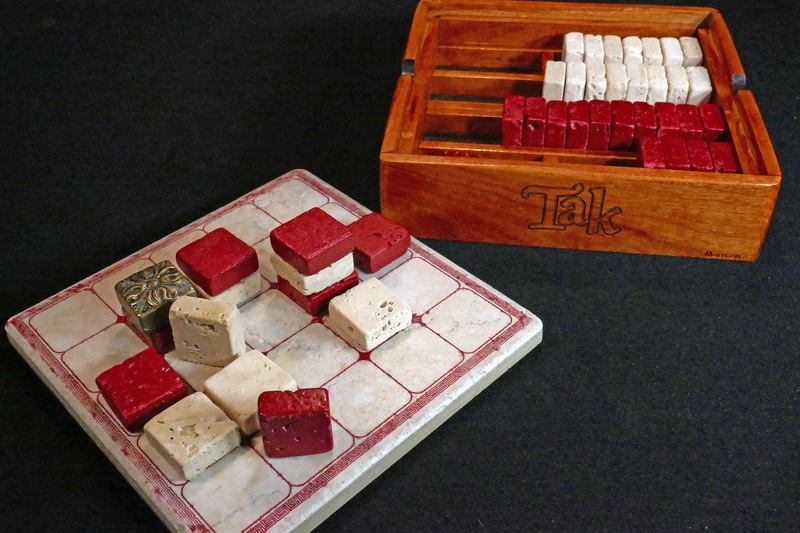
(update)
After losing to my son for the n-th time because I kept thinking his brown capstone was one of my red (dark) pieces, I took the brown capstone out to the garage and promptly painted it white. 🙂
