Dominion is a card game where players get to “buy” new cards and build their own deck to try to get points. In the middle of the table between all the players are 10 piles of cards that you can purchase. We like playing this game because it has fairly simple base rules but can get quite interesting.
I thought it would be nice to have a card holder in the middle of the table, and there are many people on the internet that have made very fancy versions but I find them too big or too expensive.
I had always planned to make this, but because it was going to involve lots of fiddly cutting with the jigsaw it never made it to the forefront of my mind … until I found out about the local library’s laser cutting machine. 🙂
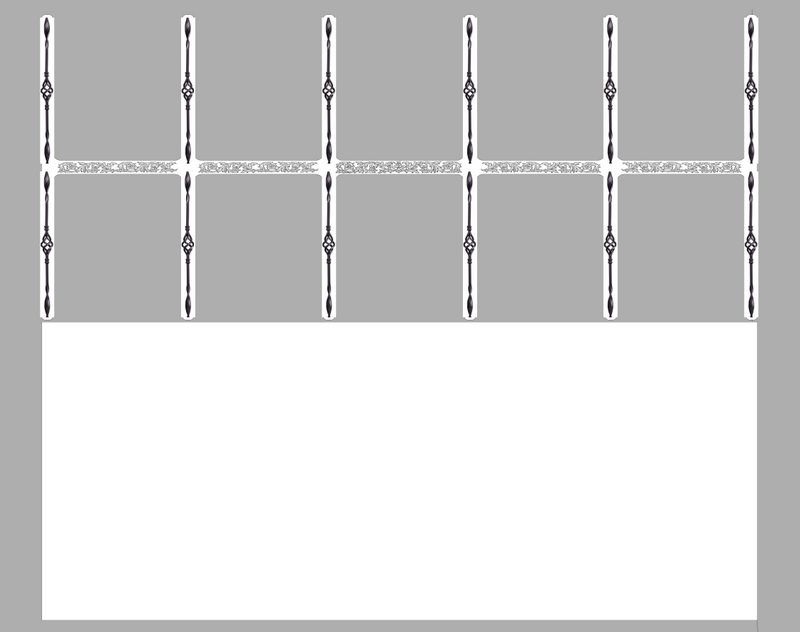
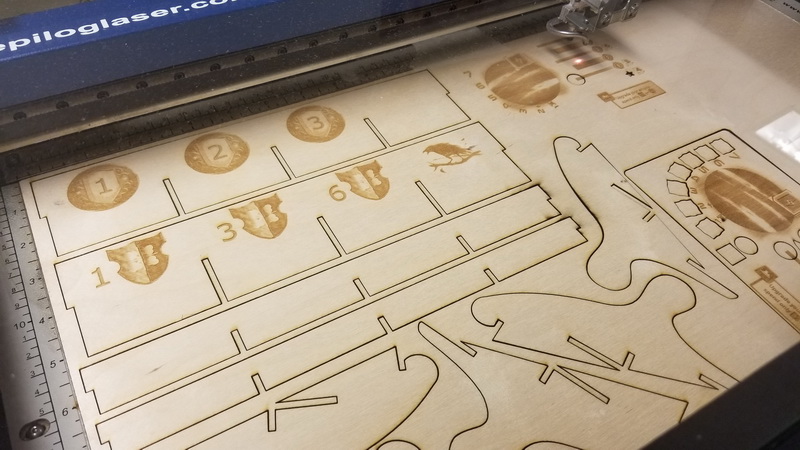
I made the design on the computer and then brought a piece of 1/4″ plywood to the library. It took two passes – one pass to etch the images on the wood, and then the second to actually cut the pieces out. It was technically really easy. (I say technically because the tiny pockets of glue in the plywood had a tendency to re-fuse together at points – making the actual removal of the parts an annoying box-cutter challenge).
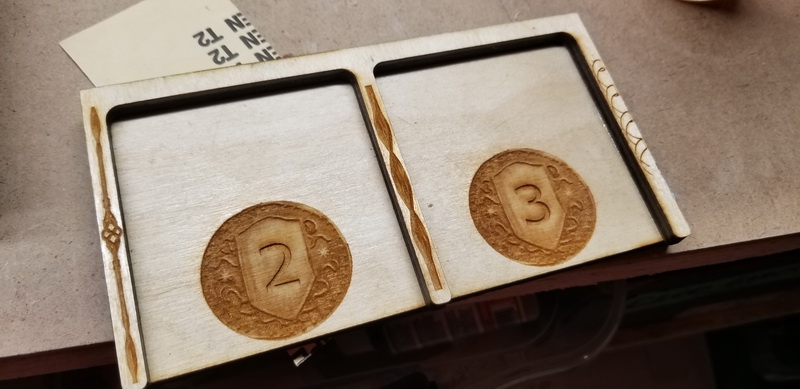
I then glued the two pieces together and stained it. I should have done a stain test first though, because the darkness of the stain kind of obscures the etchings.
(photo missing – oops)
Of course, since I am making a nice holder for the center Kingdom cards, might as well make a fancy holder for the money and points cards too ! This was also driven by the fact that I did an etching test of the standard copper coin used in the game and it looked pretty cool – I want to do more !
This was a more complicated concept and was a fun challenge to design the parts required to make a 3D holder.
Once all assembled it looked pretty good.
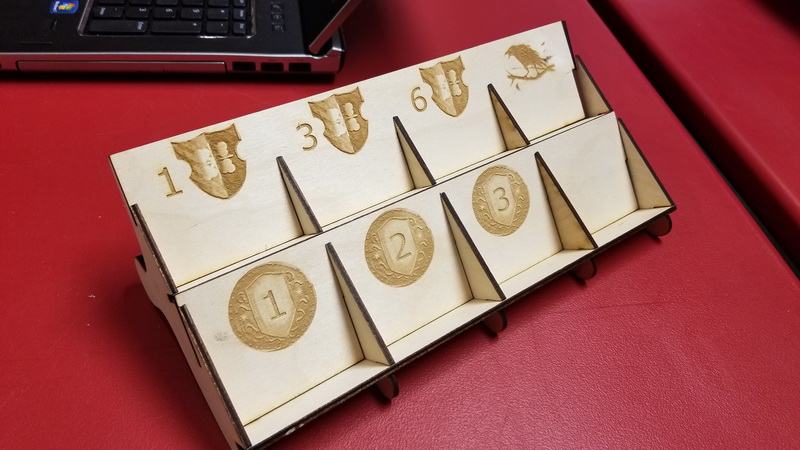
but the same problem about it not looking great after the staining…
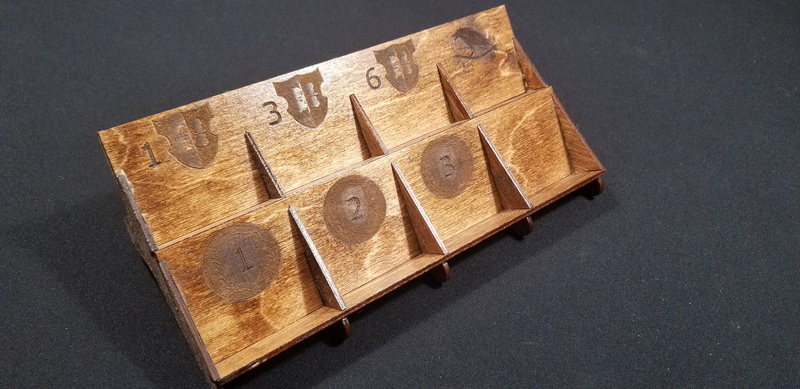
(2019 update)
I discovered a problem with the Treasury Card holder: you can’t see the bottom of the cards in the back row, and this is where the “cost” is marked on each card. Oh well – time to get rid of this cheap-feeling-thing-that-I-can’t-see-the-etchings-on.
Since I was laser cutting some boards of cherry for my TAK project, I redesigned and added the extra parts I needed into that print job.
A quick visit to the local specialty wood shop to get a board of cherry, some updating of the design files to accommodate the smaller width of wood and the 1/4″ thickness, and I was back in the library cutting out the pieces. Note that I actually didn’t go to the library specifically for this – I was making my TAK board and box and was trying to maximize the use of the wood that I was putting into the laser cutter. So I squeezed in this project into the printing of the TAK box parts (see other post on that distraction)
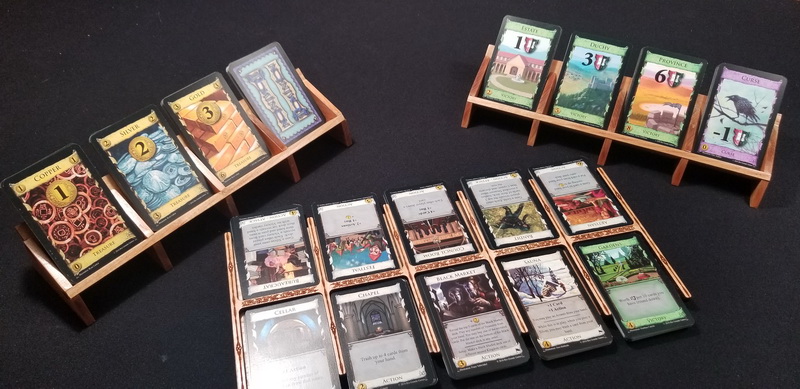
Much better – and I am better at etching settings as well:
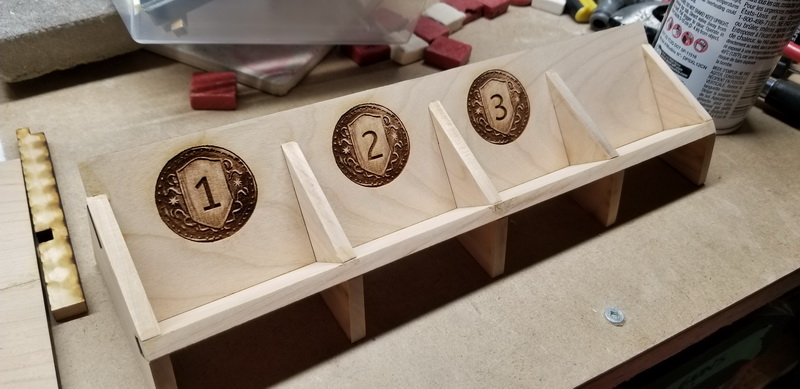
and the polyurethane gives it a little pop:
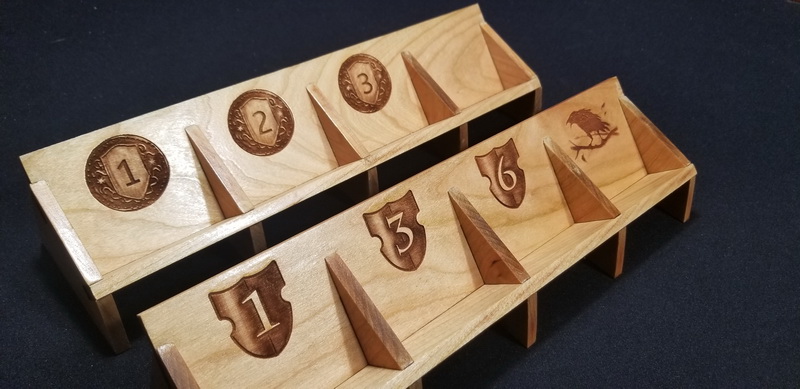
of course, since these cherry ones look so nice, i had to re-do the main card holder so that they match LOL:
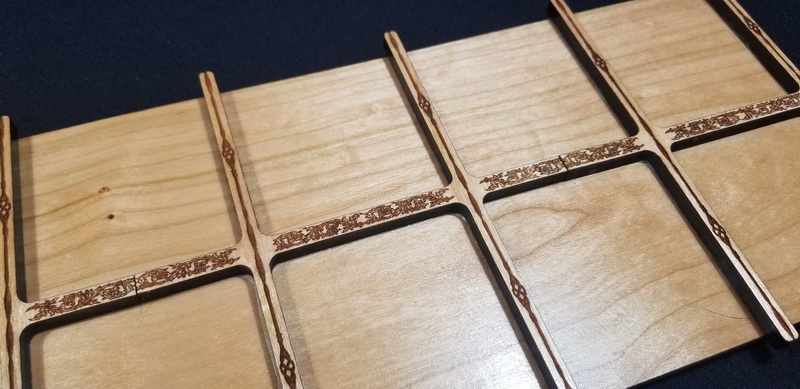
All three pieces in action !
Can u please share the design/drawing? Looks very cool!