Kitchen Valences

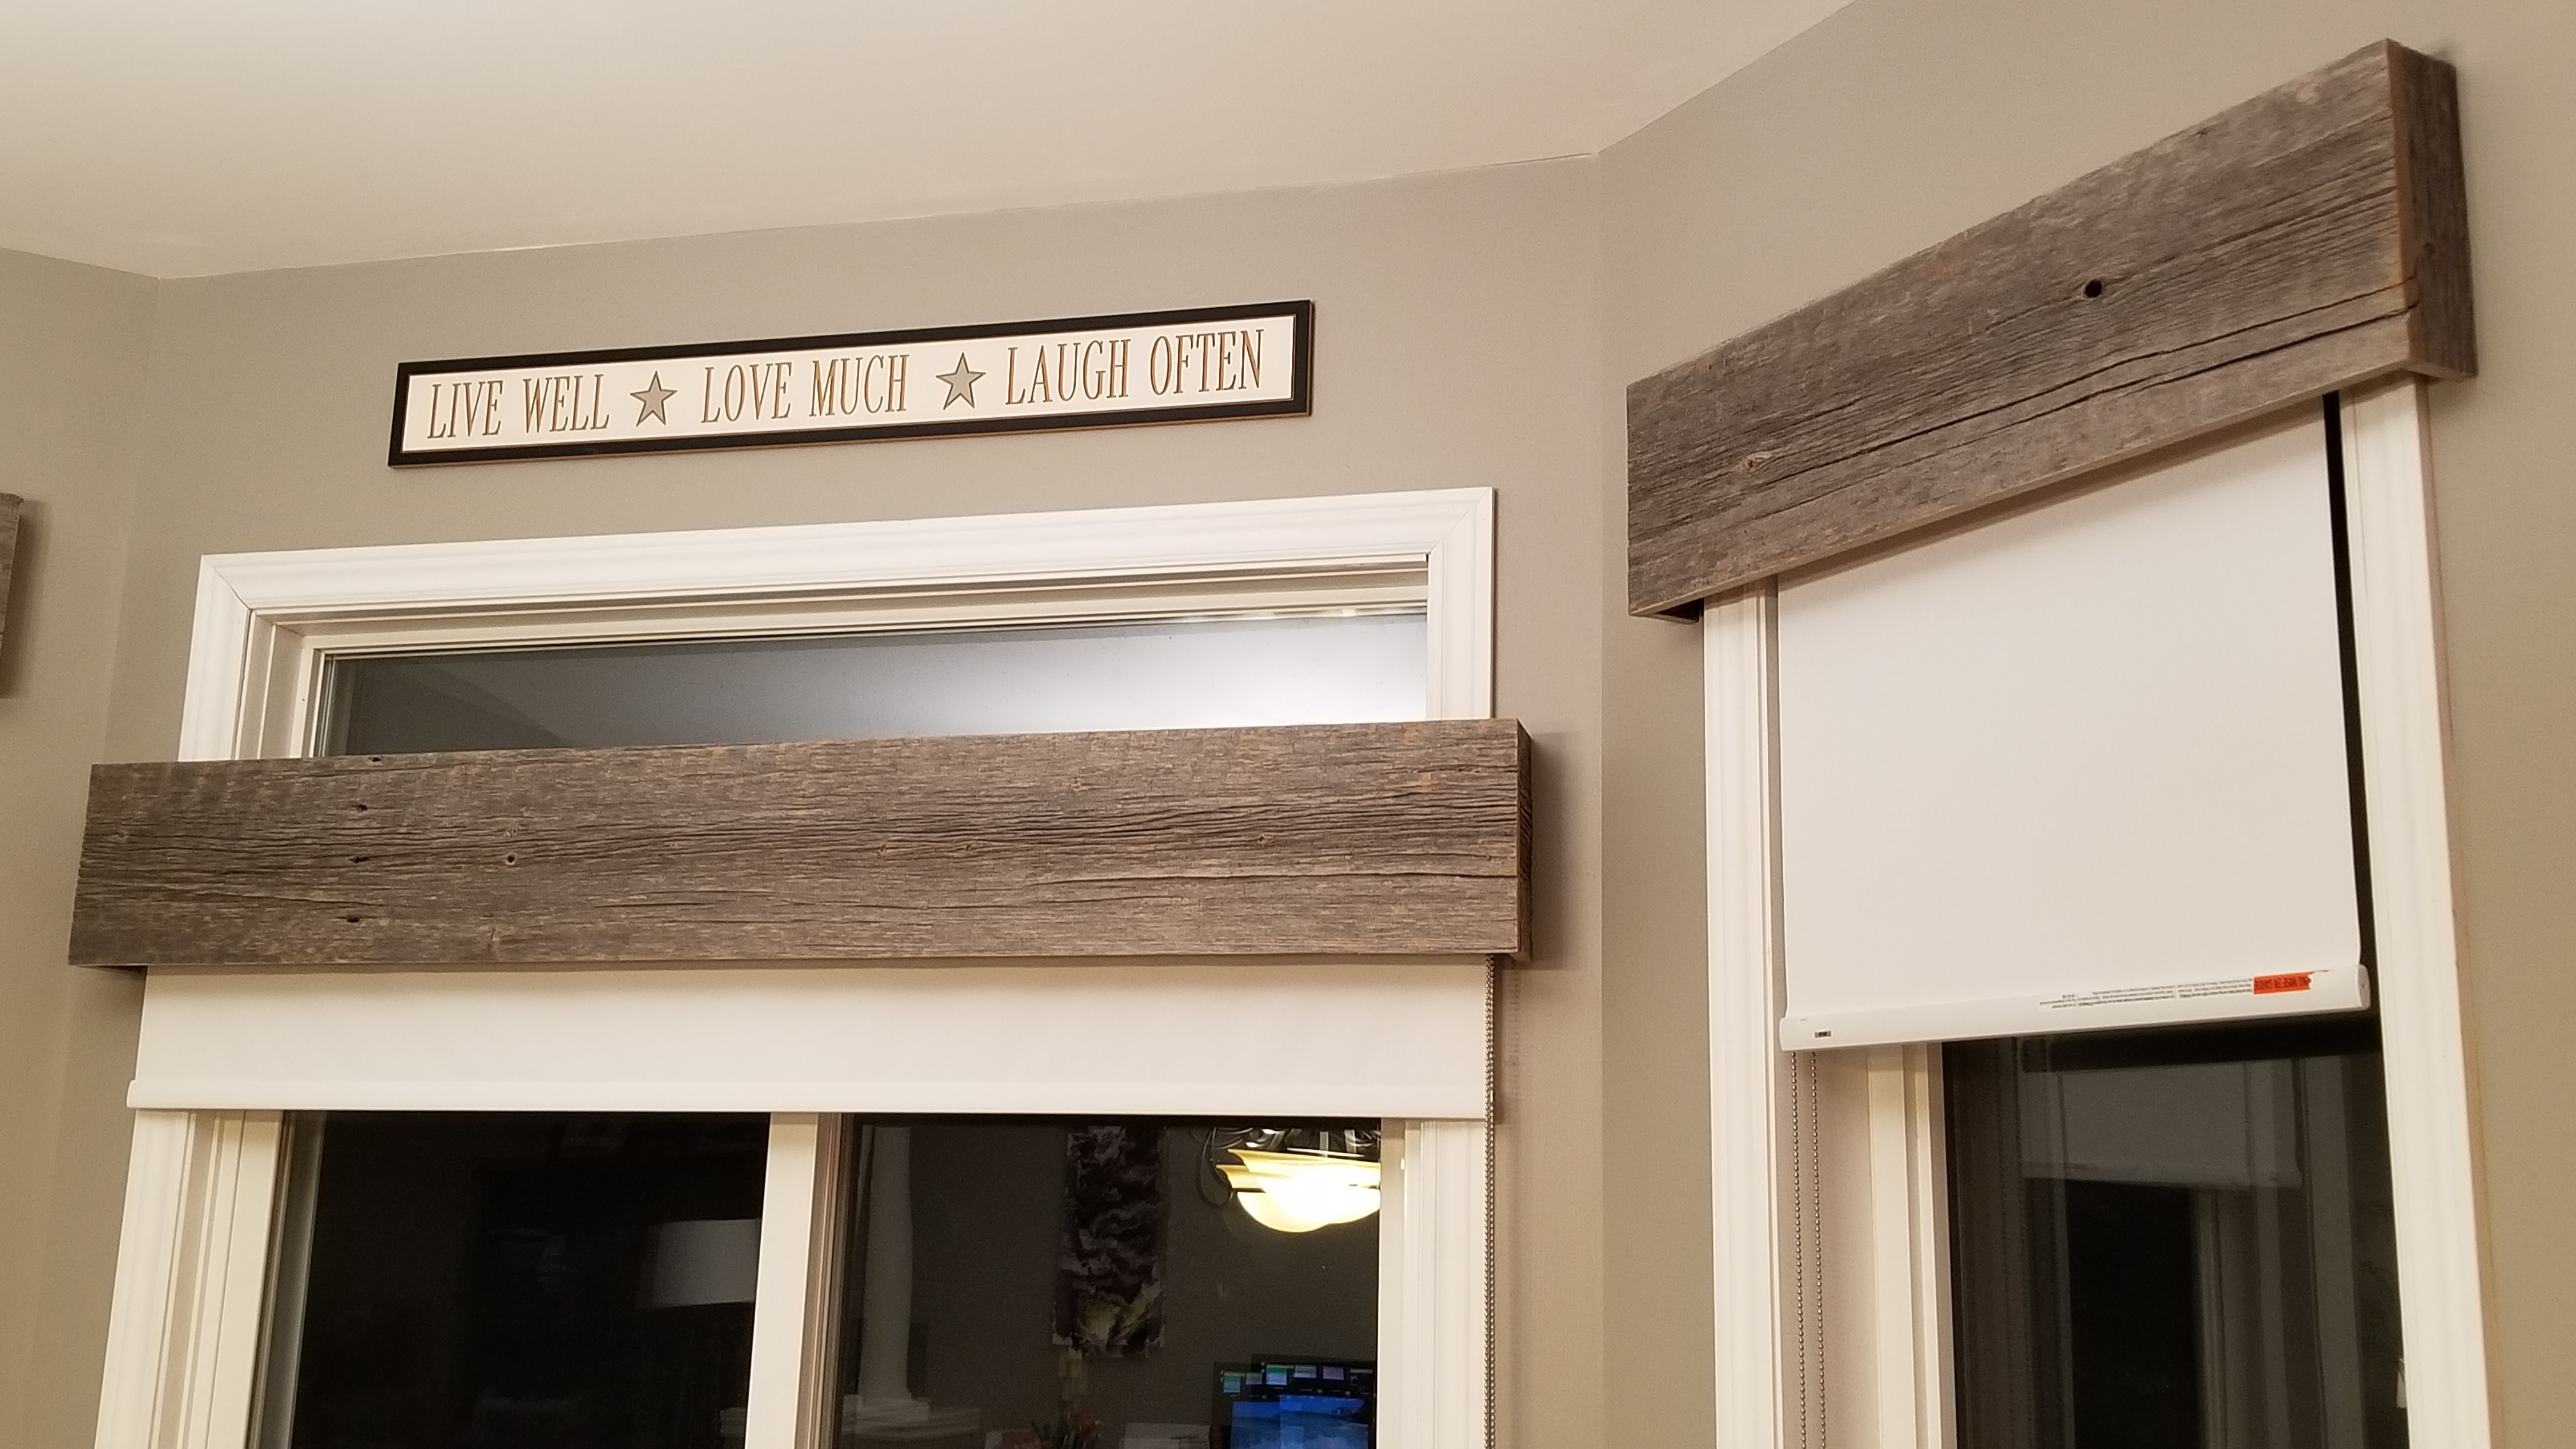
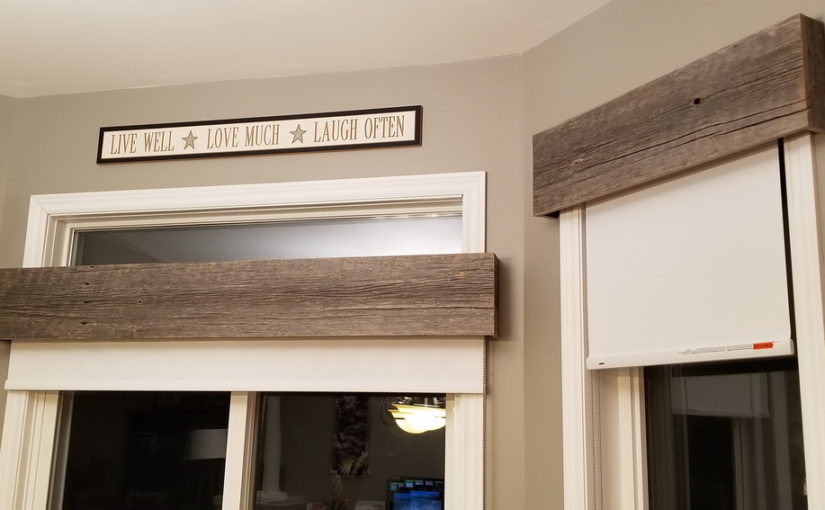
The original vertical blinds for the kitchen patio door are now yellowing and cracked, so Andrea has replaced them with new sun blinds.  What to do about the valences ?  I should be able to make a few quick valences – easy ! (foreshadowing).  What material to use?   Hmm.. How about barn board !

If you go to the big box stores there are a few “barn board” options that actually don’t look too bad, but they are mostly for wall surfacing so when you cut them you get bright pine.  I need to build some boxes so that won’t work.  That and they are fairly narrow and we want something wider.

measure measure measure … need to make sure it fits around and hides the new rollers.

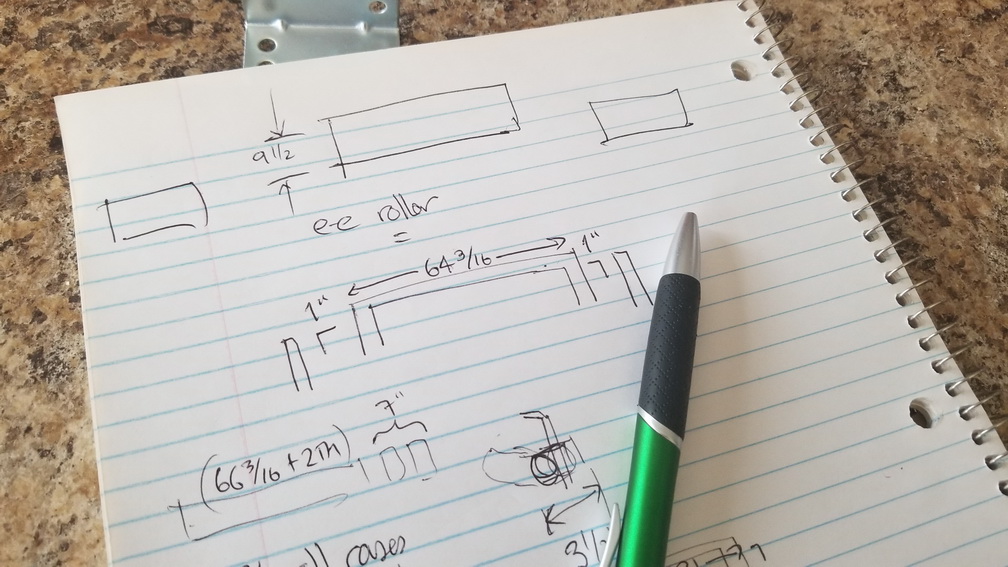
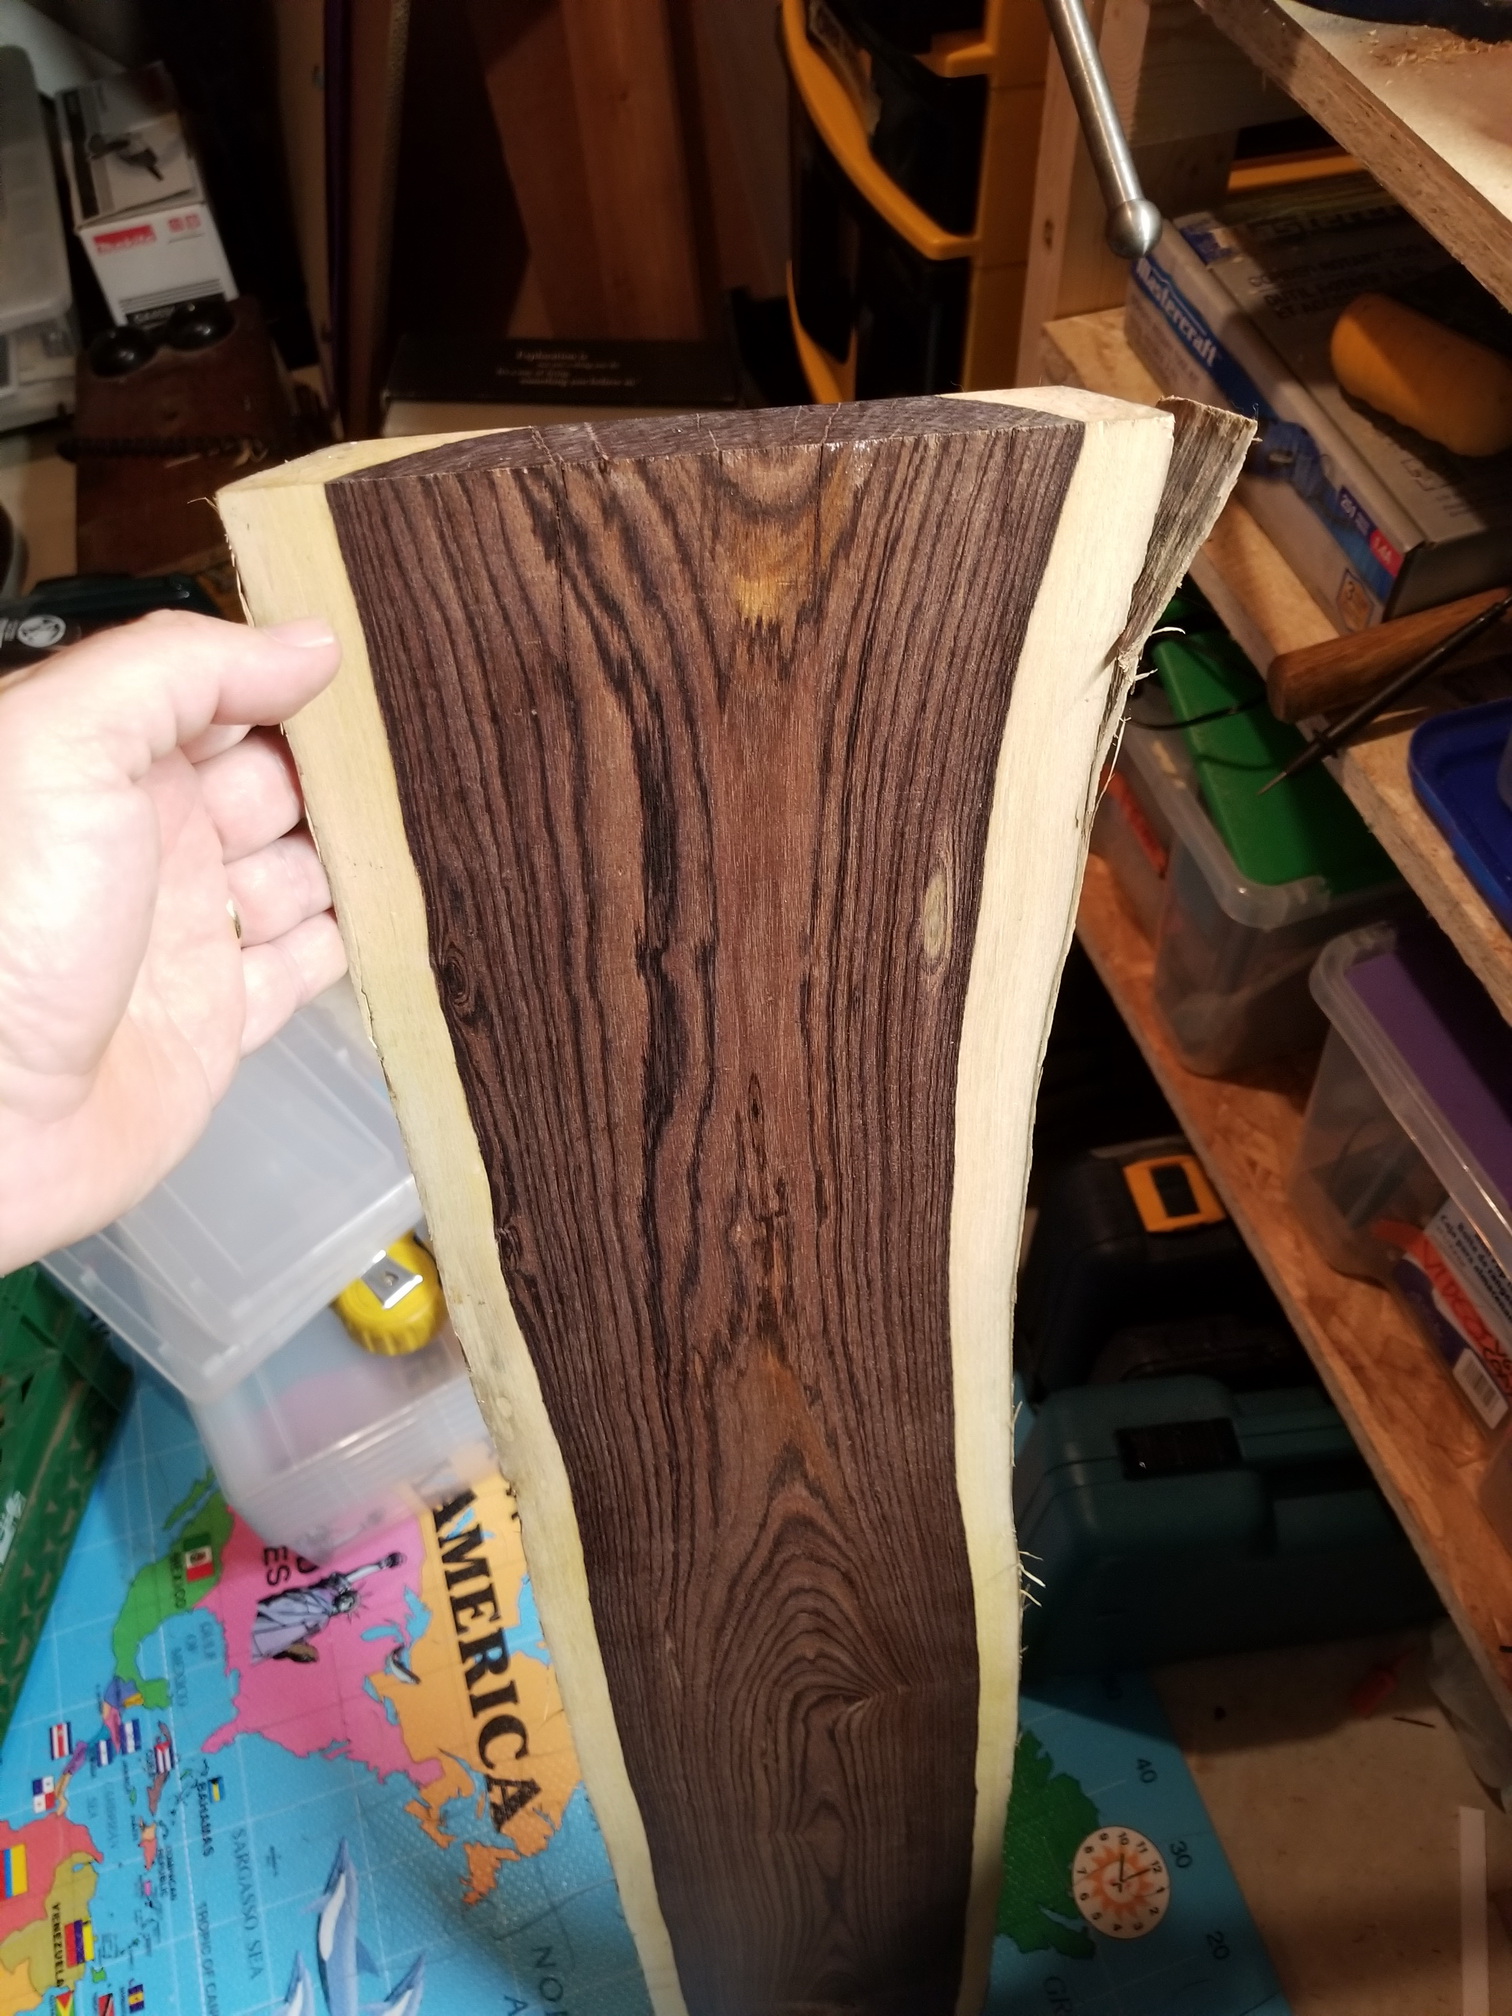
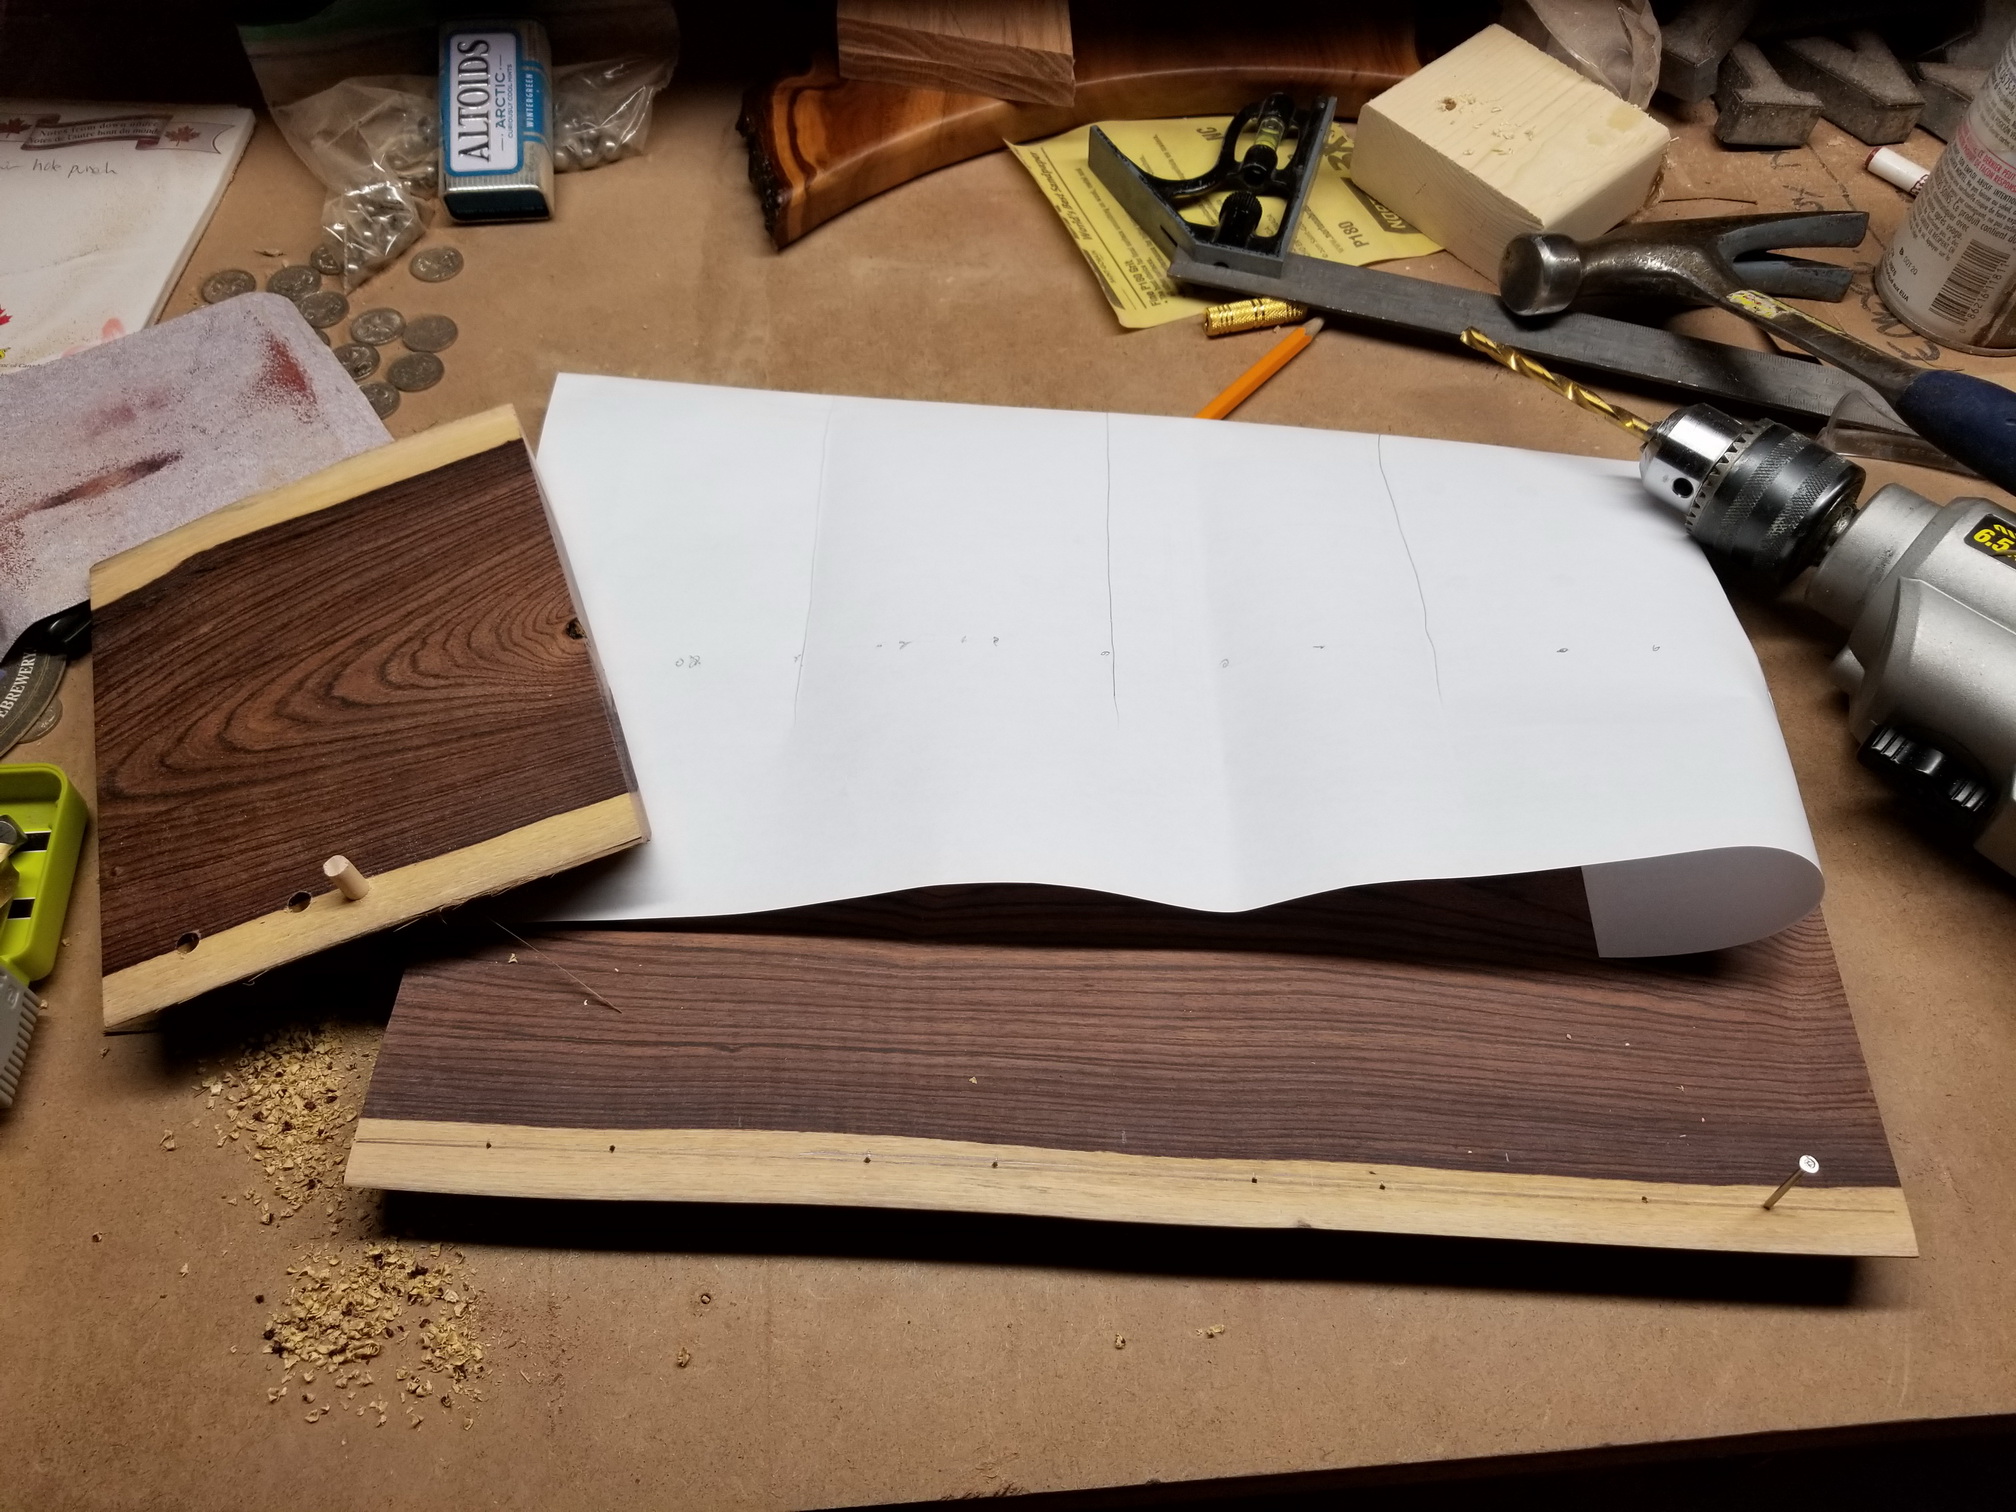
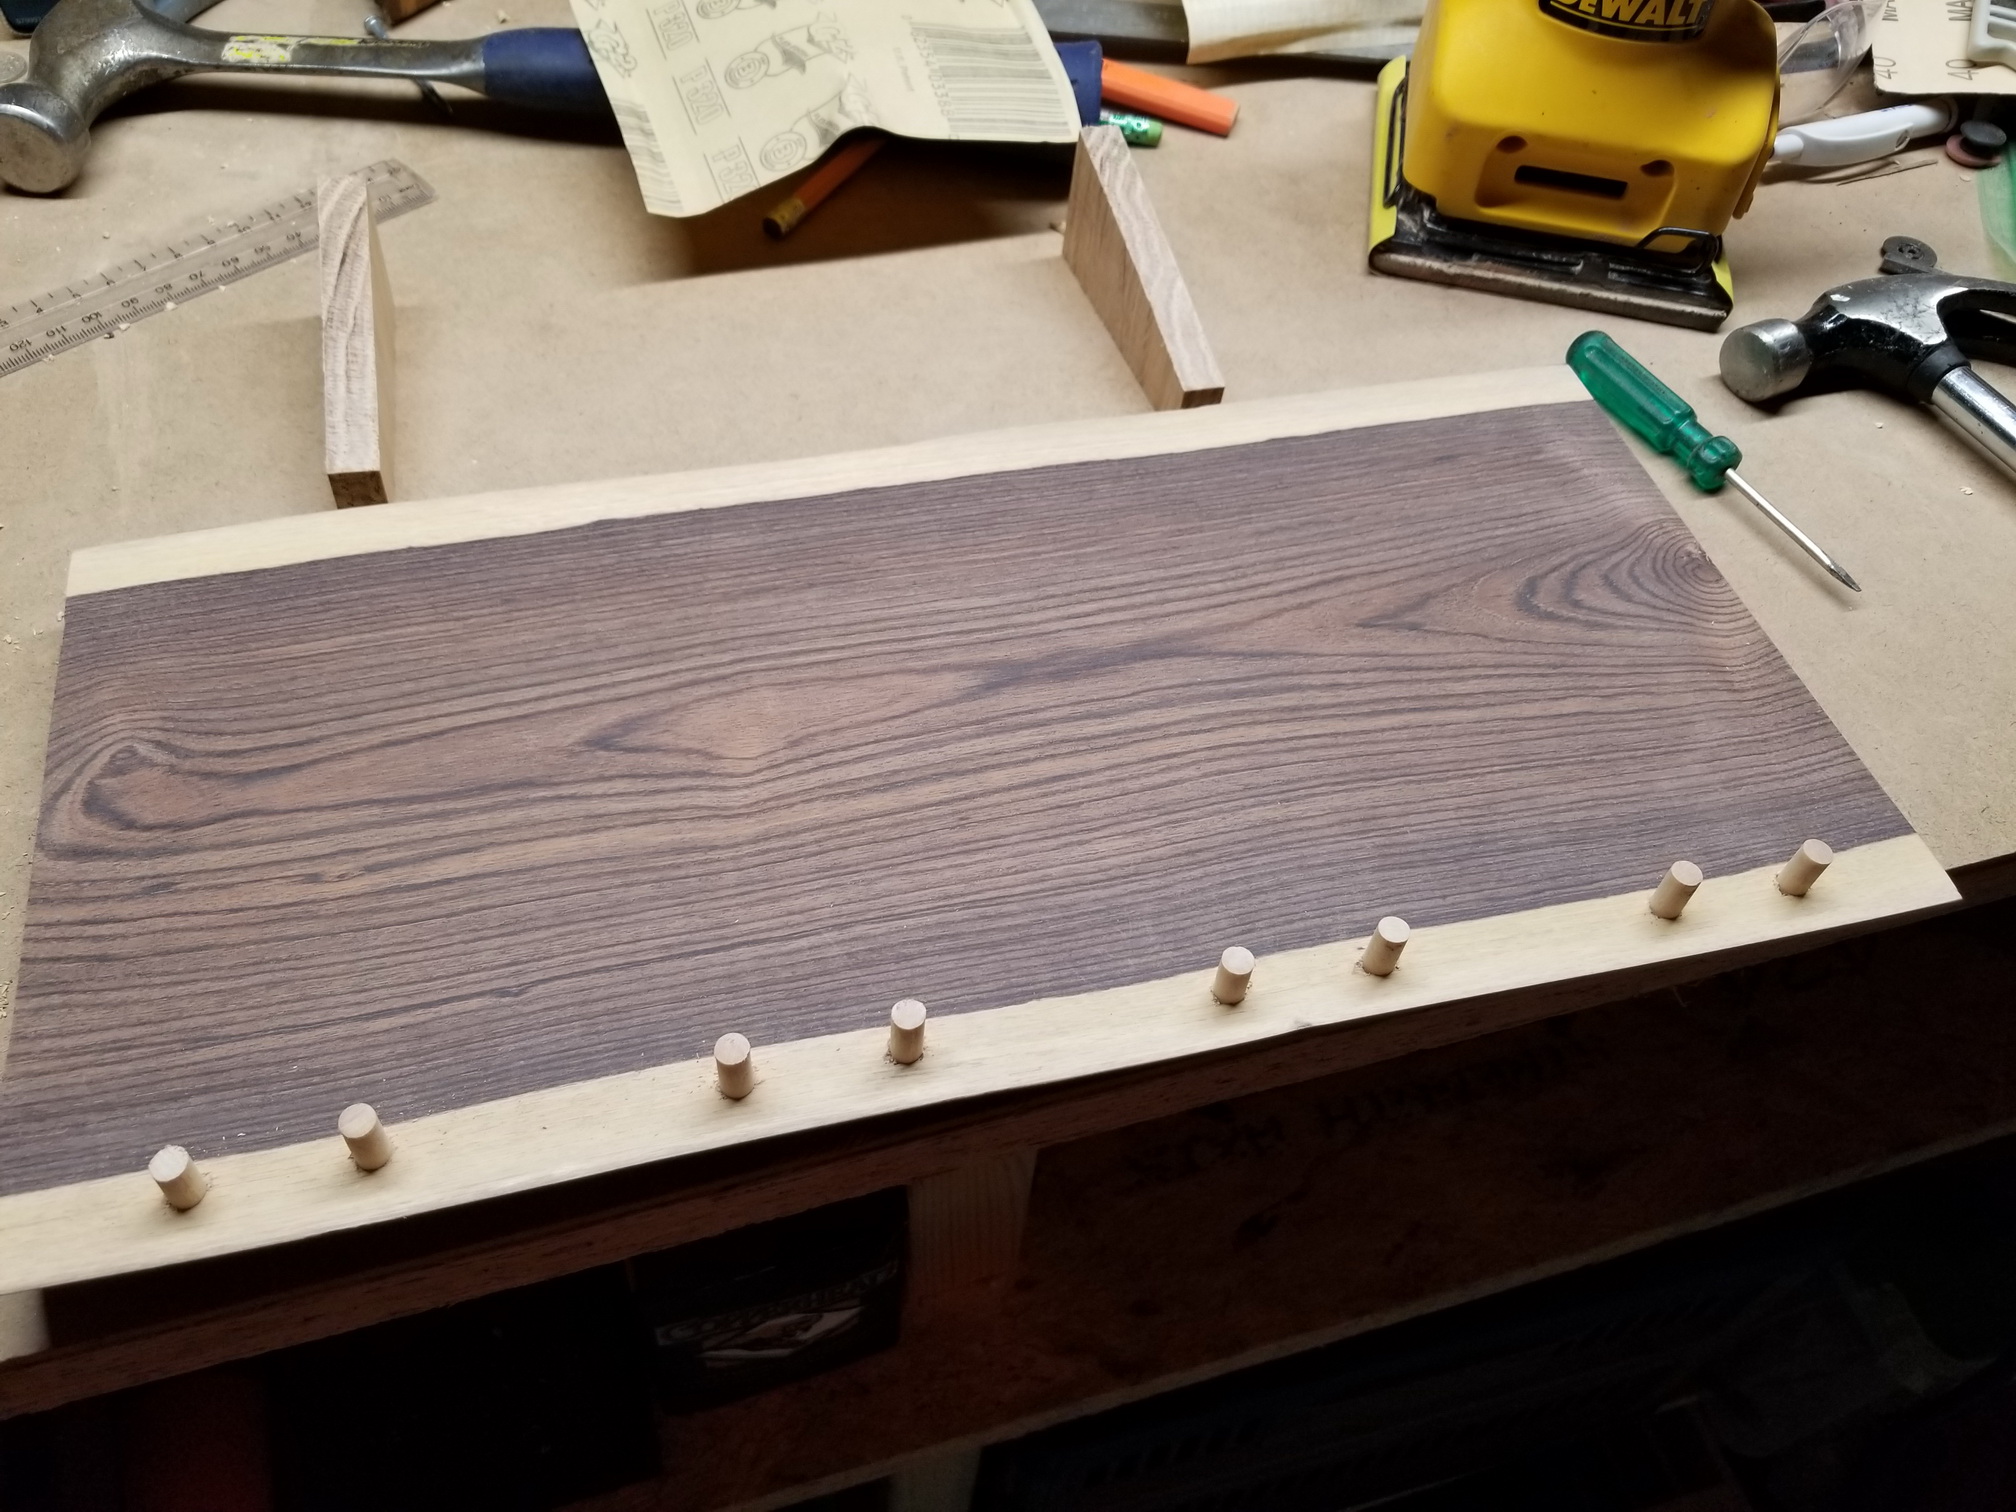
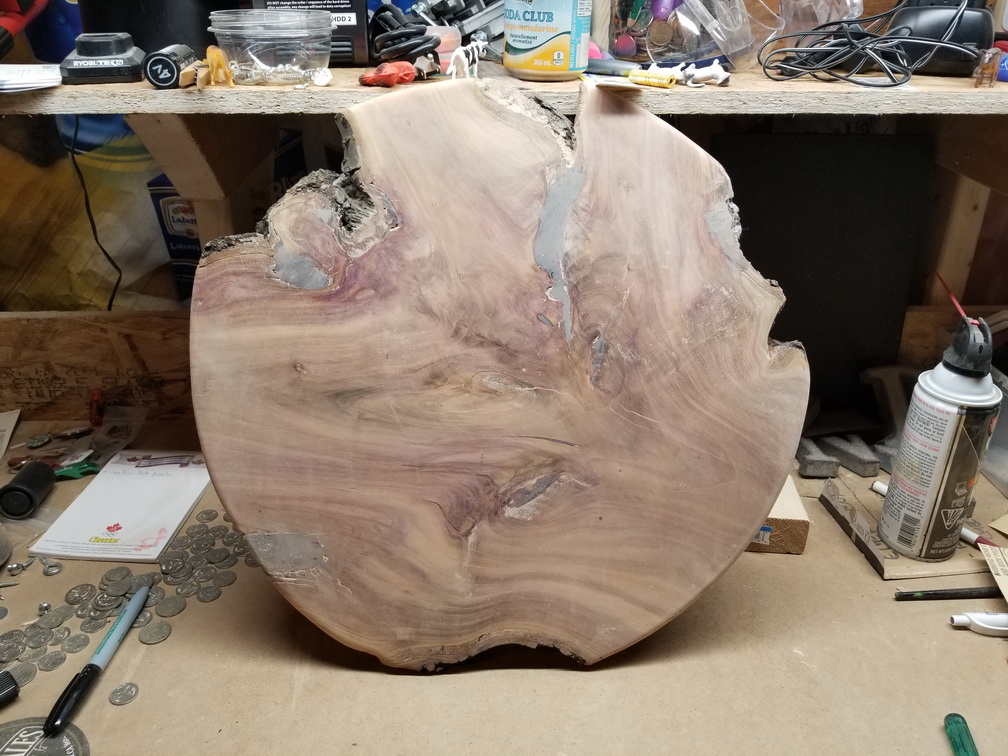
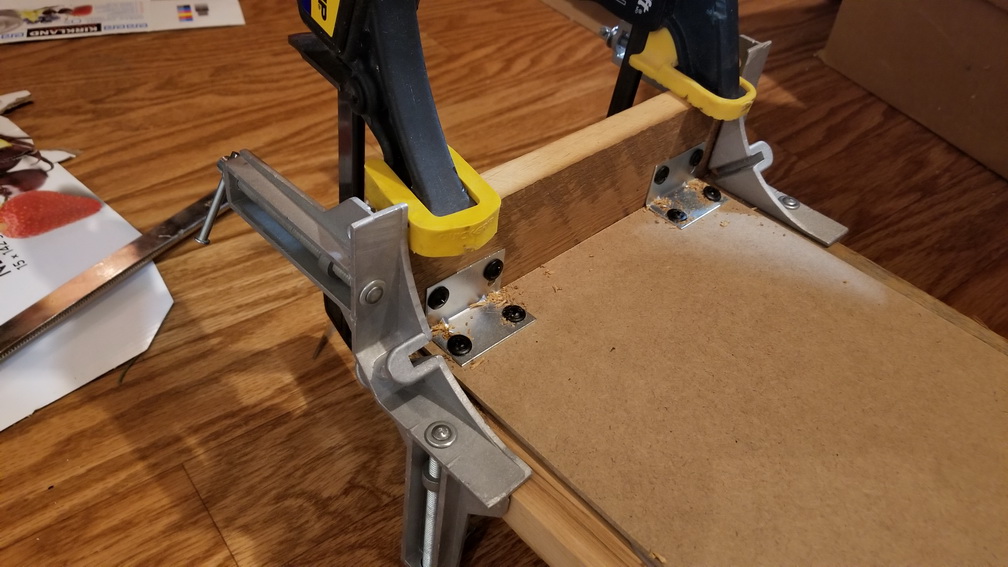
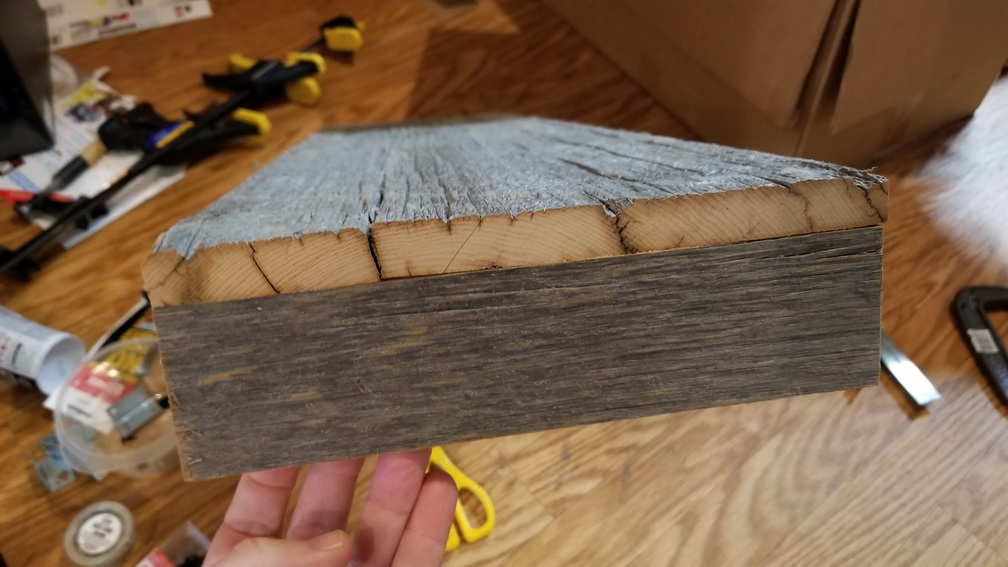
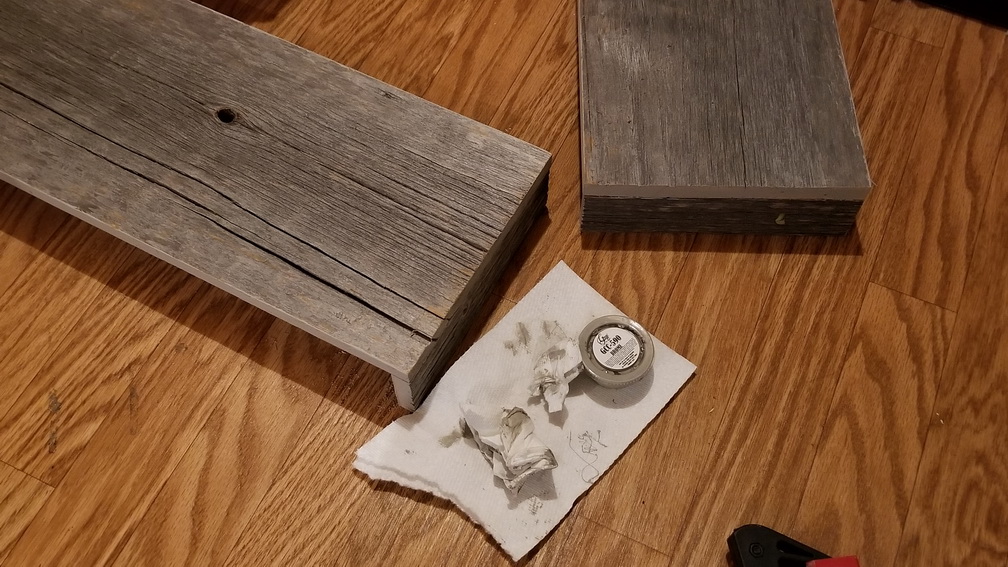
Found a nice pile of actual barn board at our local specialty wood store, and Andrea helped pick out two long boards that she liked the look of.  Took them home and ripped them down a few inches – nothing like cutting long boards on a table saw on a snow covered driveway (Andrea was a big help here).   I also had to borrow the neighbours sliding miter saw to get the right lengths.  Once cut to the right shape I had to reinforce them by gluing some hardboard on to the  back of the long pieces.   These boards are nice and old and weathered, but unfortunately there are not very structurally robust because they are, well, old and weathered.

Using construction adhesive to attache some hard board backing to help hold some weaker parts of the board.  I knew that old computer was going to be good for something.
Glue and clamping the side panels of the main valence

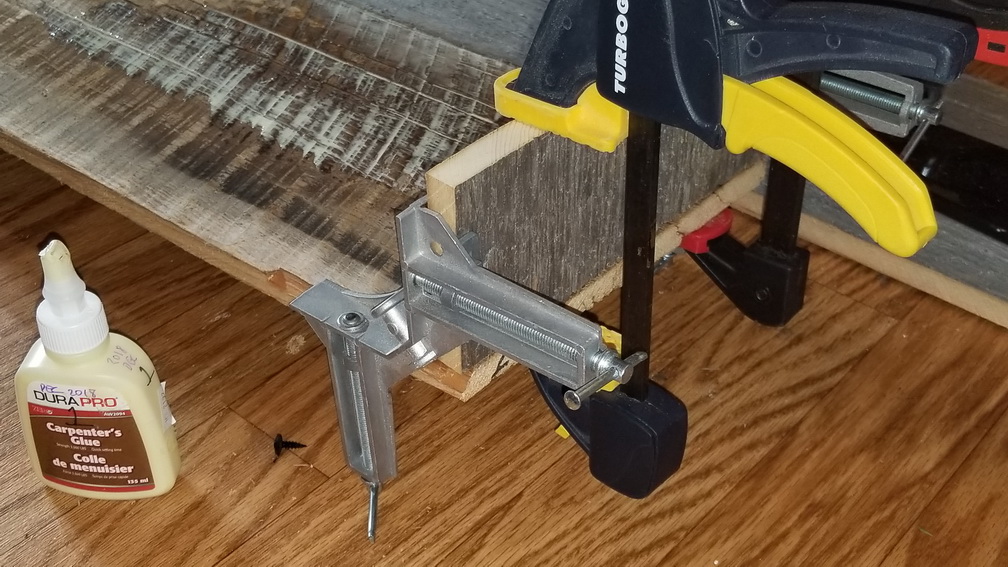
Clamp, glue, and bracket the corner bits.  Unfortunately I still have to weather/paint the cut edges, but not as much. 

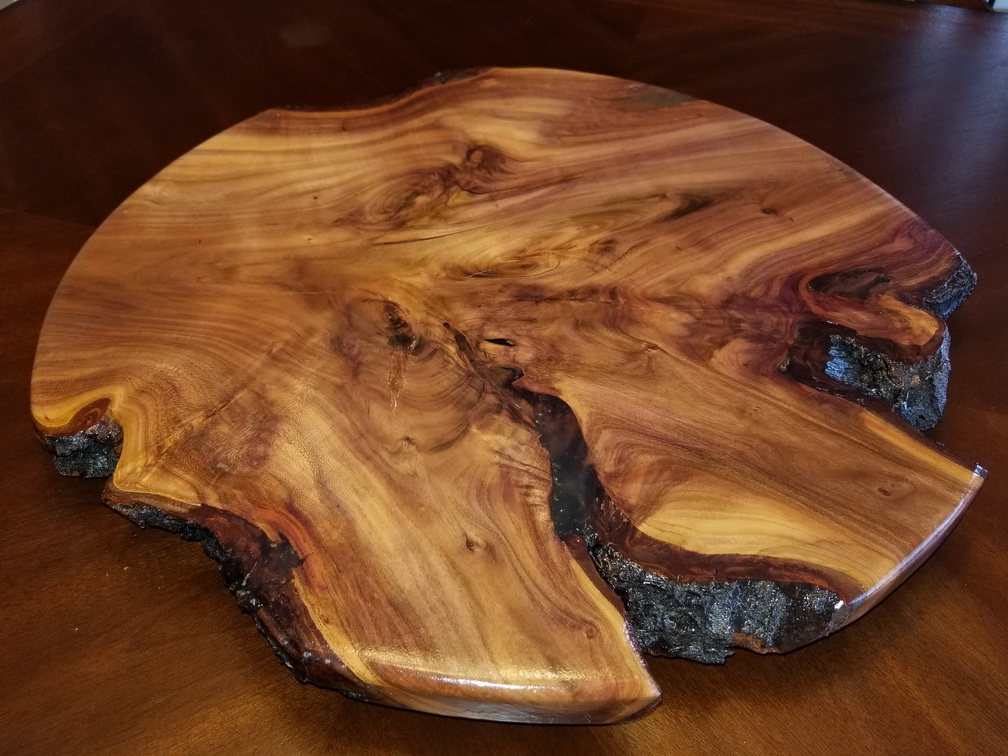
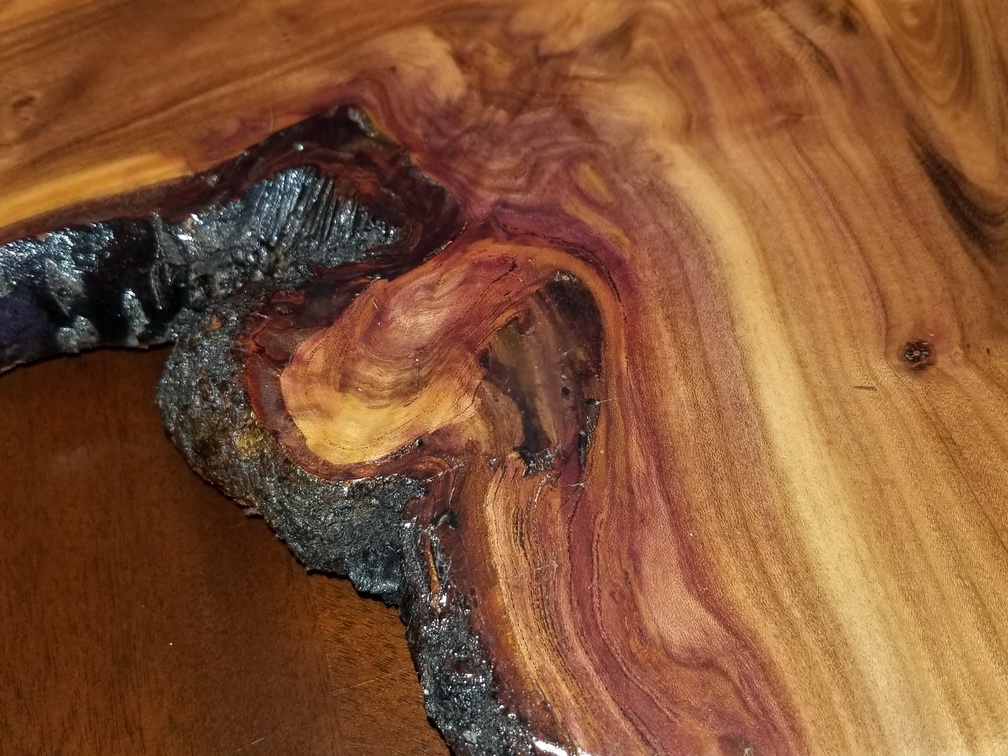
The first valence, the big one – done and looks great

Clamping a re-enforced second panel.
Alas, after all this the edges are still bright (and you can’t corner cut this stuff).
… good thing we have left over paint samples.  Smearing it on the ends made the edges look old and weathered like the rest of it.

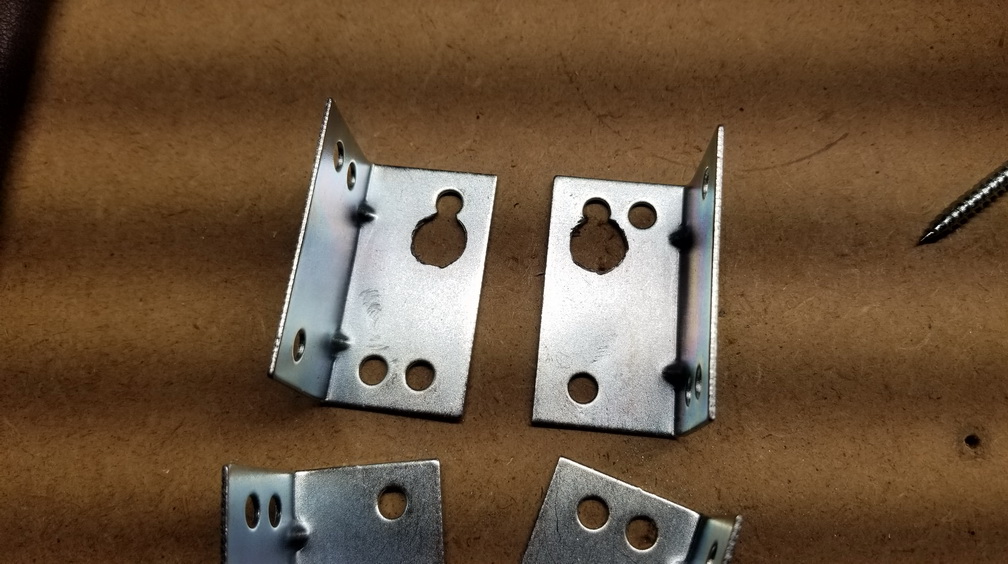
When doing the side window valences I think ahead to a new problem: they are going to be flatter against the wall – how do I attach them to the wall ?  How am I going to get a screwdriver in there ?  Oops.

Serious store trolling and google searching reveals nothing really exists, so I have to make my own brackets that will slide over an inserted screw and hold them up.   Drilling metal is so much fun.

My home-made hanging brackets

In the end though it all worked and it looks awesome !

Looks good !

Phone Charging Station

2017

We had this corporate giveaway phone charging station that you put your phones on and ran your charging cables through.  But it also had these little mail slots and storage things that just always collected junk.  It was ugly, and it was a mess. So when I saw this little beauty slice of kingswood at our local specialty wood shop I knew what I wanted to do.

Compared to the Lazy Susan project, this was pretty quick.


Slicing off a chunk, and planning for the pegs to hold the phones.  Obligatory test chunk on the side.
Pegs are in !

Cutting some angled feet from some leftover wood from the Game Table.  The holder will have to hover a bit over the table so that the cables can loop in from underneath.
Feet attached !  Also one of the few views where you can see the live edge of the board.
Sealed and in-service !  No stains were used – the wood just looks that good.

Lazy Susan

2017

There is a specialty wood store in Burlington that is always dangerous for me to walk into.   There are so many cool slabs and chunks of wood in there.  The good thing is that for the most part it is fairly pricey, which keeps me from really buying anything.

Once in a while, however, I find something really nice that is fairly small and reasonable and it ends up coming home with me.

Slab of plum !

This time I found this small slab of plum, and it was just about the right size I was looking for to make a kitchen turntable (lazy susan).  Many meals at our kitchen table end up being a “pass the …” exercise, and the small turntable I found at Cdn Tire seemed like a good idea but was a bit too small to hold much.

One of the trickiest parts was positioning the circle that maximized the use of the cool bits, and avoided some of the bad bits.


Cool looking section – but there is a bit of a hole there…

Next step was using epoxy to fill in the holes and gaps. I used tape and putty to block off any escape routes, and then poured in the epoxy.  This is the first time I tried using this stuff and you don’t have a lot of time to work with it.  At one point I was working a little too long with a batch (near the end, filling all sorts of little holes) and it got real hot !

Gaps and cracks filled with epoxy

While the epoxy was drying I took one of the pieces that I cut off and used it for testing the varathane.  Looking promising !

Test Piece – pretty ! (we still use this actually – it is now a small cheese board)

once all dried i sanded the whole thing and added the protective coatings.

All sanded – the epoxy needs to be cleaned prior to coating things…

The verathane really helped make the colours pop – it looks great!  I picked up the turntable hardware from Lee Valley and voila.

She’s a beaut ! Spins and everything

cool section now filled with epoxy and varathaned.