Takenoko – Chibis !

I was lucky enough to stumble upon someone selling the Giant version of the board game Takenoko and we really enjoy playing with the large panda and bamboo pieces. It’s a fun game.

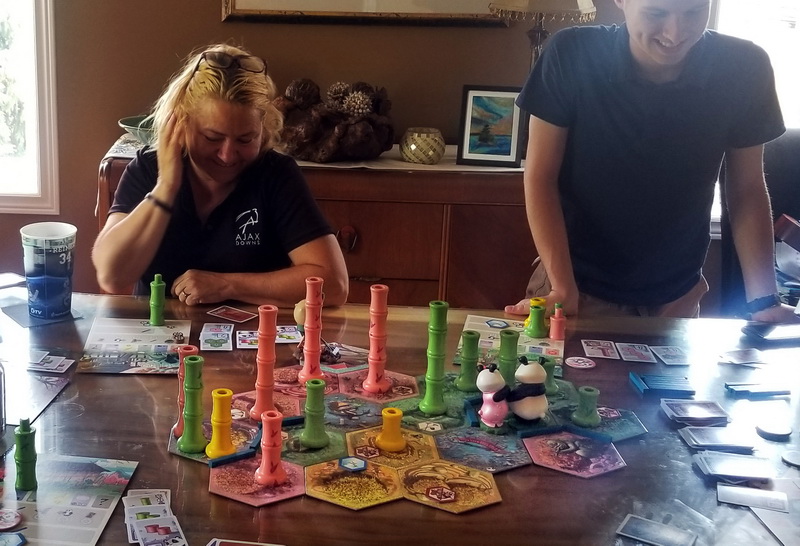
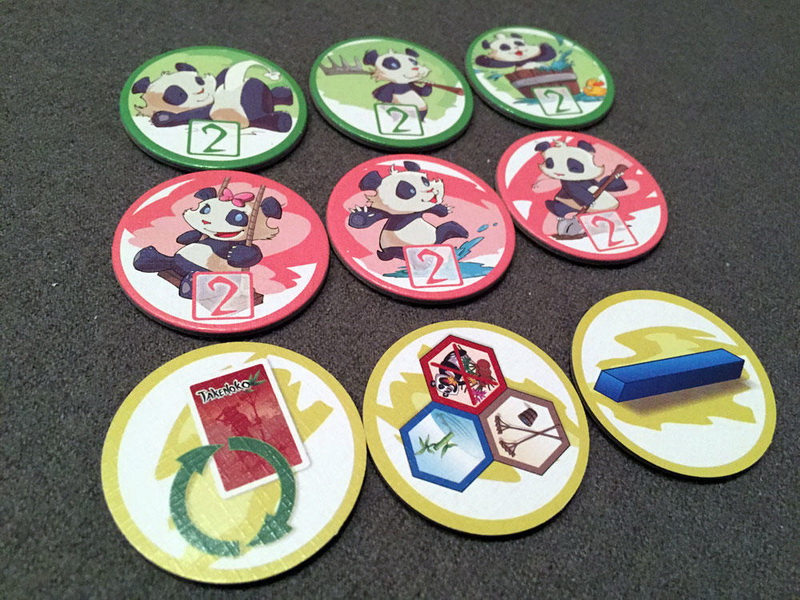
Once we got the hang of playing, we added in the Chibis expansion which adds a Lady Panda and panda babies ! Although the expansion came with a nice big Lady Panda figure, the baby pandas are just these 2 inch cardboard discs to represent what bonus action and points you get:

And that works fine and all, but as one who likes to have my gaming experience bling’d-up to the max I gotta get those baby panda figures! Sure enough a google search finds a whole set of cute chibis that match the artwork of the tokens from the game:

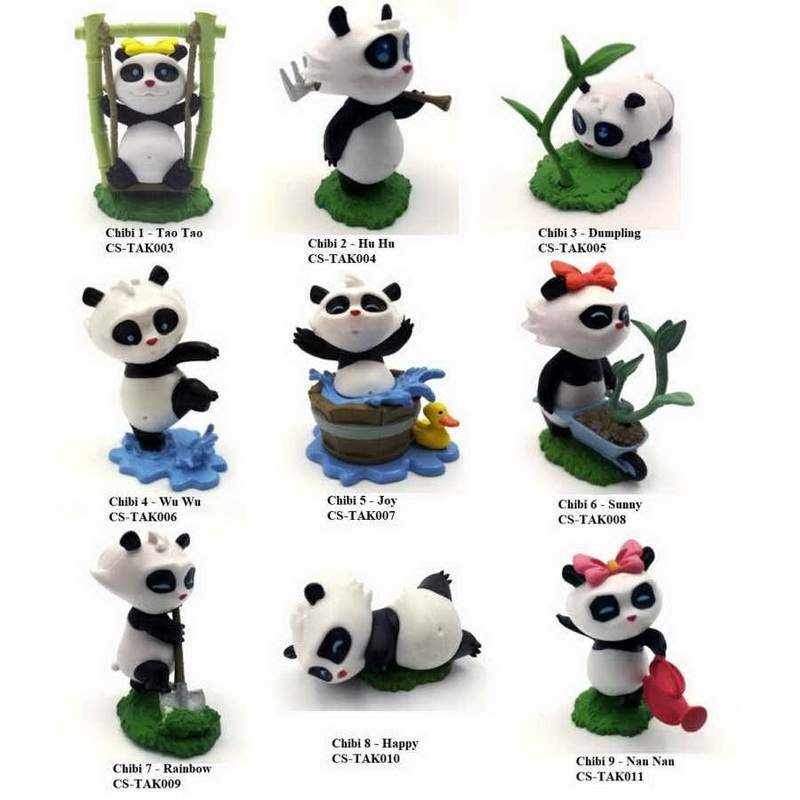
But strangely there is no correlation to which colour they relate to or what bonus. – so you can’t really use them. AND, on top of that, they’re about $15 each ! Uh … no.

So I kept my eye out for another alternative. Someone on the ‘net created some 3D models that could be printed that looked okay, but printing at the library is not reliable (and currently not available) and it would still cost a bit and would take a long time.

Then I came across a post on Reddit by /Luke_Matthews where he had found these cute little figures on AliExpress that were the just about the right size – and at about $1 each the right price!

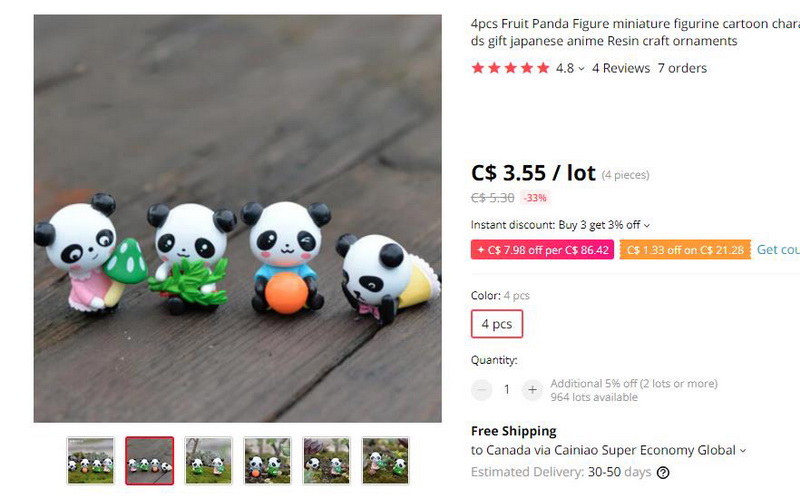
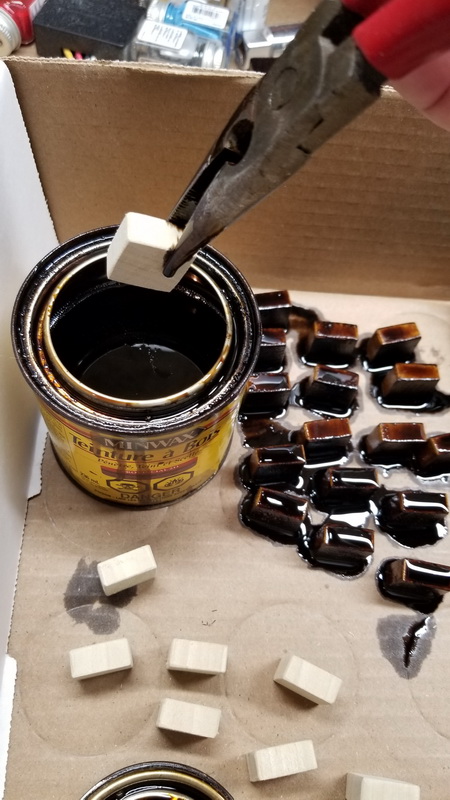
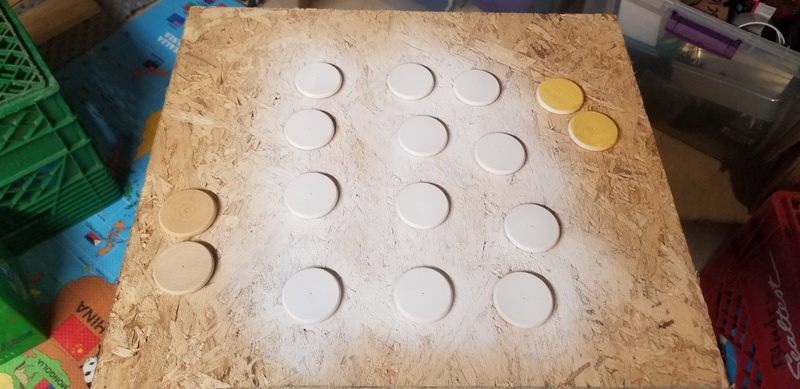
(yeah, they took forever to get here – but free shipping and i am in no rush). Once they arrived I picked up some 1.5″ wooden discs to use as bases for the baby pandas and primed them:

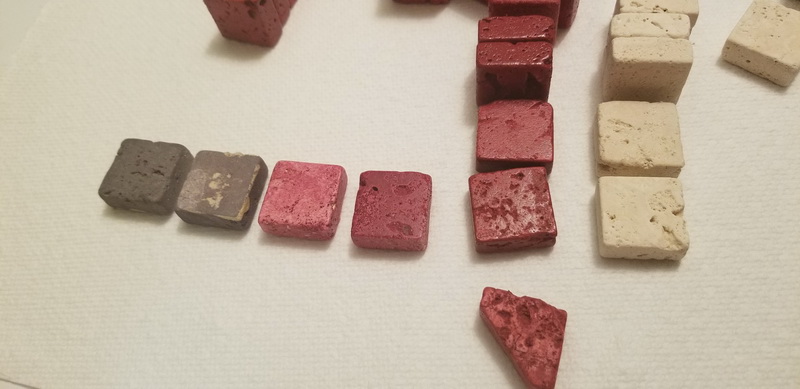
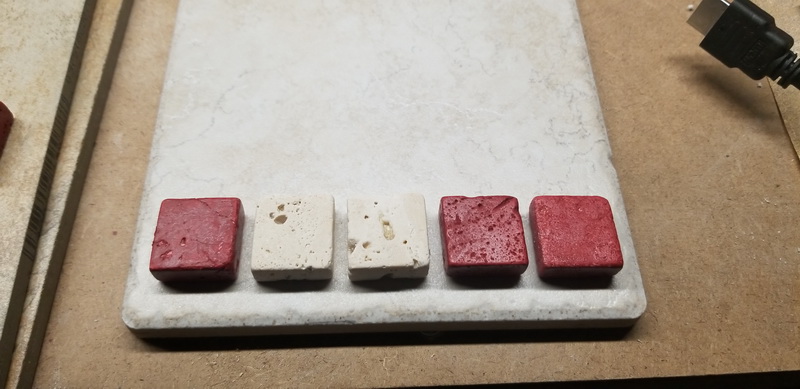
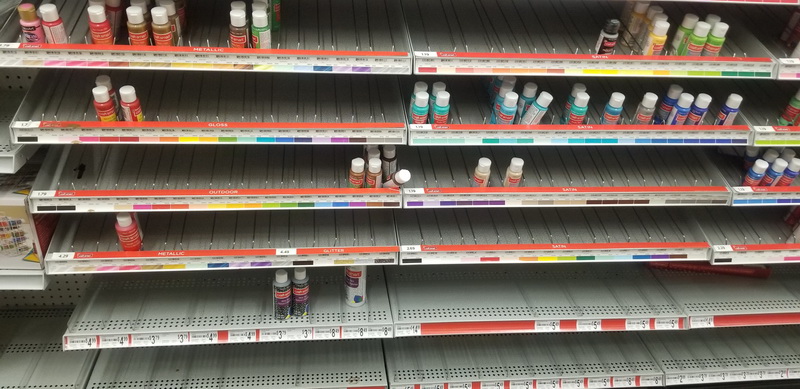
and then went to the local arts and crafts store from some paint. I guess lots of people are doing craft painting this pandemic – the shelves were nearly bare:

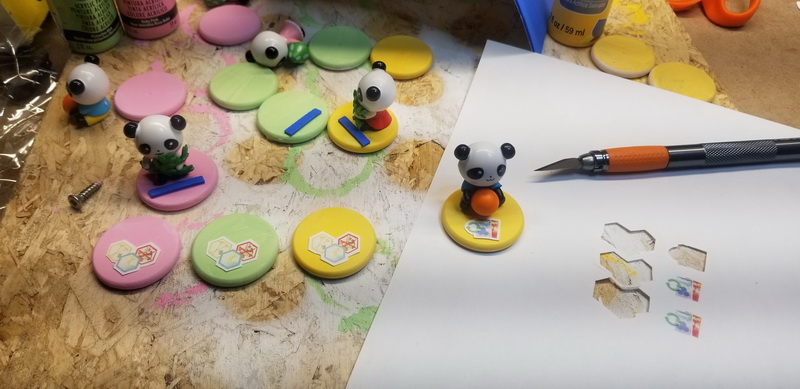
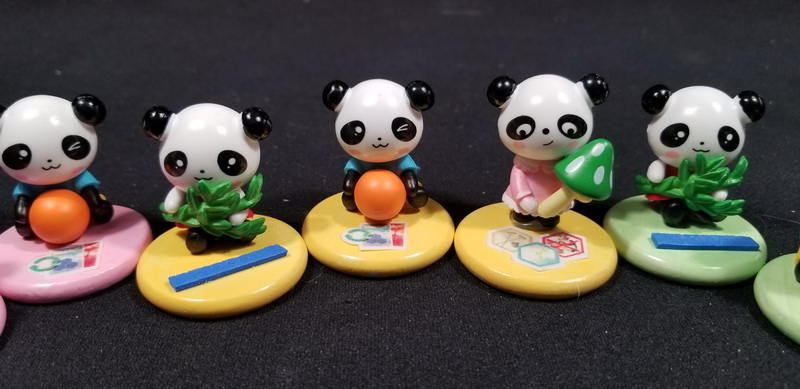
I was lucky to find three colours that were just right, so I painted a bunch of the bases and started testing out the panda positioning. I also printed out the bonus actions to put on each base (the irrigation pipe I used some leftover blue foam I had – more 3D!):

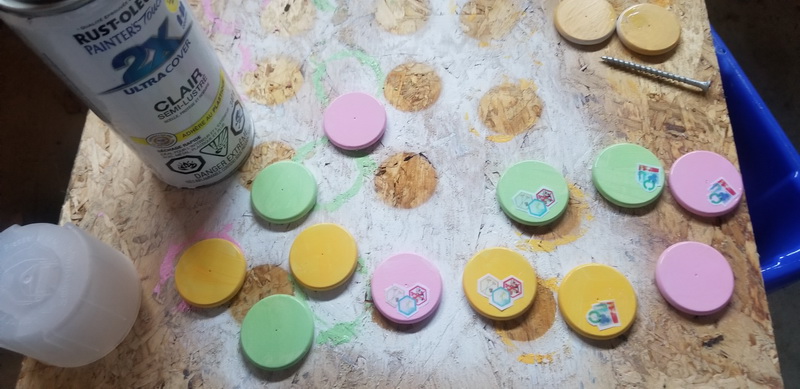
A couple layers of spray-coat to protect them and adhere the paper:

And then all that was left was to hot-glue the pandas on. They look great!

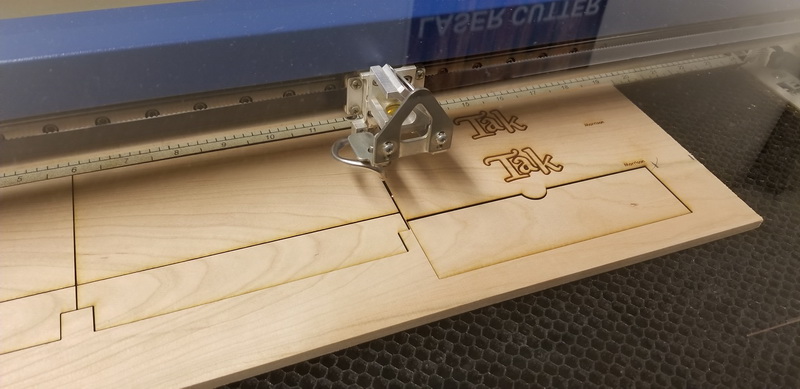
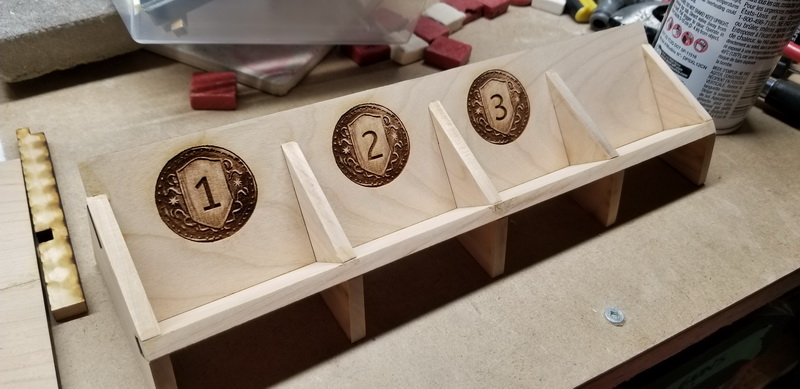
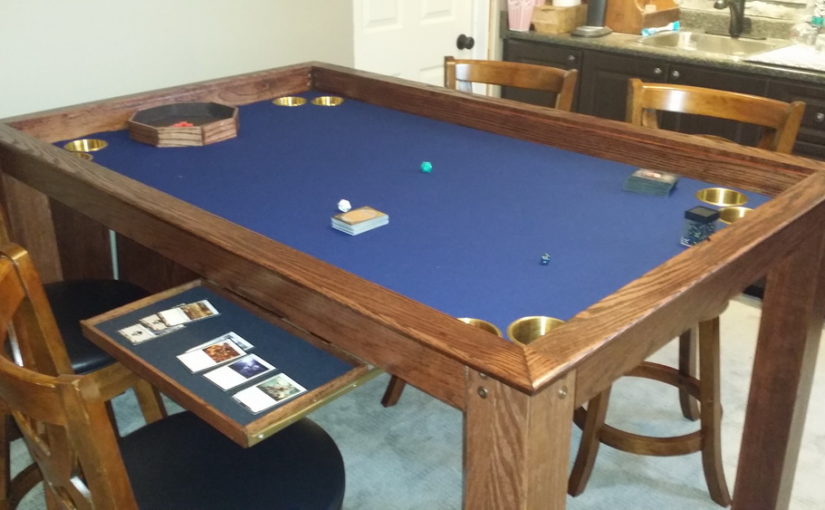
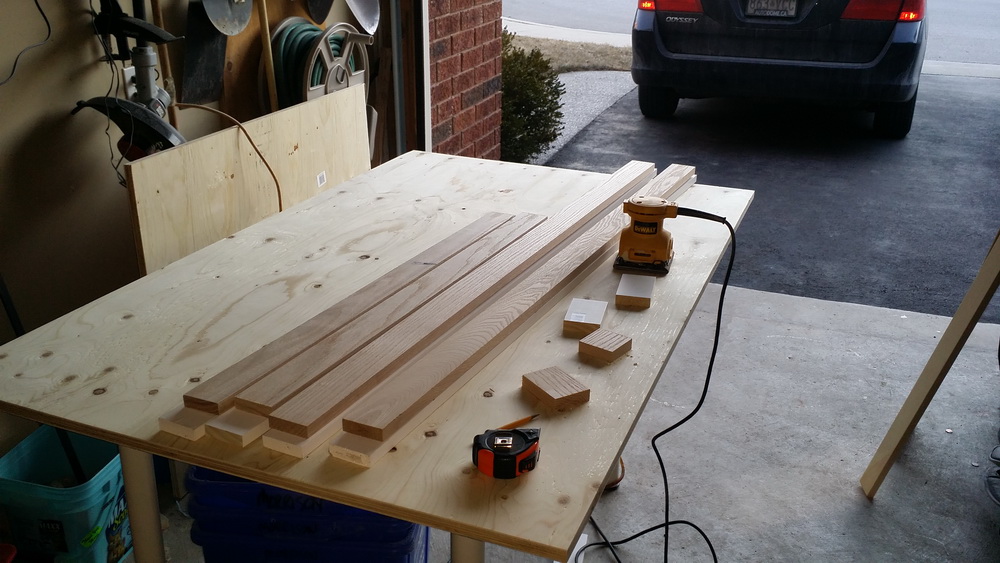
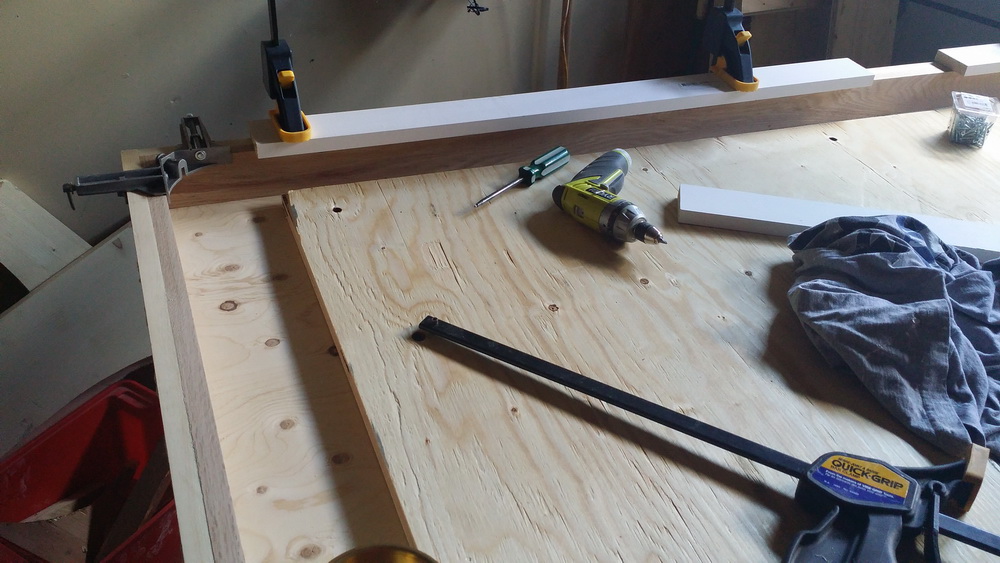
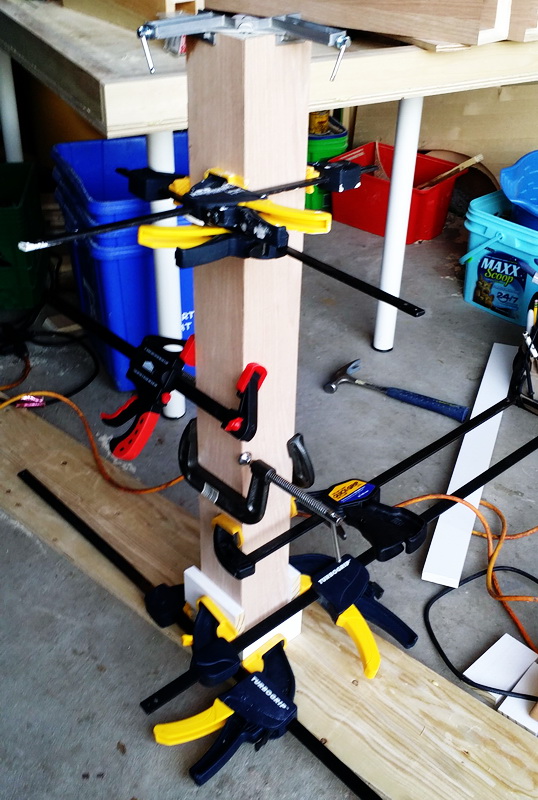
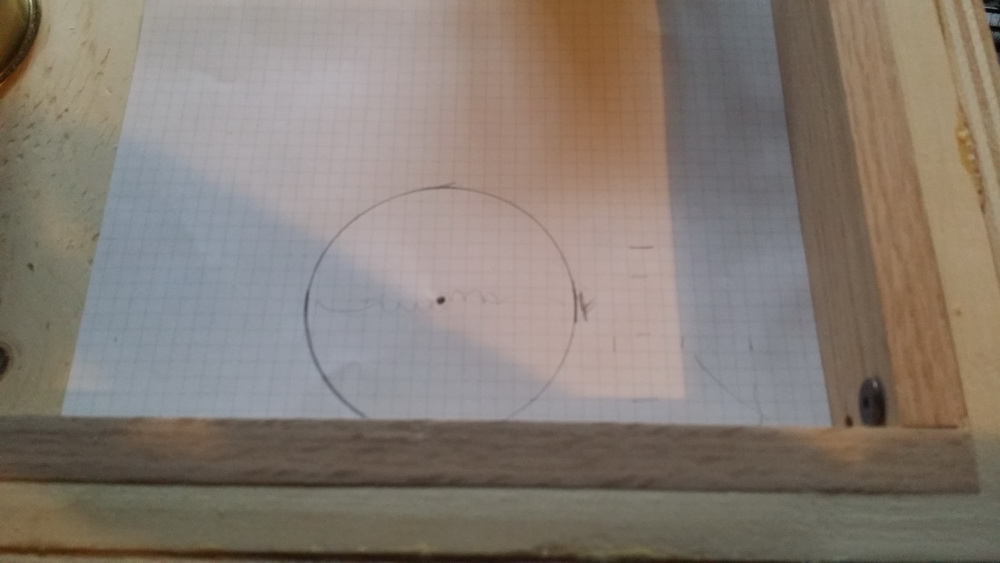
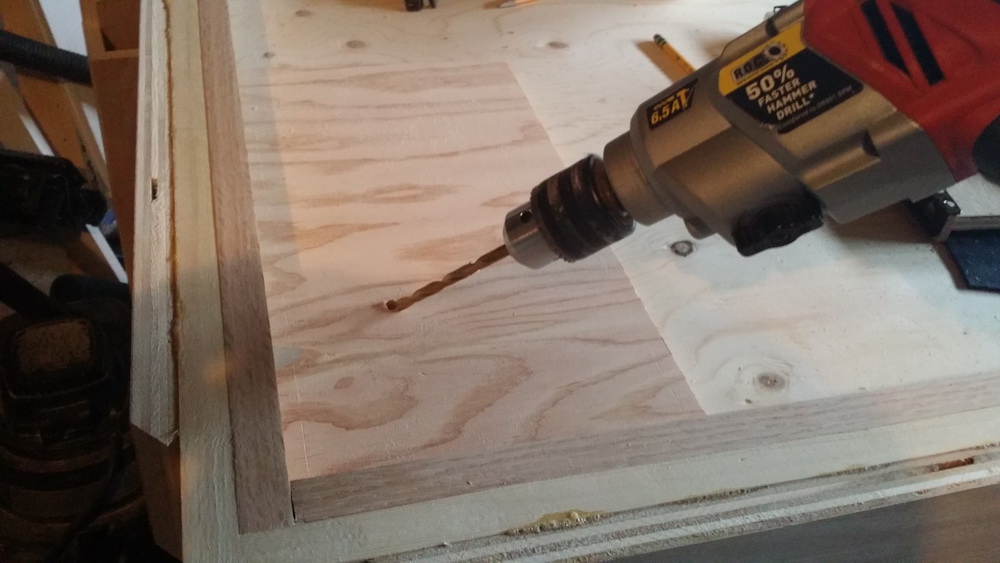
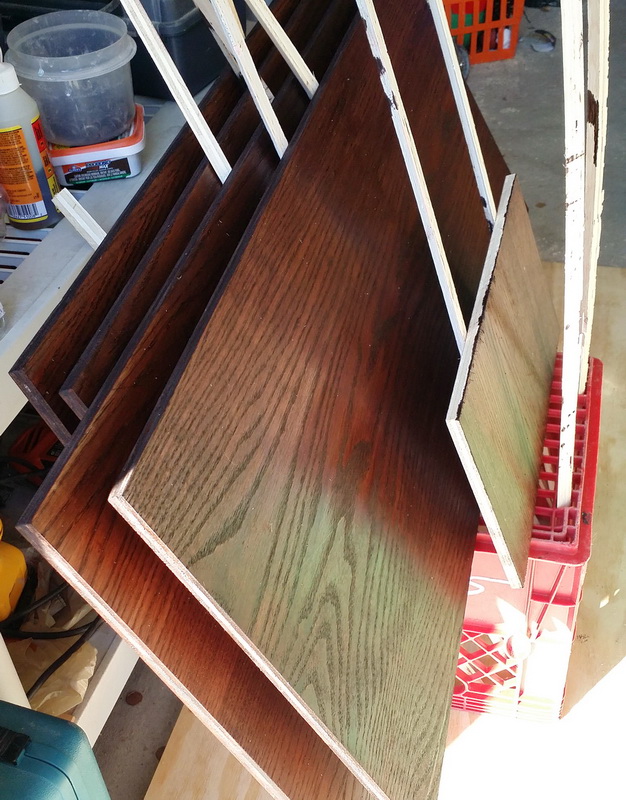
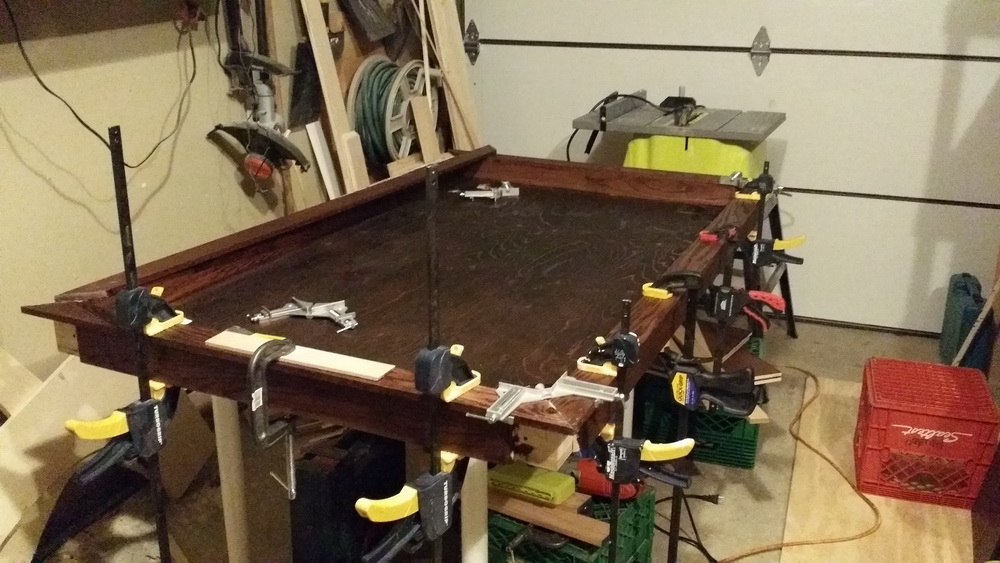
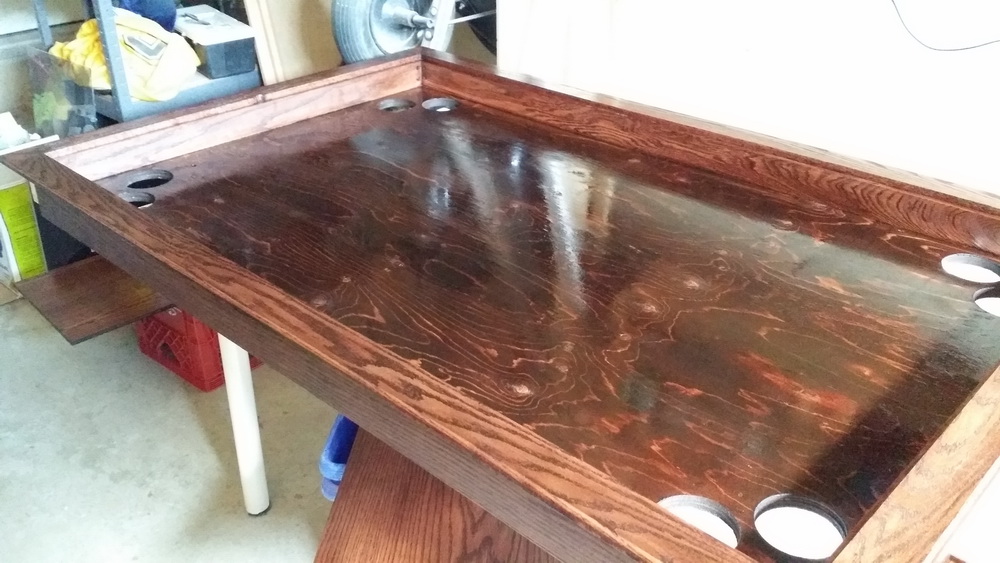
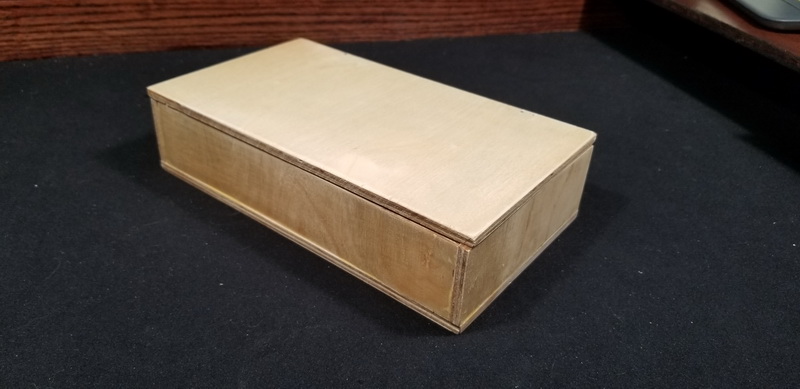
But how do I store them ? They won’t fit in the original game boxes – time to make a matching storage box ! The handy thing is that the original game boxes are made of nice plain plywood, so I can match that easy. Might as well make a card holder as well while I am at it.

The idea is that the storage box would also be the dispenser in the game. This way there is less fiddling during game set-up: just open the box and set it down. We can also use it to hold some other game pieces like the irrigation pipes (which are always lost at the bottom of the bamboo pile)

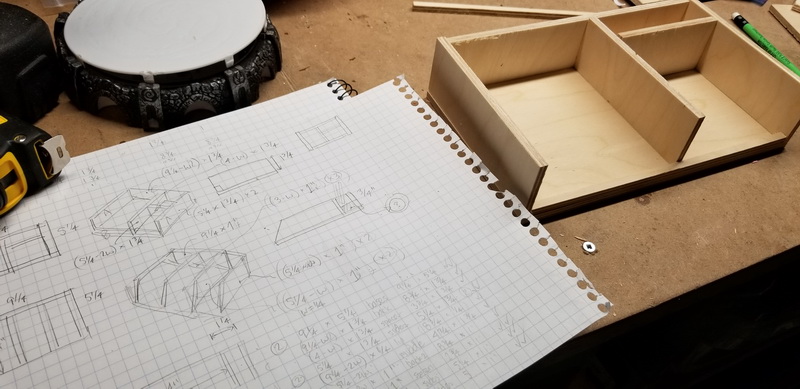
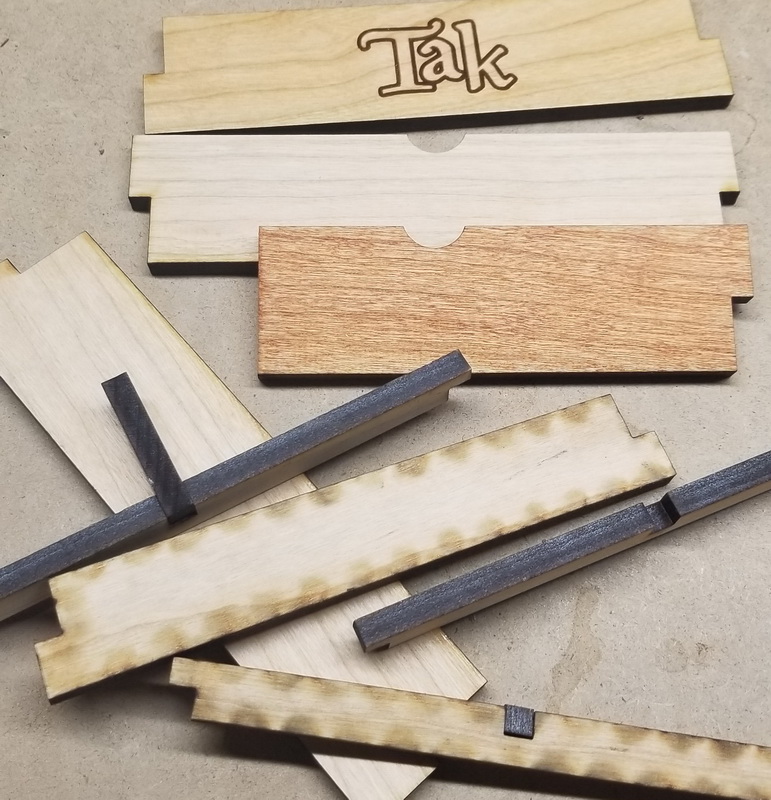
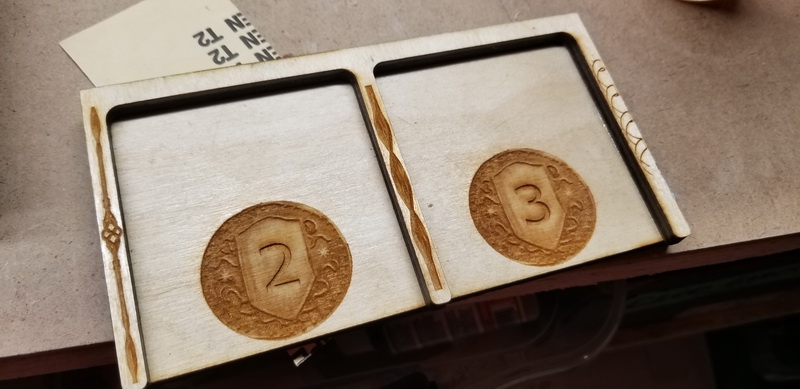
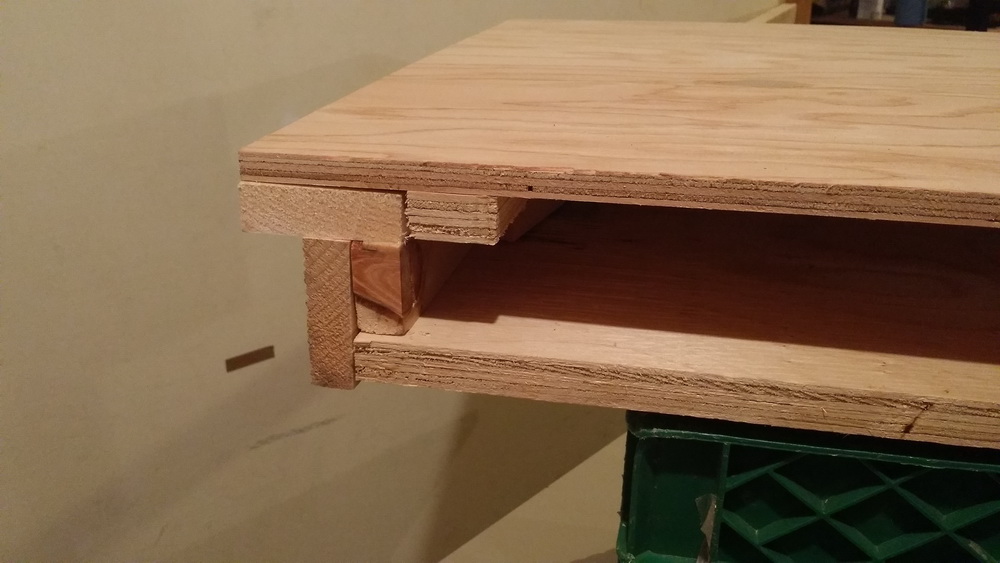
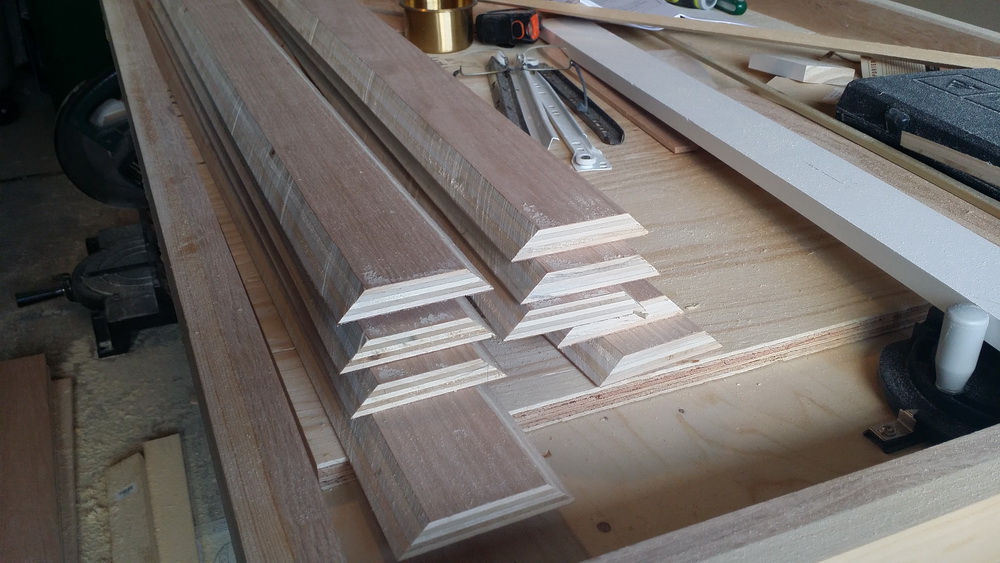
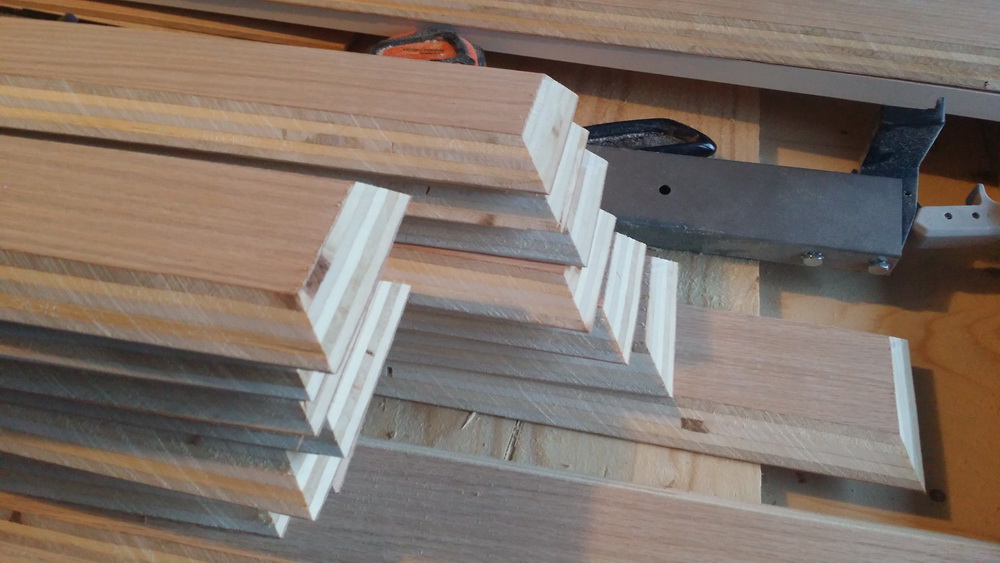
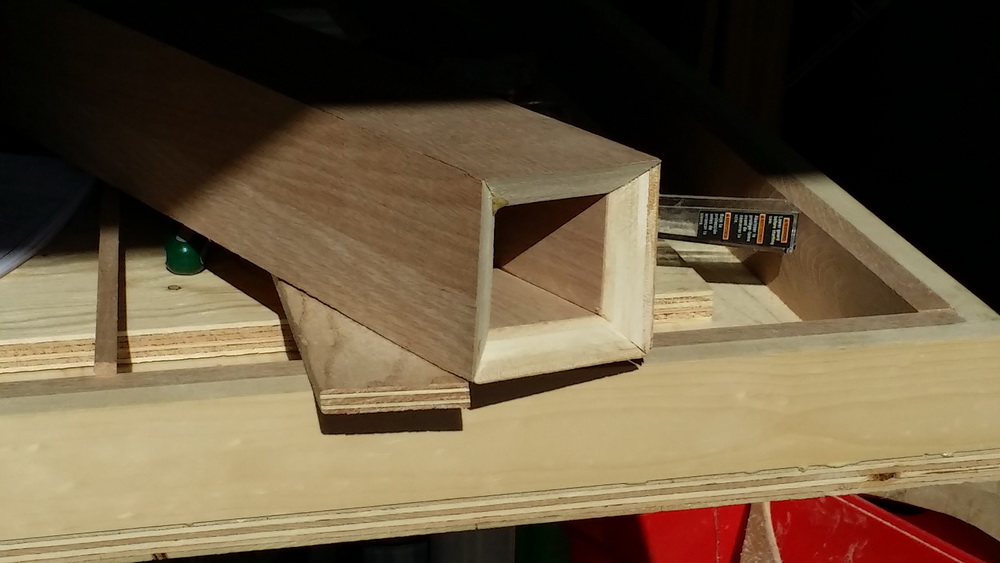
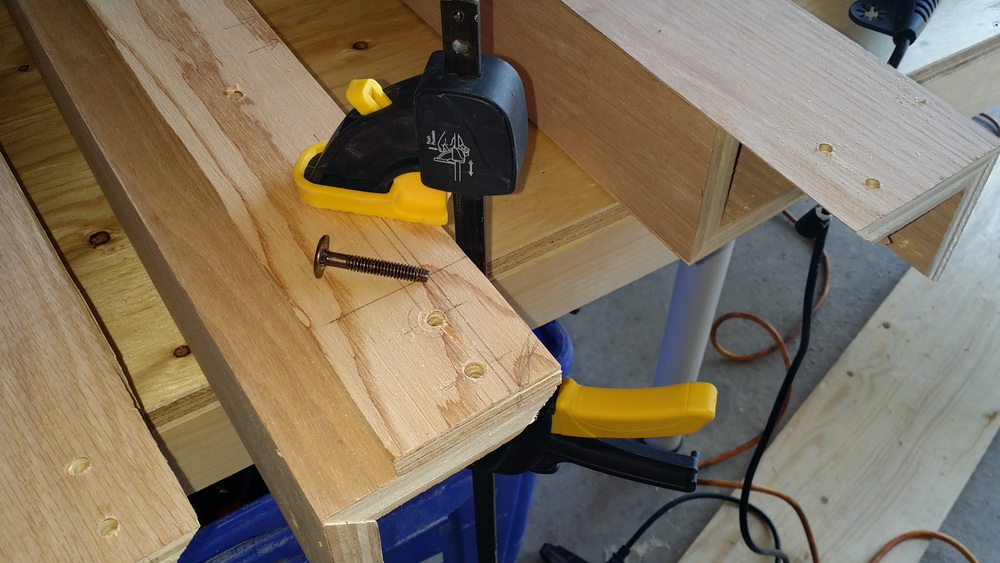
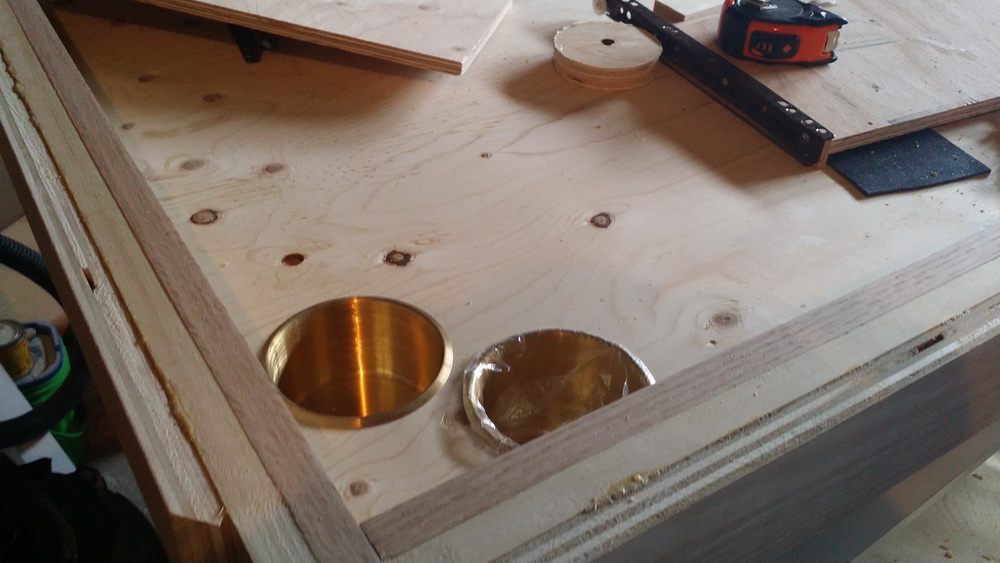
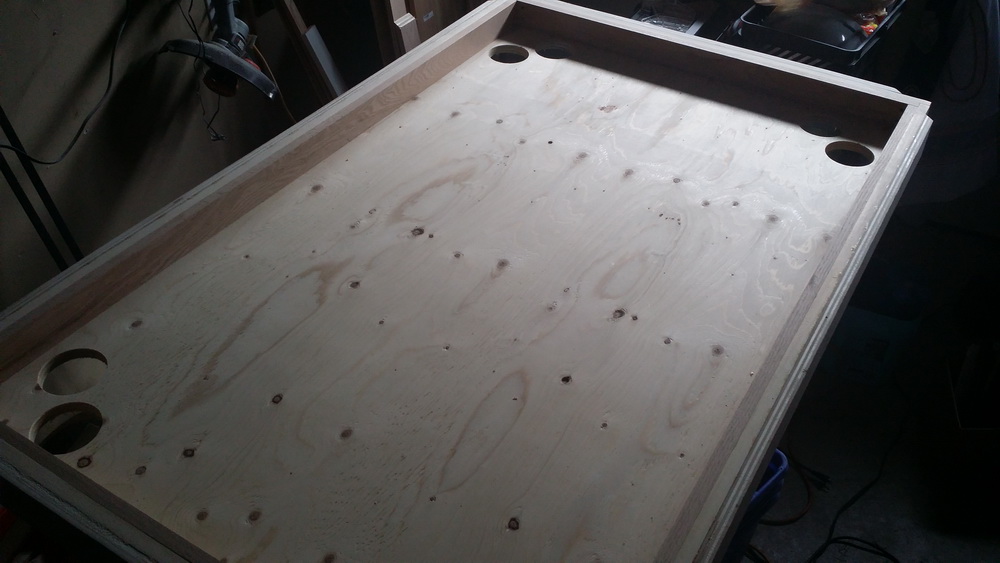
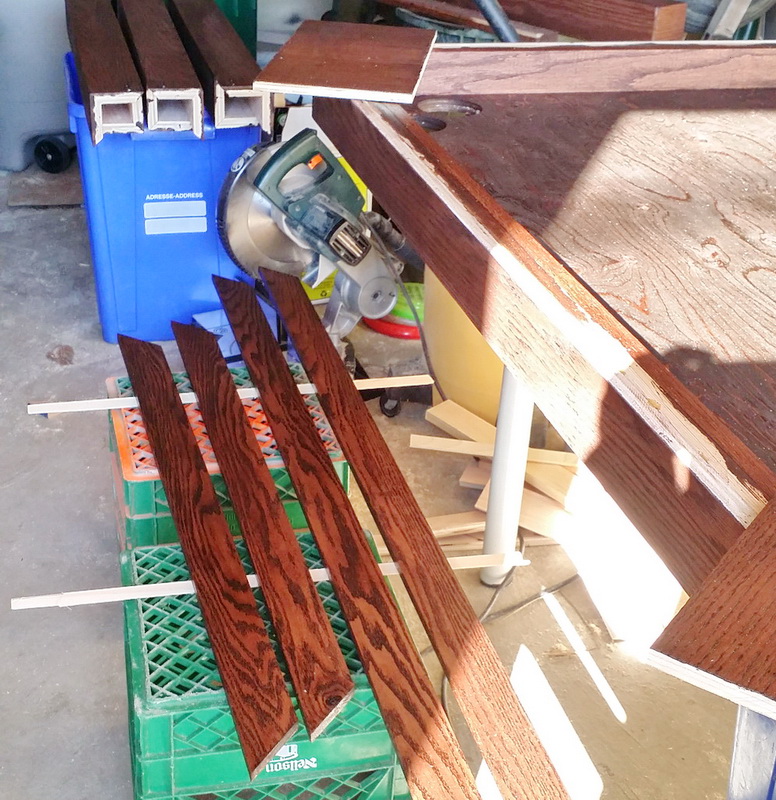
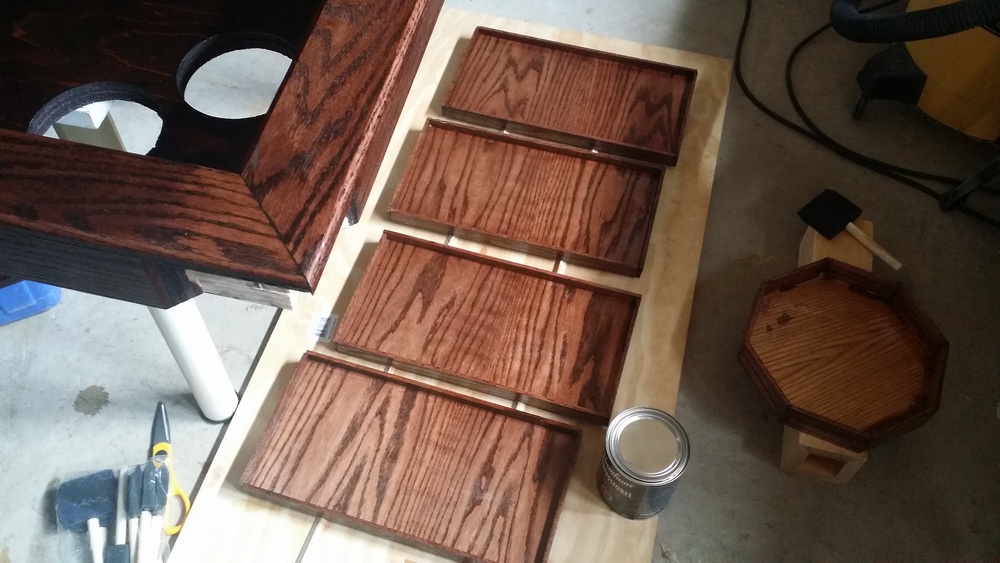
My original idea was that the card dispenser would be the lid of the baby panda box, so they were made the same size:

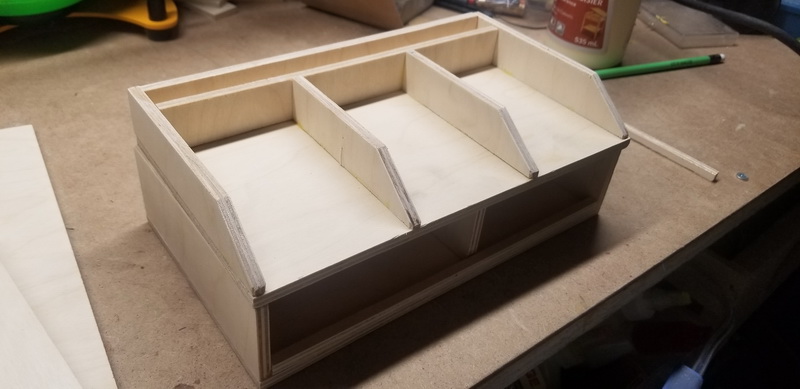
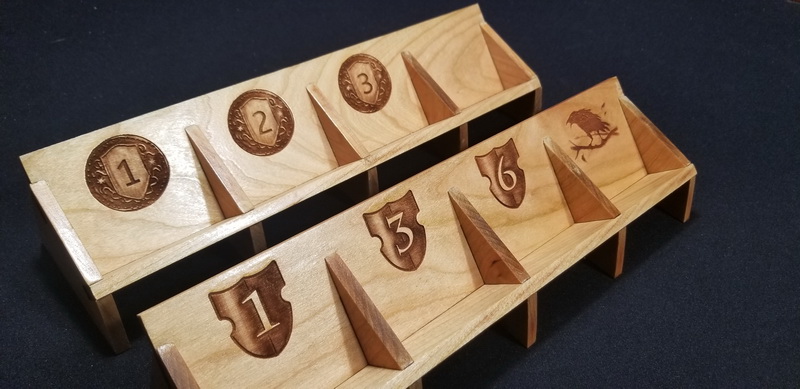
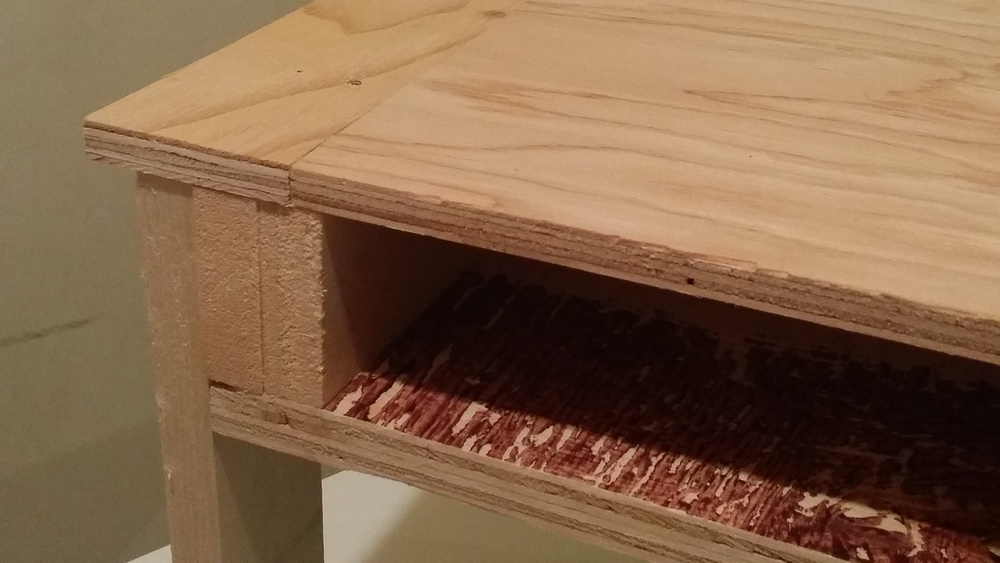
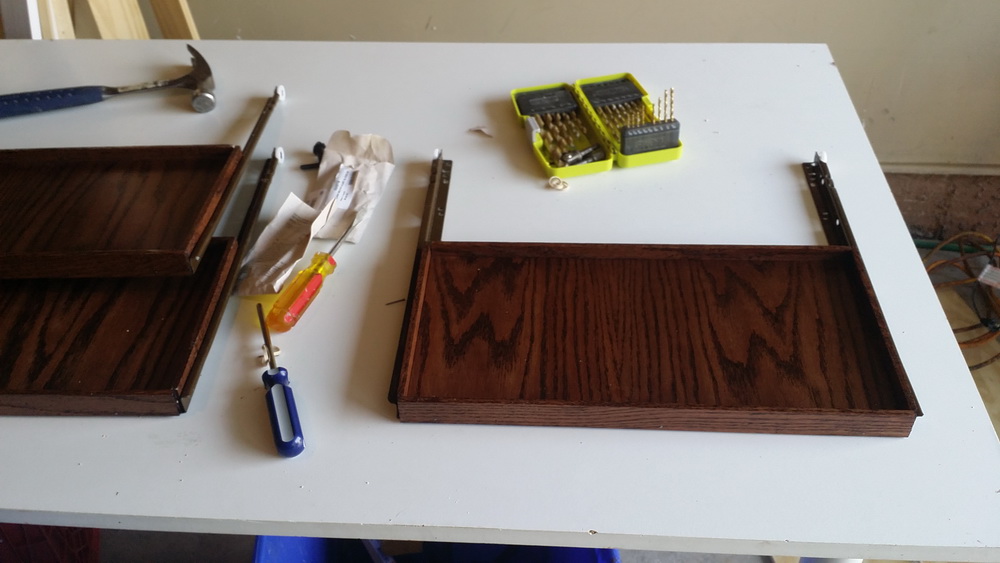
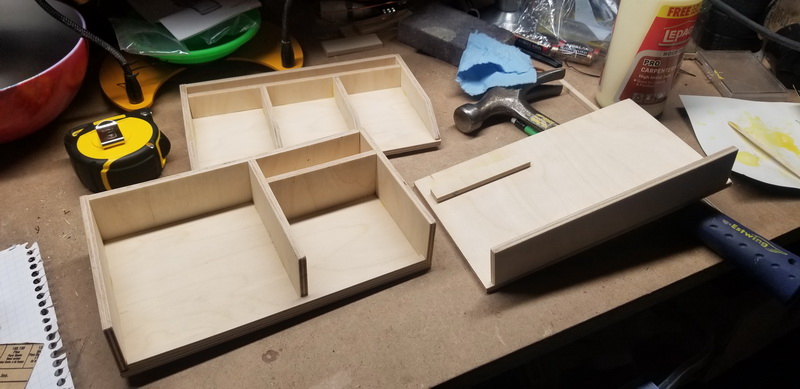
But then I realized that I really wanted the front open, so I would have to make a separate lid that would just drop-on:

More leftover blue foam on the bottom (and underside of lid) and ta-da! Everything fits in nicely:

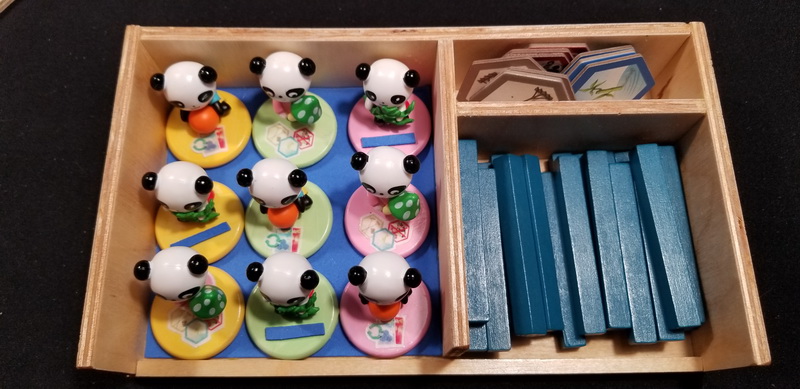
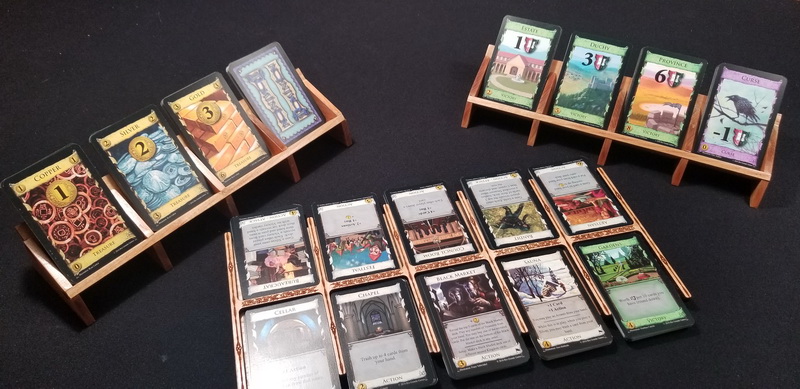
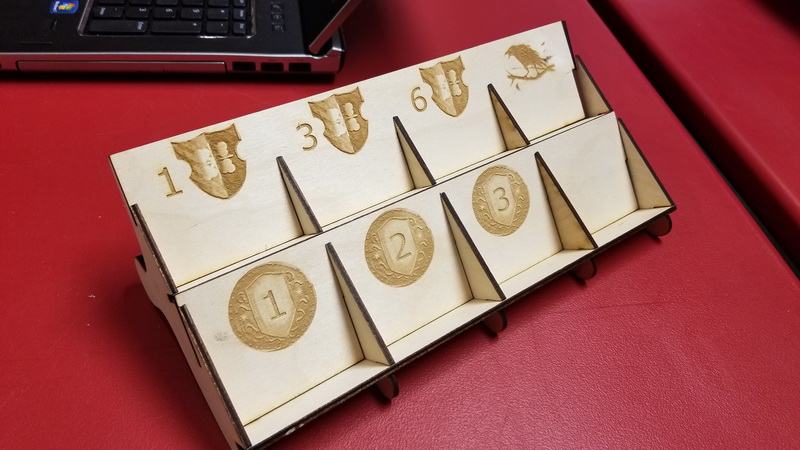
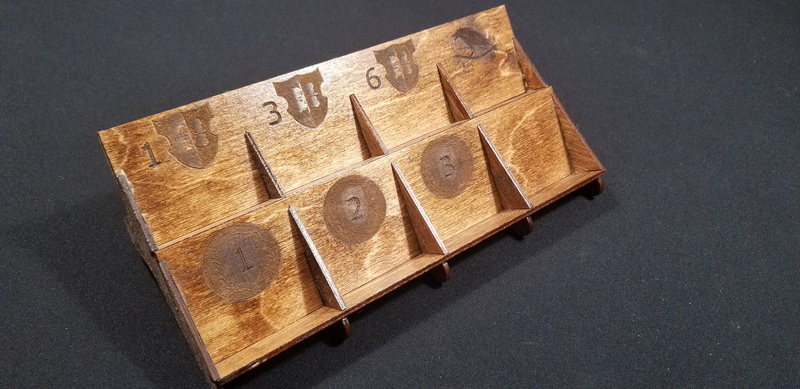
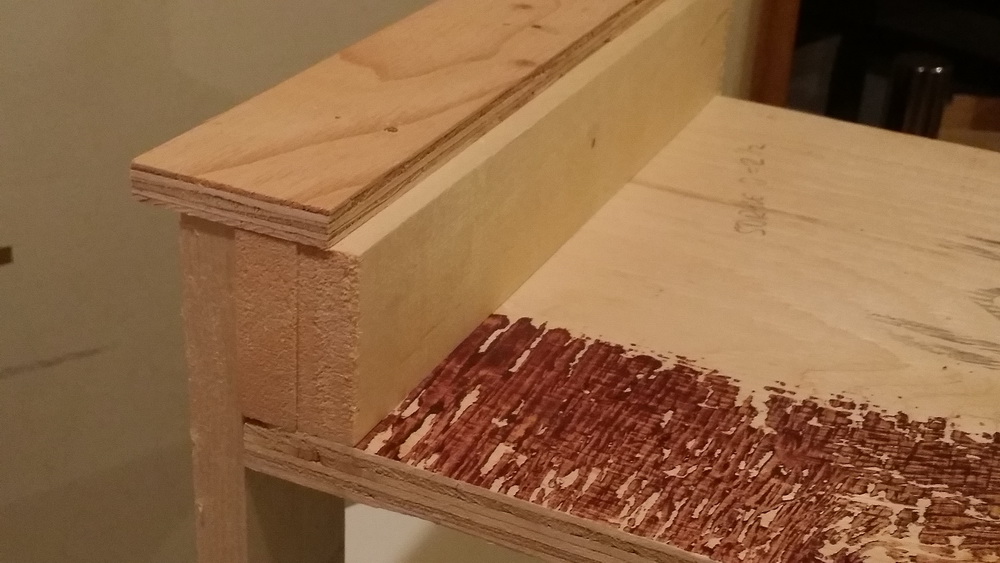
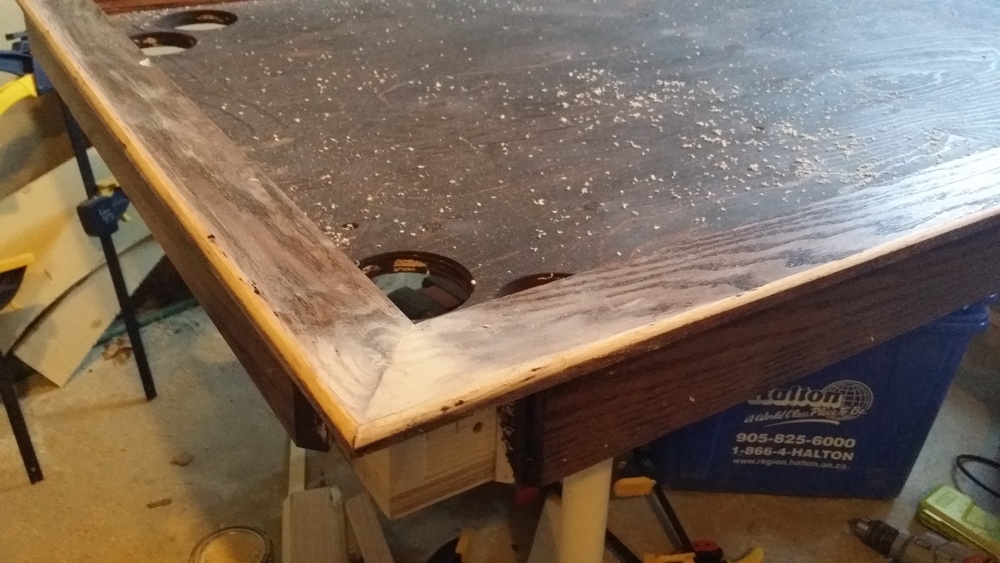
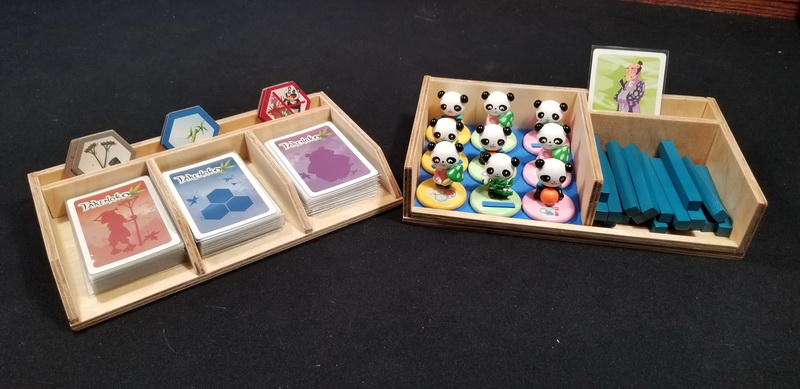
I put a filler board at the bottom of the back channel of the card dispenser so that the improvement hexes could be visible by all players so they can see which ones are left to get. All easy to set up, and easy to see and access ! Not only is it fun to earn and take a baby panda, but you can now clearly see which colours are still available and which bonus actions.

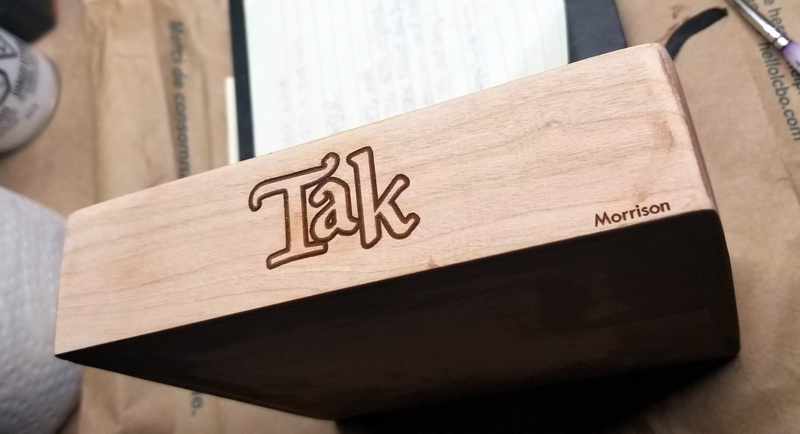
A quick shot of the box with the lid on it:

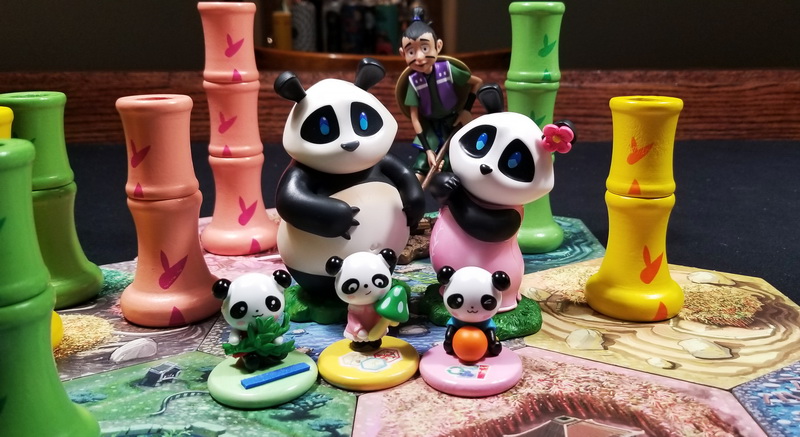
and the whole Takenoko family is now all happy together! :

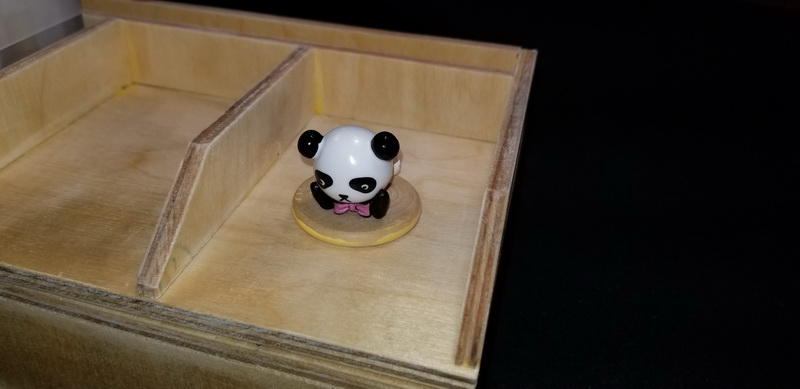
..oh, except for that fourth baby panda that came in the set. She is sulking a bit on the test disc :

I hope you enjoyed this little project !

TAK

While getting ready for our family vacation I was looking around for some portable games and ran across Tak: A Beautiful Game.  Tak has just simple pieces and if you are pressed you can play a basic game without the board (which is just a 5×5 grid).  I even found some posts where people were talking about how they can have quick game while waiting for their food at a restaurant, and since there is usually blocks of waiting while travelling I thought this sounded good.

However when I went to buy it, it was $70 for basically a bunch of wooden pieces and a piece of cardboard. Uh, no.  So obviously in the typically busy week before one goes on a vacation I try to quickly make a set. 

Tak v1

I picked up a square dowel of poplar and chopped off the required 42 pieces, and found some dowel buttons that would work as great “capstones” ( a special piece in the game). 

Used some leftover stain to make one half dark and voila – a Tak set in 45min (not counting drying time) for about $5.  Okay, so the dark pieces still smelled a bit like wood stain for the first few days of the trip, but I had them closed up in a bag most of the time.

We only played a couple of times on the trip, but overall the game is not bad and I think it has potential.  The tiles I made worked fine, but they felt a bit light (knock over easy)  and could be a smidge larger.   And of course I just can’t let things rest if I know I can improve it.  *sigh*

Tak v2

Since the game only has simple components but is quite complex I think is has a ‘classic’ feel to it, like chess, checkers, or mancala.  So I wanted to give the set I made an Old World feel to it.  Even the official rules frequently refer to your pieces as ‘stones’.

The player pieces

For the player pieces there are lots of options for 1 inch square tiles if you walk around the local home improvement stores.

I found the perfect thing at Home Depot: a tile mosaic for a bathroom/kitchen trim. It’s made up of 1″ square travertine tiles, and even comes with a special piece in the middle that I can use as the capstones! They look nice and ‘old’.

I tried different methods to colour half of the pieces, including something that I read online about soaking them in a glass of cheap red wine. In the end I just spray painted them “colonial red” (the “wine” stones are on the far left LOL).

The game board…

For the playing board I looked around and found a nice 99 cent tile that holds 5 stones quite well.

I then put the tile into the laser cutter at the local public library and did some tests to see if I could get a decent engraving on it.

I had to do 2 passes, but found a setting that seemed to get me what I wanted (this image is after I smeared some red paint on it and then cleaned it off)

So i covered the tile with masking tape and then let the laser cutter burn away the tape and etch the stone a bit.

The idea being that I can now spray-paint the lines and then just remove the tape.

Unfortunately I did not rub the tape down everywhere, so the spray paint got under the tape at places. The small details also resulted in the tiny tiny pieces of tape getting stuck in the etched grooves. All this resulting in blotchy paint. Arg.

Lots of sanding and tape picking later, I managed to salvage most of it. The mistakes actually give it more of a distressed look:

The Box …

Finally, the last step was to build a box for all this. Another laser cutting design !

Clamp and glue :

The inner box is done. You can see the channels for holding the stone pieces. They also gives a gap so you can get your fingers in there to pull out pieces. I don’t have to worry about sanding the burnt edges because I am going to put nice panels on the outside.

Testing if the tile-board fits in the top, acting as the lid:

Darn it – you can see that my outside pieces are like, a millimeter too short ! Arg. However, sanding the corners to hide this actually makes it look really nice…

Luckily I made a big mistake on my first set of pieces for the box (ok, not really lucky LOL), so I have lots of test pieces to see what stain+polyurethane combo looks good:

Stained, urethaned, and now putting some sticky felt on the bottom:

Putting all the pieces together …

Really pleased with the results.

(update)

After losing to my son for the n-th time because I kept thinking his brown capstone was one of my red (dark) pieces, I took the brown capstone out to the garage and promptly painted it white. 🙂

Dominion Card Holders

Dominion is a card game  where players get to “buy” new cards and build their own deck to try to get points.  In the middle of the table between all the players are 10 piles of cards that you can purchase.  We like playing this game because it has fairly simple base rules but can get quite interesting.

I thought it would be nice to have a card holder in the middle of the table, and there are many people on the internet that have made very fancy versions but I find them too big or too expensive. 

I had always planned to make this, but because it was going to involve lots of fiddly cutting with the jigsaw it never made it to the forefront of my mind … until I found out about the local library’s laser cutting machine. 🙂

I first made a quick test to see if it would be deep enough. I also wanted to try etching something so I did that at the same time. The etching looks pretty good.

I made the design on the computer and then brought a piece of 1/4″ plywood to the library.  It took two passes – one pass to etch the images on the wood, and then the second to actually cut the pieces out.  It was technically really easy. (I say technically because the tiny pockets of glue in the plywood had a tendency to re-fuse together at points – making the actual removal of the parts an annoying box-cutter challenge). 

The two parts of the design. The base sheet of wood (at the bottom) and the “fingers” that I will place on top of the base.

 I then glued the two pieces together and stained it.  I should have done a stain test first though, because the darkness of the stain kind of obscures the etchings.

(photo missing – oops)

Of course, since I am making a nice holder for the center Kingdom cards, might as well make a fancy holder for the money and points cards too !  This was also driven by the fact that I did an etching test of the standard copper coin used in the game and it looked pretty cool – I want to do more ! 

This was a more complicated concept and was a fun challenge to design the parts required to make a 3D holder.

Once all assembled it looked pretty good.

but the same problem about it not looking great after the staining…

(2019 update)

I discovered a problem with the Treasury Card holder:  you can’t see the bottom of the cards in the back row, and this is where the “cost” is marked on each card.   Oh well – time to get rid of this cheap-feeling-thing-that-I-can’t-see-the-etchings-on.

Since I was laser cutting some boards of cherry for my TAK project, I redesigned and added the extra parts I needed into that print job.

A quick visit to the local specialty wood shop to get a board of cherry, some updating of the design files to accommodate the smaller width of wood and the 1/4″ thickness, and I was back in the library cutting out the pieces.  Note that I actually didn’t go to the library specifically for this – I was making my TAK board and box and was trying to maximize the use of the wood that I was putting into the laser cutter.  So I squeezed in this project into the printing of the TAK box parts (see other post on that distraction)

Much better – and I am better at etching settings as well:

and the polyurethane gives it a little pop:

of course, since these cherry ones look so nice, i had to re-do the main card holder so that they match LOL:

All three pieces in action !

Family Game Table

2015

We like playing board games as a family, and when we finished the basement we had an area for playing games (and I couldn’t afford to put in the bar 🙂 ). We used a simple IKEA table for a while but it was small, and dice bounced off the table, and every other excuse I could think of in my head after seeing these gorgeous gaming tables on line. These things were amazing, and cost an amazing US$3,000 and up. Uh… no. For that price, I can make one of those ! (I think. I mean, I haven’t really made furniture before …)

Key features I want:

  • soft playmat – to make it easier to pick up cards, quieter while rolling dice
  • recessed game play area – so you can cover up a game-in-progress and come back another day and not find a cat sprawled all over your game board. Also keeps dice and rolly-bits from escaping.
  • drink holders. ’nuff said about that.
  • big enough to hold the common entry-level games we were playing at the time (like Catan)
  • sliding drawers for players to hold their secret cards/components.

There were other cool ideas that I liked (LED lights, charging ports, flip compartments etc) but I was already thinking I was biting off more than I could chew.

Design

I built some rough mock ups of the table to try out ideas. A key design consideration was using standard width boards so I didn’t have to rip long pieces of lumber.

I liked this table top style because there are fewer seams for liquids to fall through if someone spills a drink when the table is closed. However the depth of the gaming cavity was too shallow (tall game pieces on boards wouldn’t fit)
This one had a much better cavity depth, but a full covering table top would make it overall too tall, so I tried it with the table top as an insert.
Another bonus of this design is that I will need less Red Oak (what i am using for outside layers) and probably don’t have to sand and finish as much. The edge is also wider so there is more to lean your elbows on.

Let’s get building …

Ok – design settled. Great that i can buy the boards and they are already the correct width – just have to cut and sand them to the correct lengths. Nice strong plywood for the base.
Gluing and clamping the table edges/walls along with the inner oak finish
Saw something online about making the box-legs (without spending a fortune for solid oak). Four of these will form one leg. I was really worried about doing these angle rips because they have to be pretty symmetrical. (I think i only ruined 2 boards working on this)
I also had to angle-rip the bottom ends so I can put a cap on it but still retain the illusion of it being solid.
Just about every clamp I own gluing four of the angle-rip boards to make a leg.
looks pretty good, and looked better after sanding the edges (hides the gaps). This is the bottom where I will put a square cap.
To make sure that all holes are exactly the same on each leg (so I can put them on any corner) I made a drill-guide out of scrap wood.
All legs assembled and attached to the table ! Note that the edges of the table each need a strip of red oak. Andrea has a test sliding drawer that will hide underneath.
Gluing the oak trim on the sides (between the legs). Coming together !
Got an 8 pack of these lovely little cup holders on amazon. I plan on putting 2 in each corner. I know serious gamers would be horrified that I am recessing them on the actual playing area, but this will be more convenient and I think there is less chance of knocking things over it they are actually in your field of vision (as opposed to being on the outside edge).
Outlining one cup holder. I then flip the paper (around the table corner) and that makes both holes symmetrical about the corner…
… and then doing the same thing with a scrap board to set the pilot hole. Drill, flip, drill.
Looking good !
With all the cup holder holes drilled, the table is mostly done. Time to stain (eech)
Staining the table top panels and various bits for the drawers.

Staining the edge trim and the main table.
Clamping the trim on the table.
Dang-it … something didn’t work out right and there is major lip on one of the corners. Sand sand sand.
All stained and varnished. The pine of the plywood base is a bit dark / busy, but that is okay because it will be covered for the most part.

Staining and finishing the legs. Another creative piece-holder made from four pieces of rebar stuck in a milk-crate
Staining the drawers as well. on the right is the spare-parts project: a matching dice tray.
Since I want the drawers to extend past the table (but don’t want to make mega huge drawers) I put on long sliders…
I can fit two sliding drawers opposite each other, so four on the entire table. I could not figure out a way to get drawers for players on the table ends without having them hang too low where you would bang your knees.

Assembling all the parts in the basement. Exciting !
Table all assembled with the solid boards in place.
Laying the neoprene mat in the playing cavity. Need to cut holes for the cup holders !
One of the boys suggests putting the cut out holes of the neoprene in the bottom of the cup holders. Awesome idea. Looks great with the blue side of the neoprene.
Rare shot of table surface with no cat fur…
…. Well that lasted 30 seconds.
Woo hoo ! Secret drawers work great. Table looks awesome!
Just like the main table, the drawers have neoprene mats that are reversible. And just like the main table it holds cat fur just as well.
Showing how the leaves go in place. There are four boards that nestle into place.
And luckily I thought of putting in the finger-notch before I glued all the parts together. Makes it much easier to open.
And the spare parts project – the matching dice tray !

If I was to do it again, I would:

  • use thicker boards for the table top leaves
  • add a “card holding rail” (aka thin slot) along the edge
  • USB power in the leg (I might still do that LOL)
  • maybe LED lights. I thought long and hard about this in the design phase, but I didn’t want them visible so that would mean lots of extra boards and loss of playing real-estate. Kinda kitchy too.
  • put table-top leaf holders under the table instead of the drawers. The drawers don’t really get used that much, so they weren’t really worth the effort. (might be because they are so well hidden)

Over the years the table has had a lot of good use, especially when the boys have friends over for games and MTG.

Thanks for reading !