TAK

While getting ready for our family vacation I was looking around for some portable games and ran across Tak: A Beautiful Game.  Tak has just simple pieces and if you are pressed you can play a basic game without the board (which is just a 5×5 grid).  I even found some posts where people were talking about how they can have quick game while waiting for their food at a restaurant, and since there is usually blocks of waiting while travelling I thought this sounded good.

However when I went to buy it, it was $70 for basically a bunch of wooden pieces and a piece of cardboard. Uh, no.  So obviously in the typically busy week before one goes on a vacation I try to quickly make a set. 

Tak v1

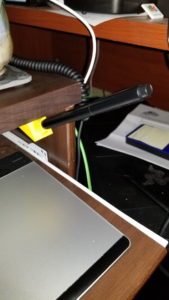
I picked up a square dowel of poplar and chopped off the required 42 pieces, and found some dowel buttons that would work as great “capstones” ( a special piece in the game). 

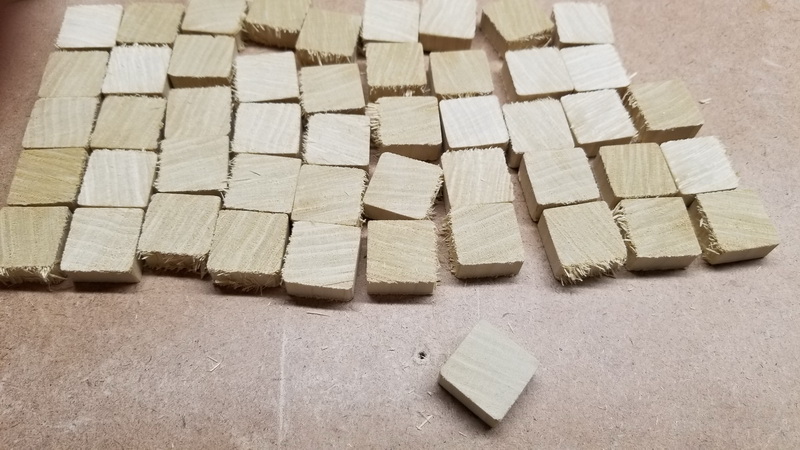
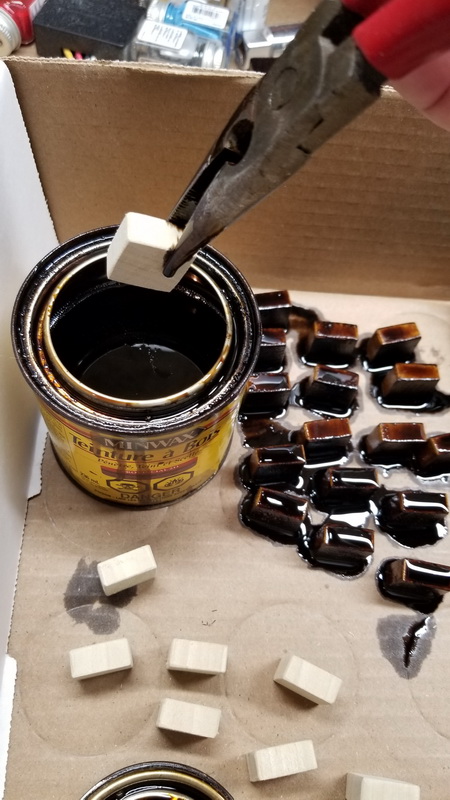
Used some leftover stain to make one half dark and voila – a Tak set in 45min (not counting drying time) for about $5.  Okay, so the dark pieces still smelled a bit like wood stain for the first few days of the trip, but I had them closed up in a bag most of the time.

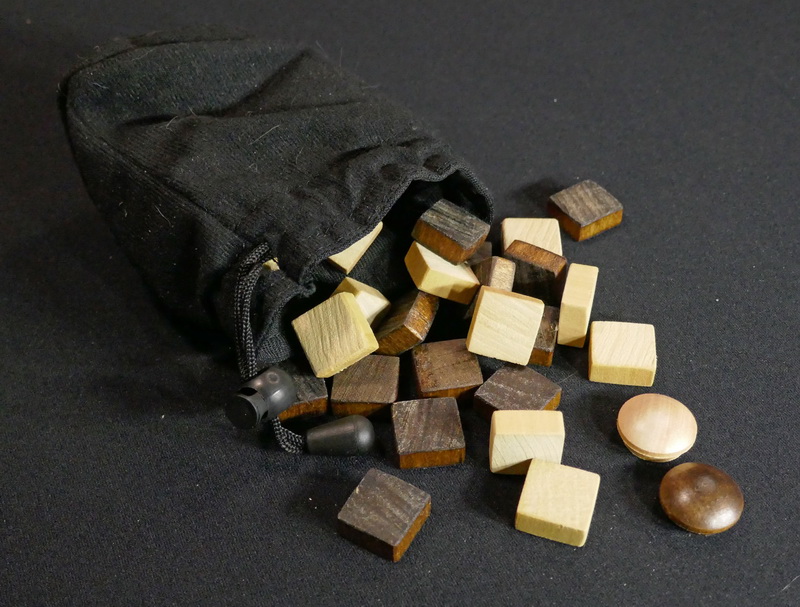
We only played a couple of times on the trip, but overall the game is not bad and I think it has potential.  The tiles I made worked fine, but they felt a bit light (knock over easy)  and could be a smidge larger.   And of course I just can’t let things rest if I know I can improve it.  *sigh*

Tak v2

Since the game only has simple components but is quite complex I think is has a ‘classic’ feel to it, like chess, checkers, or mancala.  So I wanted to give the set I made an Old World feel to it.  Even the official rules frequently refer to your pieces as ‘stones’.

The player pieces

For the player pieces there are lots of options for 1 inch square tiles if you walk around the local home improvement stores.

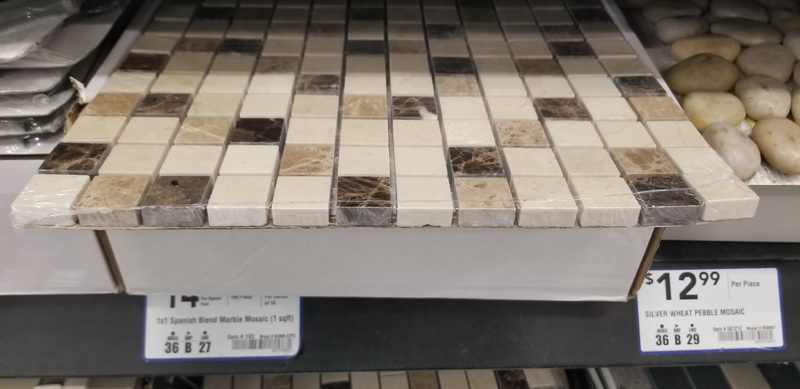
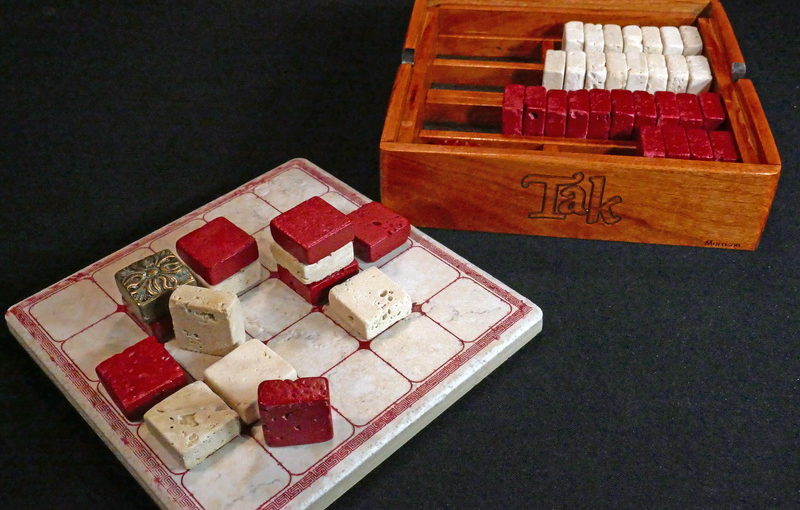
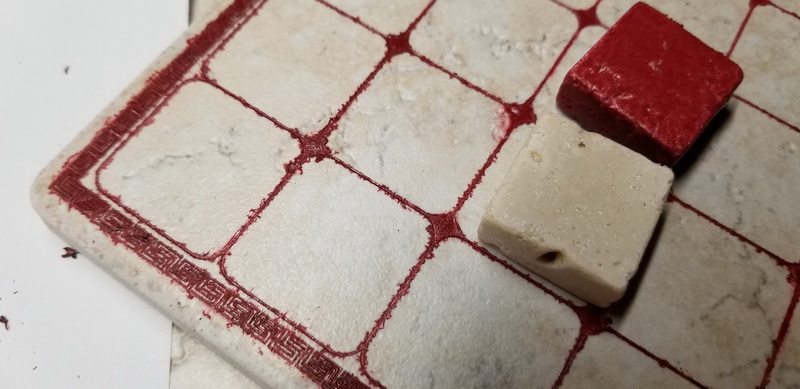
I found the perfect thing at Home Depot: a tile mosaic for a bathroom/kitchen trim. It’s made up of 1″ square travertine tiles, and even comes with a special piece in the middle that I can use as the capstones! They look nice and ‘old’.

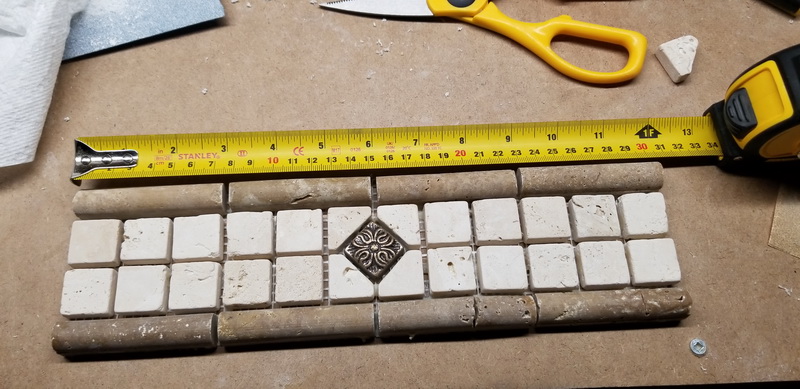
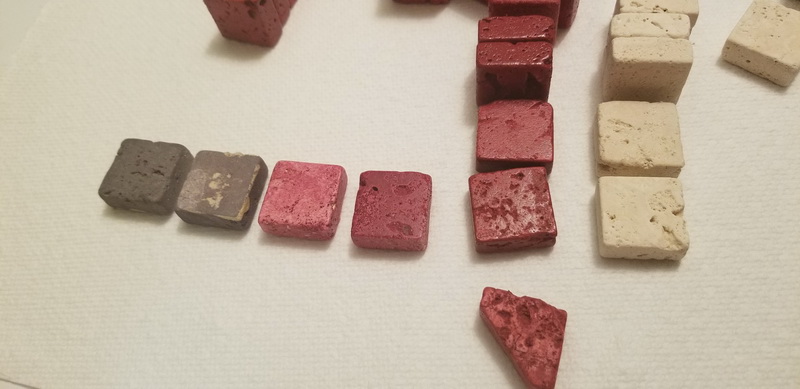
I tried different methods to colour half of the pieces, including something that I read online about soaking them in a glass of cheap red wine. In the end I just spray painted them “colonial red” (the “wine” stones are on the far left LOL).

The game board…

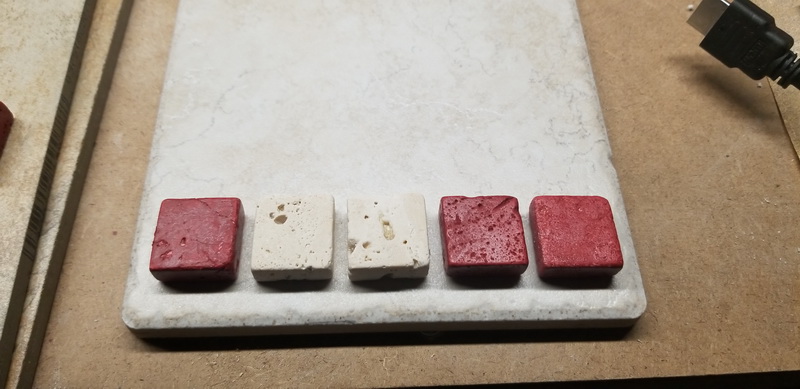
For the playing board I looked around and found a nice 99 cent tile that holds 5 stones quite well.

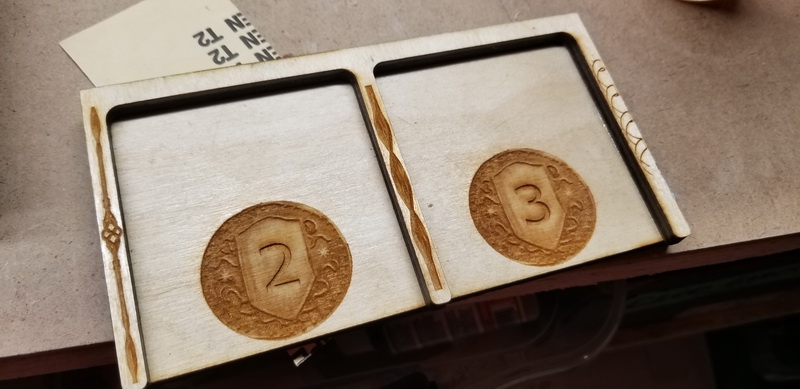
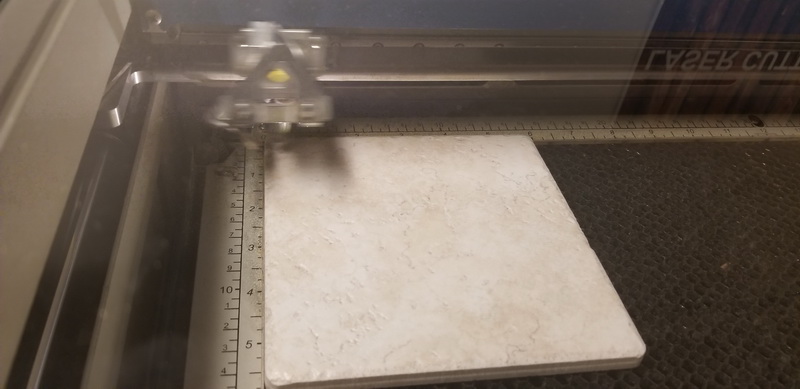
I then put the tile into the laser cutter at the local public library and did some tests to see if I could get a decent engraving on it.

I had to do 2 passes, but found a setting that seemed to get me what I wanted (this image is after I smeared some red paint on it and then cleaned it off)

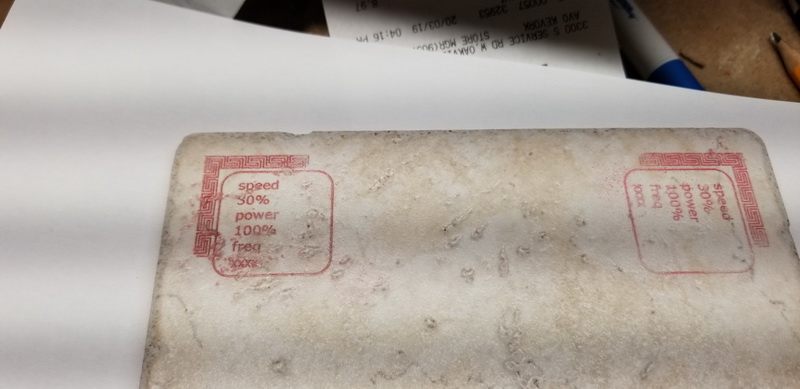
So i covered the tile with masking tape and then let the laser cutter burn away the tape and etch the stone a bit.

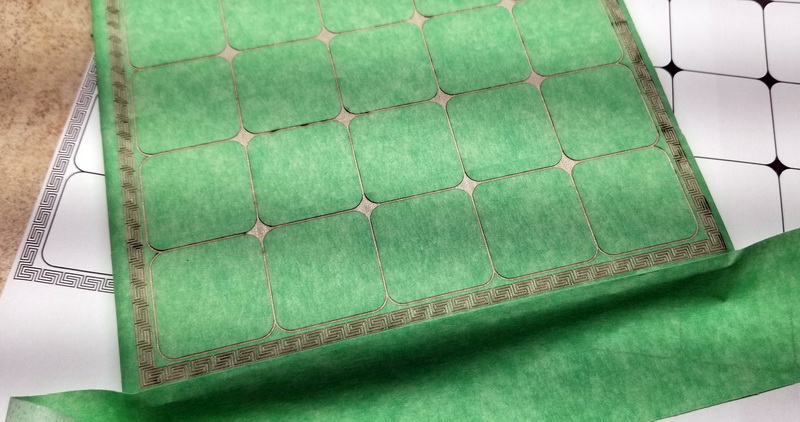
The idea being that I can now spray-paint the lines and then just remove the tape.

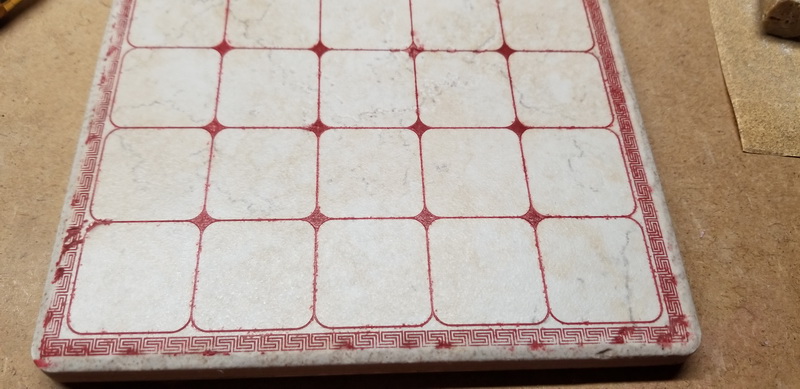
Unfortunately I did not rub the tape down everywhere, so the spray paint got under the tape at places. The small details also resulted in the tiny tiny pieces of tape getting stuck in the etched grooves. All this resulting in blotchy paint. Arg.

Lots of sanding and tape picking later, I managed to salvage most of it. The mistakes actually give it more of a distressed look:
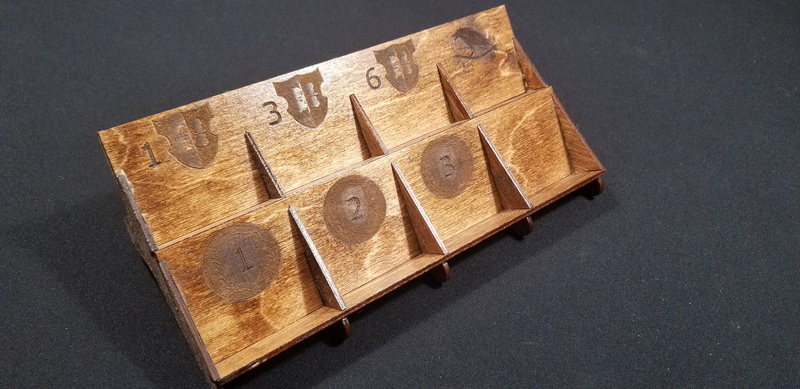
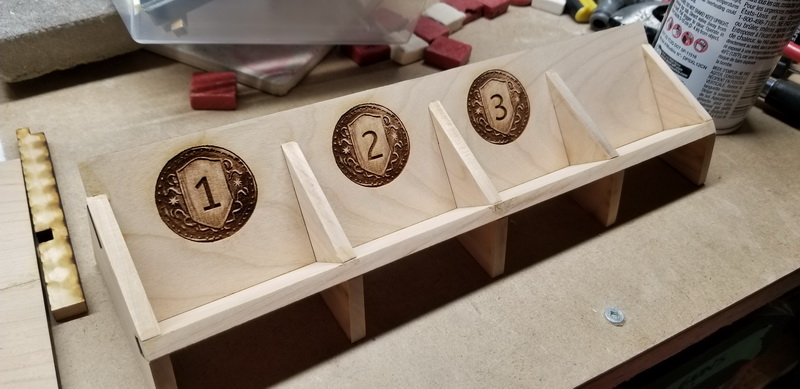
The Box …

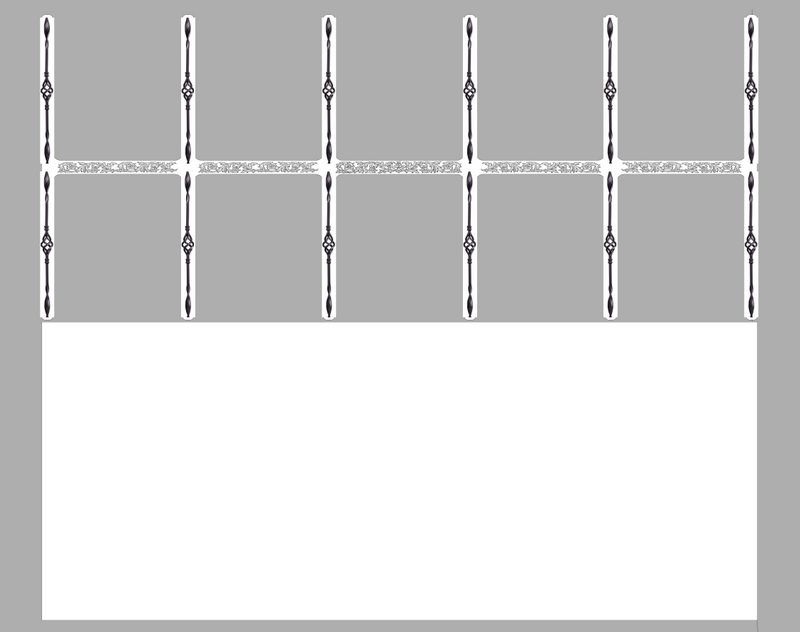
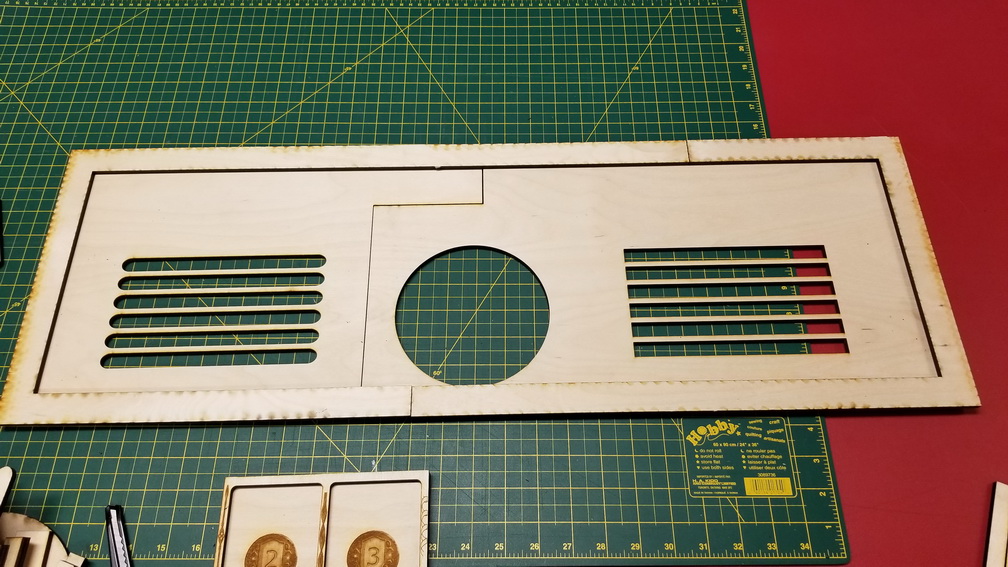
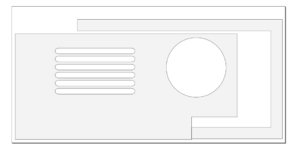
Finally, the last step was to build a box for all this. Another laser cutting design !
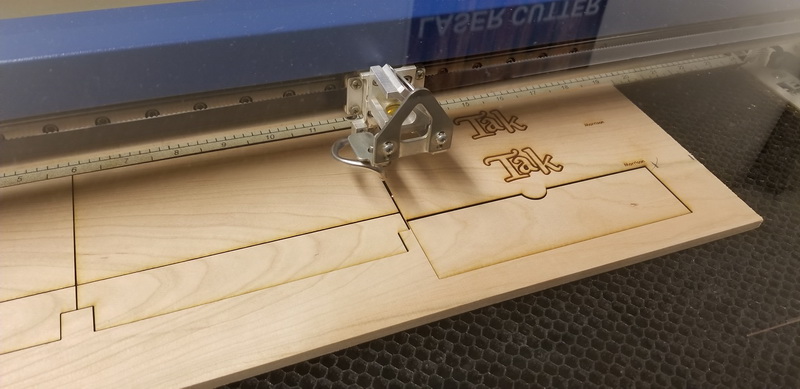
Clamp and glue :

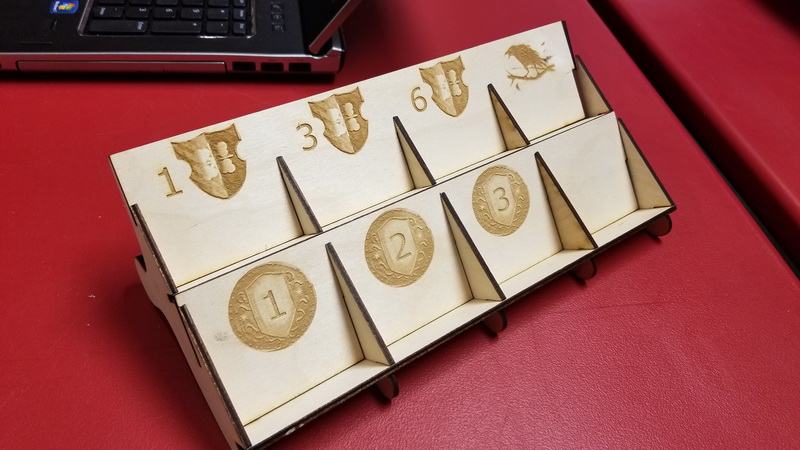
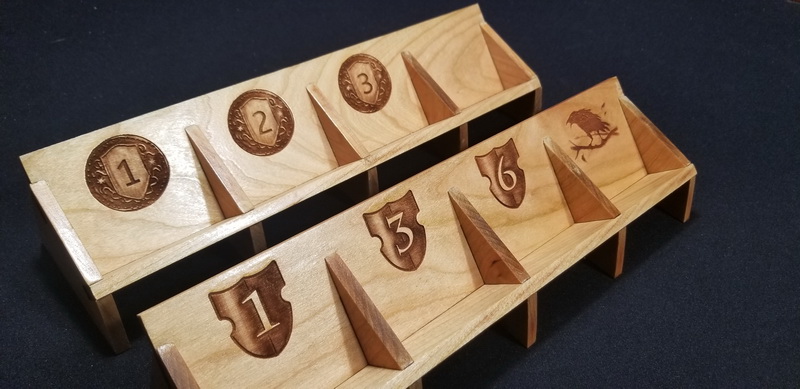
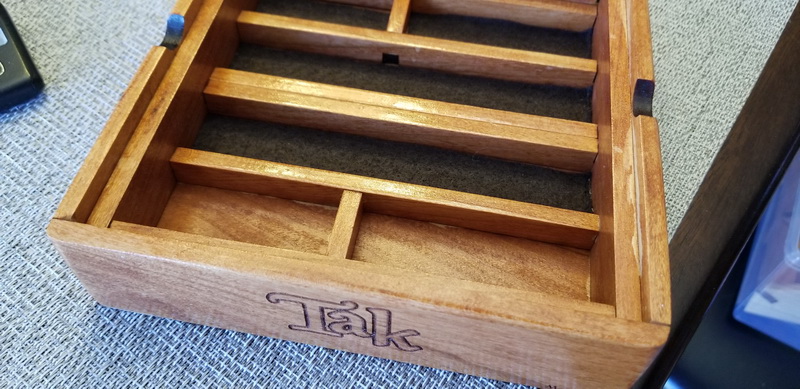
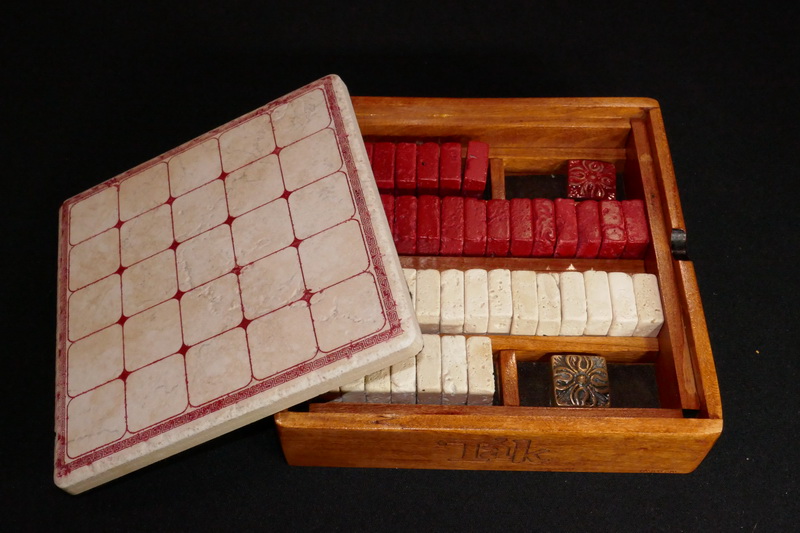
The inner box is done. You can see the channels for holding the stone pieces. They also gives a gap so you can get your fingers in there to pull out pieces. I don’t have to worry about sanding the burnt edges because I am going to put nice panels on the outside.

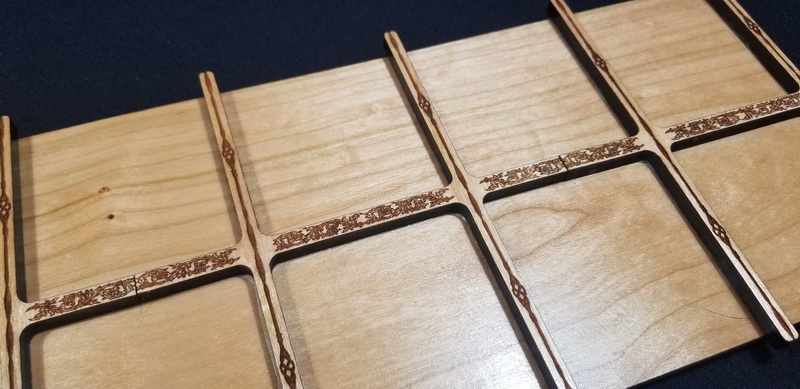
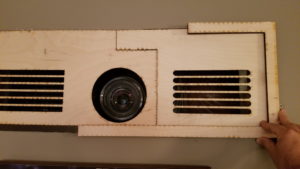
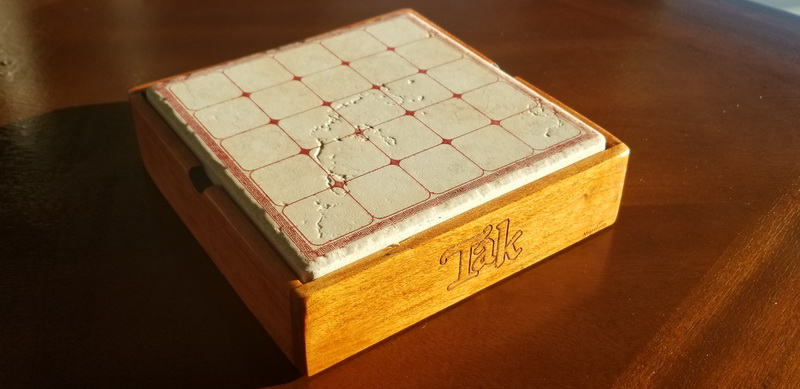
Testing if the tile-board fits in the top, acting as the lid:

Darn it – you can see that my outside pieces are like, a millimeter too short ! Arg. However, sanding the corners to hide this actually makes it look really nice…

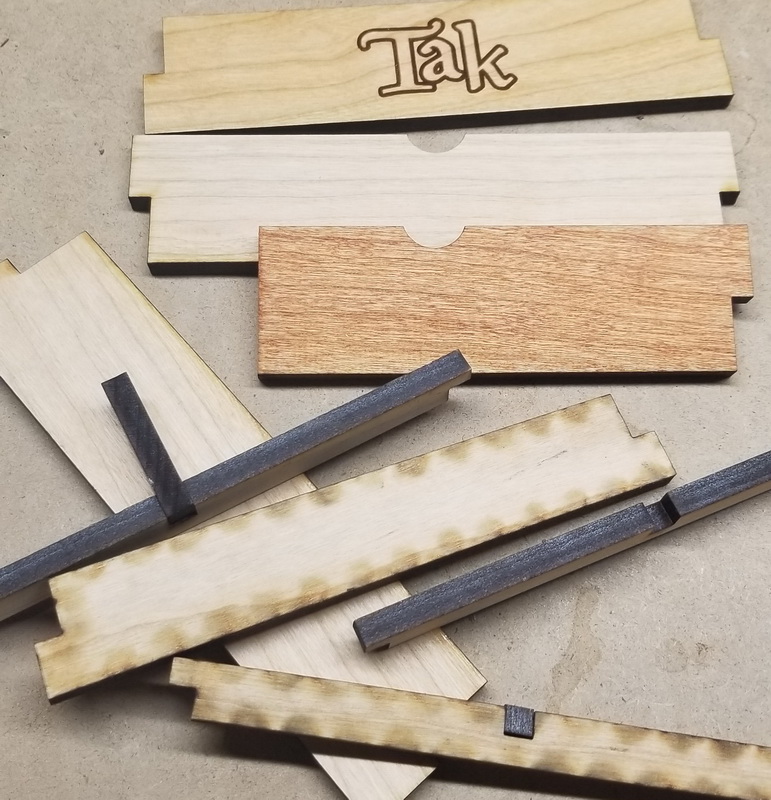
Luckily I made a big mistake on my first set of pieces for the box (ok, not really lucky LOL), so I have lots of test pieces to see what stain+polyurethane combo looks good:

Stained, urethaned, and now putting some sticky felt on the bottom:

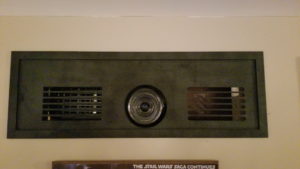
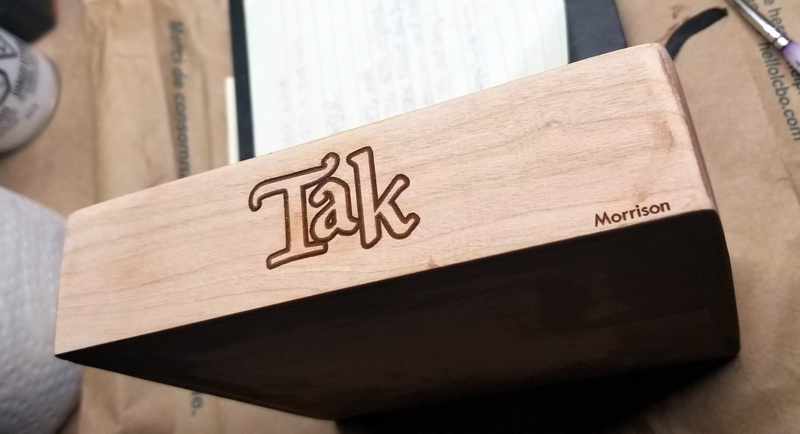
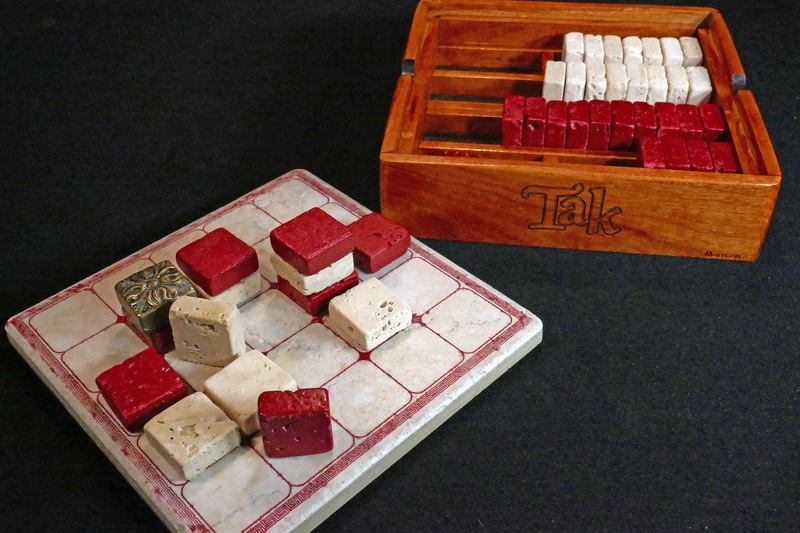
Putting all the pieces together …

Really pleased with the results.

(update)

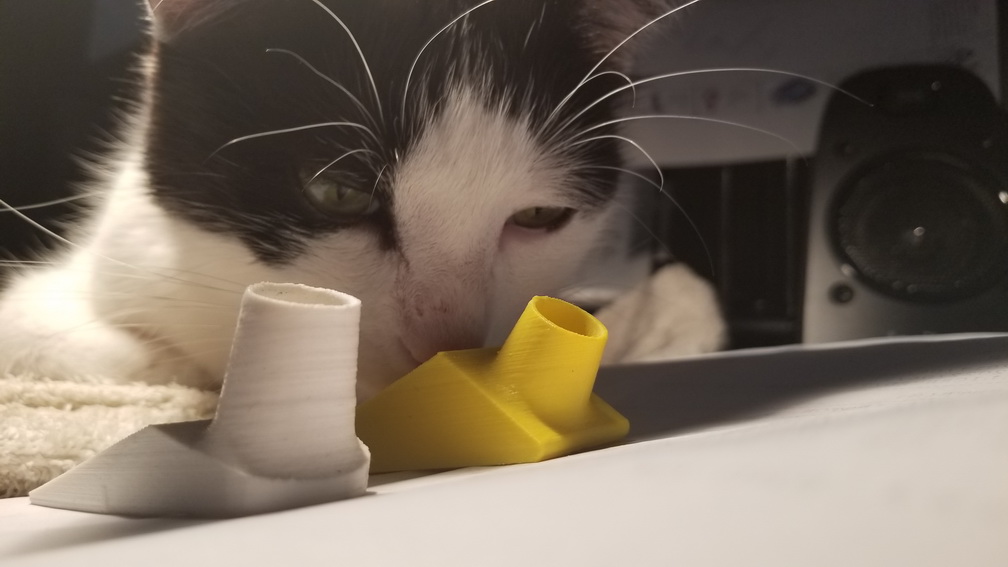
After losing to my son for the n-th time because I kept thinking his brown capstone was one of my red (dark) pieces, I took the brown capstone out to the garage and promptly painted it white. 🙂

Dominion Card Holders

Dominion is a card game  where players get to “buy” new cards and build their own deck to try to get points.  In the middle of the table between all the players are 10 piles of cards that you can purchase.  We like playing this game because it has fairly simple base rules but can get quite interesting.

I thought it would be nice to have a card holder in the middle of the table, and there are many people on the internet that have made very fancy versions but I find them too big or too expensive. 

I had always planned to make this, but because it was going to involve lots of fiddly cutting with the jigsaw it never made it to the forefront of my mind … until I found out about the local library’s laser cutting machine. 🙂

I first made a quick test to see if it would be deep enough. I also wanted to try etching something so I did that at the same time. The etching looks pretty good.

I made the design on the computer and then brought a piece of 1/4″ plywood to the library.  It took two passes – one pass to etch the images on the wood, and then the second to actually cut the pieces out.  It was technically really easy. (I say technically because the tiny pockets of glue in the plywood had a tendency to re-fuse together at points – making the actual removal of the parts an annoying box-cutter challenge). 

The two parts of the design. The base sheet of wood (at the bottom) and the “fingers” that I will place on top of the base.

 I then glued the two pieces together and stained it.  I should have done a stain test first though, because the darkness of the stain kind of obscures the etchings.

(photo missing – oops)

Of course, since I am making a nice holder for the center Kingdom cards, might as well make a fancy holder for the money and points cards too !  This was also driven by the fact that I did an etching test of the standard copper coin used in the game and it looked pretty cool – I want to do more ! 

This was a more complicated concept and was a fun challenge to design the parts required to make a 3D holder.

Once all assembled it looked pretty good.

but the same problem about it not looking great after the staining…

(2019 update)

I discovered a problem with the Treasury Card holder:  you can’t see the bottom of the cards in the back row, and this is where the “cost” is marked on each card.   Oh well – time to get rid of this cheap-feeling-thing-that-I-can’t-see-the-etchings-on.

Since I was laser cutting some boards of cherry for my TAK project, I redesigned and added the extra parts I needed into that print job.

A quick visit to the local specialty wood shop to get a board of cherry, some updating of the design files to accommodate the smaller width of wood and the 1/4″ thickness, and I was back in the library cutting out the pieces.  Note that I actually didn’t go to the library specifically for this – I was making my TAK board and box and was trying to maximize the use of the wood that I was putting into the laser cutter.  So I squeezed in this project into the printing of the TAK box parts (see other post on that distraction)

Much better – and I am better at etching settings as well:

and the polyurethane gives it a little pop:

of course, since these cherry ones look so nice, i had to re-do the main card holder so that they match LOL:

All three pieces in action !

Projector Shelf Panel

Unfortunately the cat has finally discovered the shelf that holds the basement TV projector.  I have no idea how this lasted so long (nice warm fan, good view) but it is time to finally do the projector shelf panel I have meant to do for a long time.  Projectors do not mix well with cat fur !

One of the main reasons I have been putting it off is that it will likely involve fiddly hole cutting.  But recently i have discovered that the main branch of our city library has a laser cutter, and this would be a good project to go try that sucker out.

The trick though, was that the maximum size sheet that the laser cutter can hold is 24″ x 12″, and my opening is much bigger.  So I had to make it in two pieces, and use an overlapping frame to hold it together (and make it look nice).  I had to do some fiddling in Inkscape to come up with the shapes that would overlap each other so that none of the joins would be in the same place.  I also wanted to use as few sheets as possible, since there always seems to be a lineup for the laser cutter and i want to be as efficient as possible (and I pay by the minute).   The result was something like this :

(if i am sending something to a machine i hate to waste an opportunity, so I put a bunch of test pieces for other projects in that blank space)

Once happy with the design, I put 1/4″ ply into the laser cutter and I am pleased with the results:

You may notice that the vents are not rounded on the right piece.  That seems to be from a bug when I print to the laser directly from Inkscape.  For some reason the rounding on some shapes disappears, so for the second piece i imported it into Corel and printed from there.  All good learnings.

Everything fits well into the wall:

So I spray paint it flat black, glue it all together, and  voila !

Looks great !  And the cat is not happy LOL :

He was seriously trying every angle to see how to get past/remove it.

Good first laser cutting project.  Working with the 1/4″ ply is not so great though since it is only a 40W laser.  At that thickness little pockets of glue melt-then-rejoin after the laser goes by, so most of the pieces didn’t detach quite easily and I had to wrangle it with a box-cutter.

Making a Stylus Holder

My home office desk is a mess.  The sedimentary layers of paper/cards/things/devices all represent stuff that I am working on, or waiting for something, or as a reminder of something that I should get to pretty soon.  It also doesn’t help that I lose almost 25% of my desk space to the cat. (I have a towel down to encourage him to stay to the side instead of him flumping all over everything in front of me).  Let’s not even mention the piles surrounding my desk of other things in the queue (like piles of old photos to scan, bills to file, cassettes to record…)

As a consequence of this entropic-organization I often lose track of my mouse-pen when I put it on my desk.  I needed to make a holder.

So I found a design on Thingiverse that someone had made:

and remixed it to something that I can mount under the lip of my desk and then printed it at the local public library:

installing it:

and voila – a place to put my mouse-pen, right above the tablet:

Works great. If I were to make it again (doubtful since I only need the one) I would make the collar deeper.

— 

(update)

ok – I did make it again.  Combination of the bad angle of the pen, the sharp corners, and the fact that I use it everyday drove me to make some quick mods.  But this version is more or less perfect.


New vs Old.  Houdini thinks they smell the same.
The new design holds the pen much better, and is more discreet. I have since moved it over to the right and it can use it now without thinking. No more lost pens !