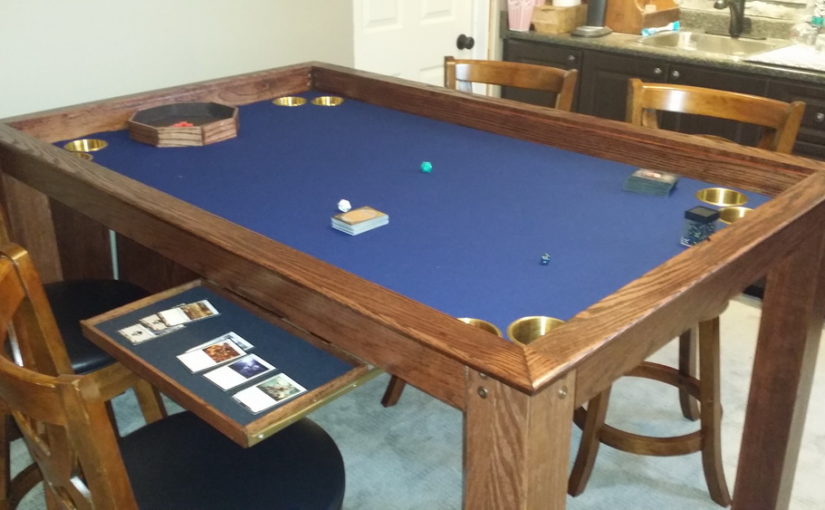
We like playing board games as a family, and when we finished the basement we had an area for playing games (and I couldn’t afford to put in the bar 🙂 ). We used a simple IKEA table for a while but it was small, and dice bounced off the table, and every other excuse I could think of in my head after seeing these gorgeous gaming tables on line. These things were amazing, and cost an amazing US$3,000 and up. Uh… no. For that price, I can make one of those ! (I think. I mean, I haven’t really made furniture before …)
Key features I want:
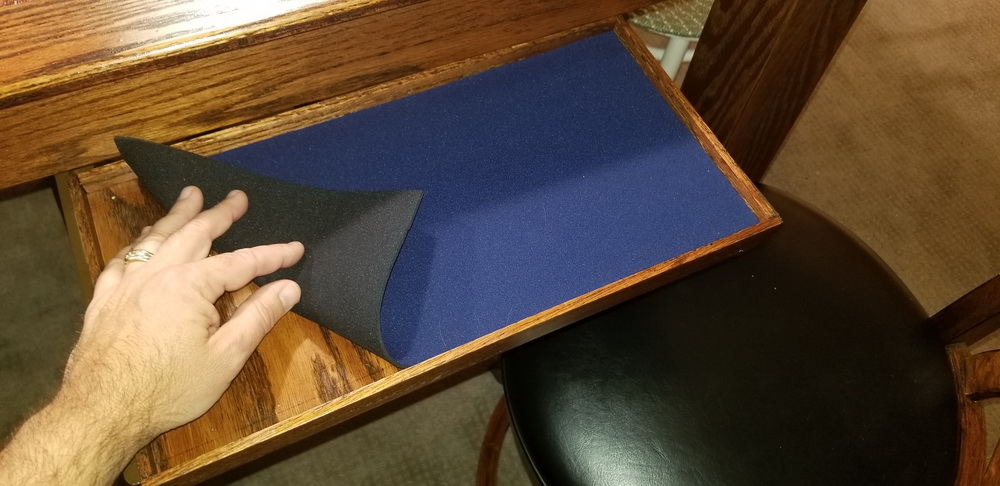
soft playmat – to make it easier to pick up cards, quieter while rolling dice
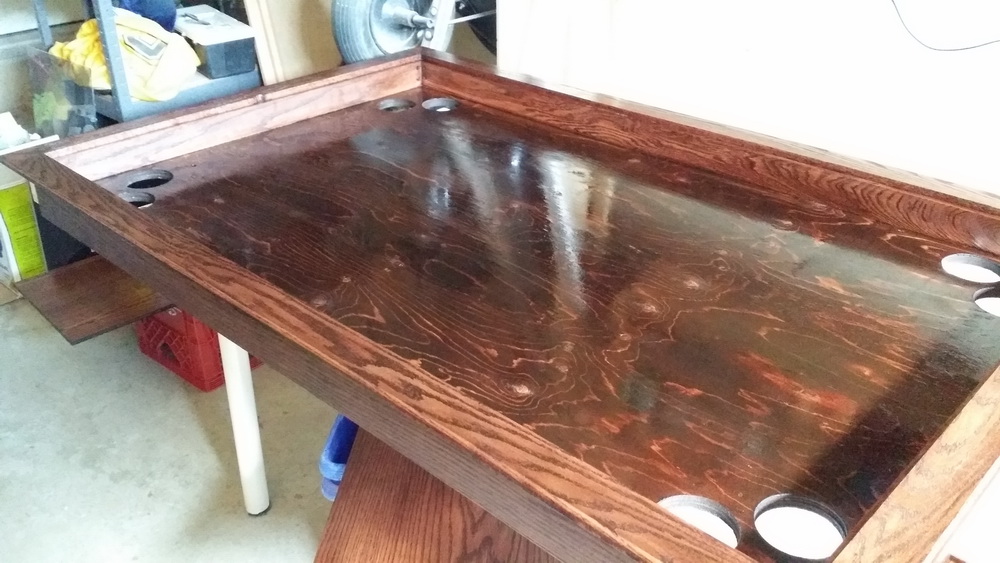
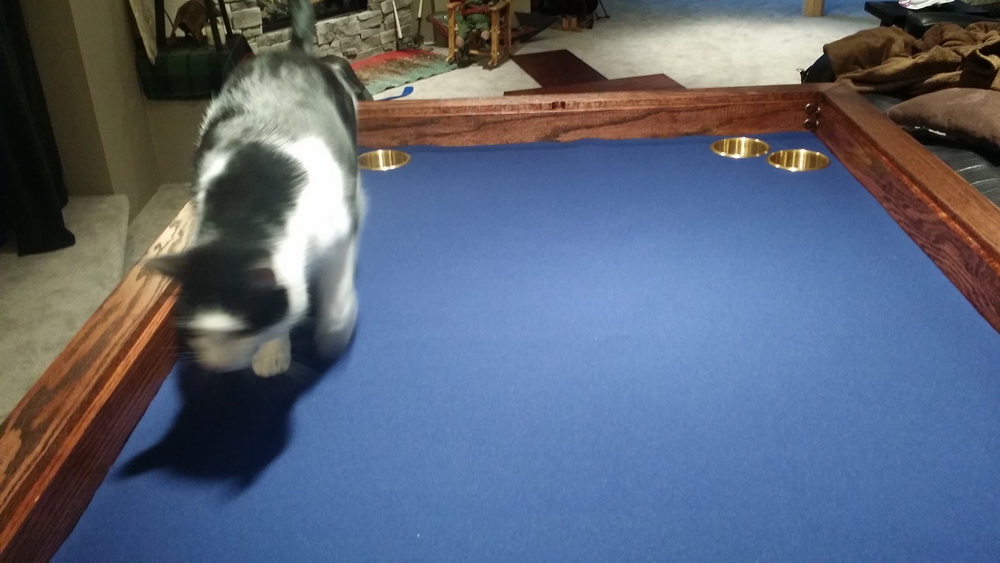
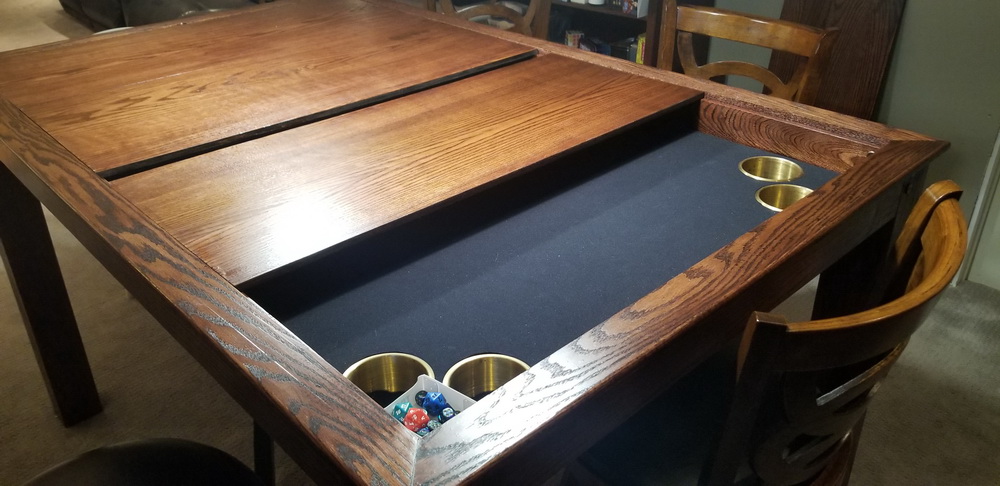
recessed game play area – so you can cover up a game-in-progress and come back another day and not find a cat sprawled all over your game board. Also keeps dice and rolly-bits from escaping.
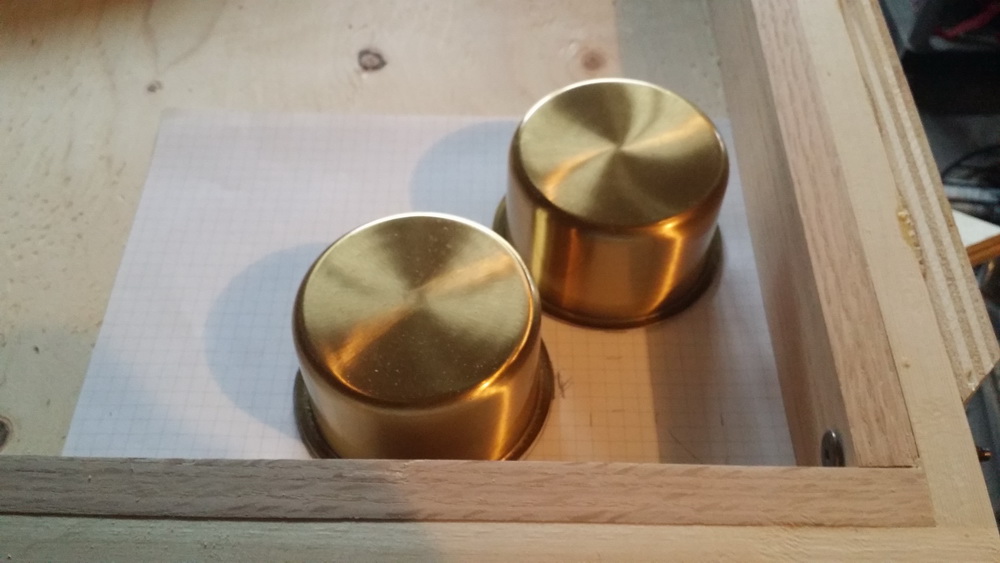
drink holders. ’nuff said about that.
big enough to hold the common entry-level games we were playing at the time (like Catan)
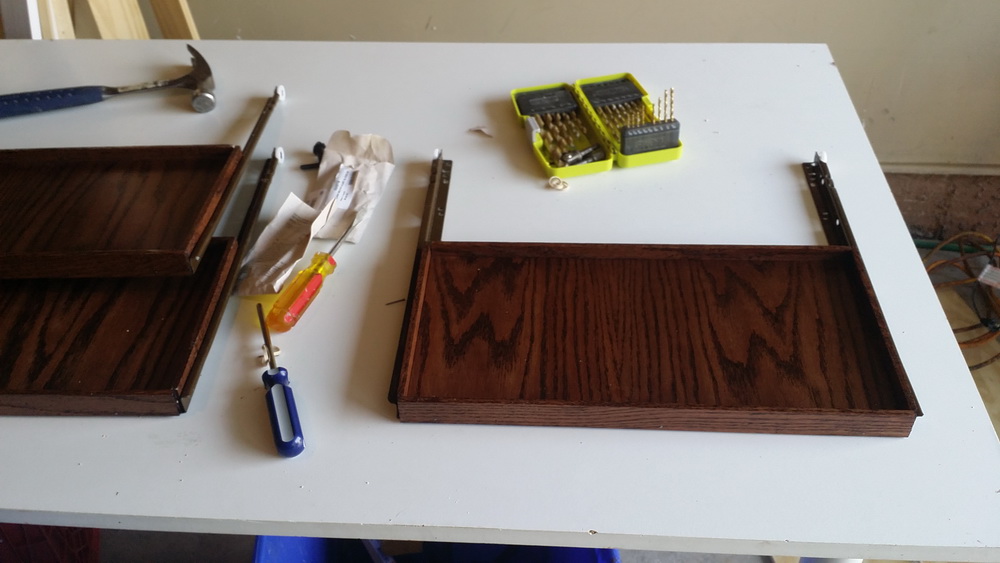
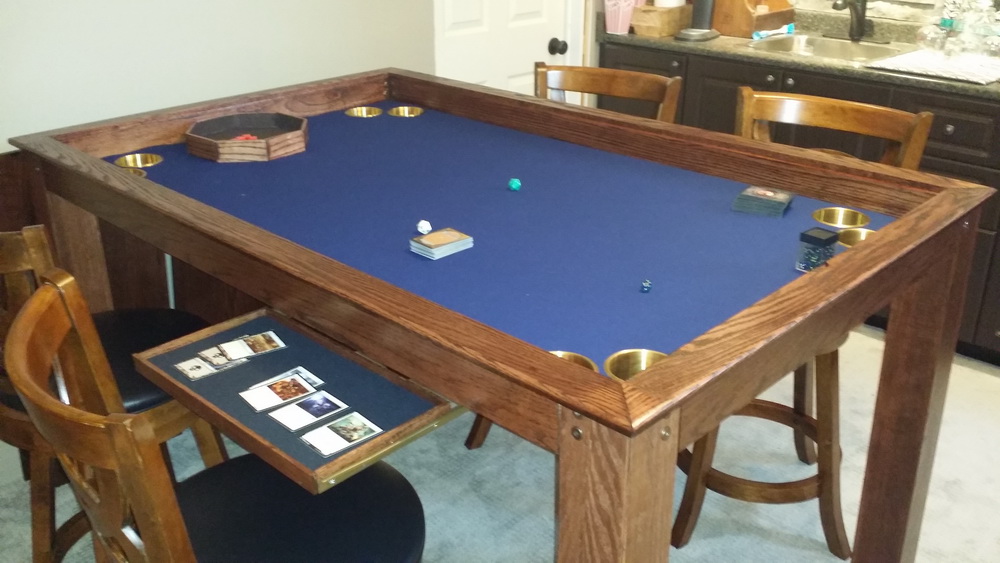
sliding drawers for players to hold their secret cards/components.
There were other cool ideas that I liked (LED lights, charging ports, flip compartments etc) but I was already thinking I was biting off more than I could chew.
Design
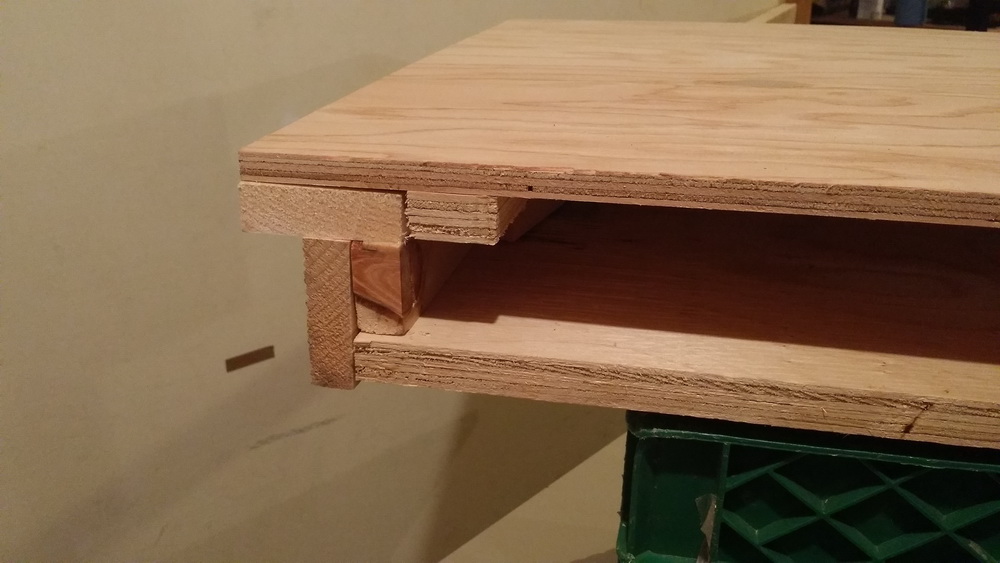
I built some rough mock ups of the table to try out ideas. A key design consideration was using standard width boards so I didn’t have to rip long pieces of lumber.
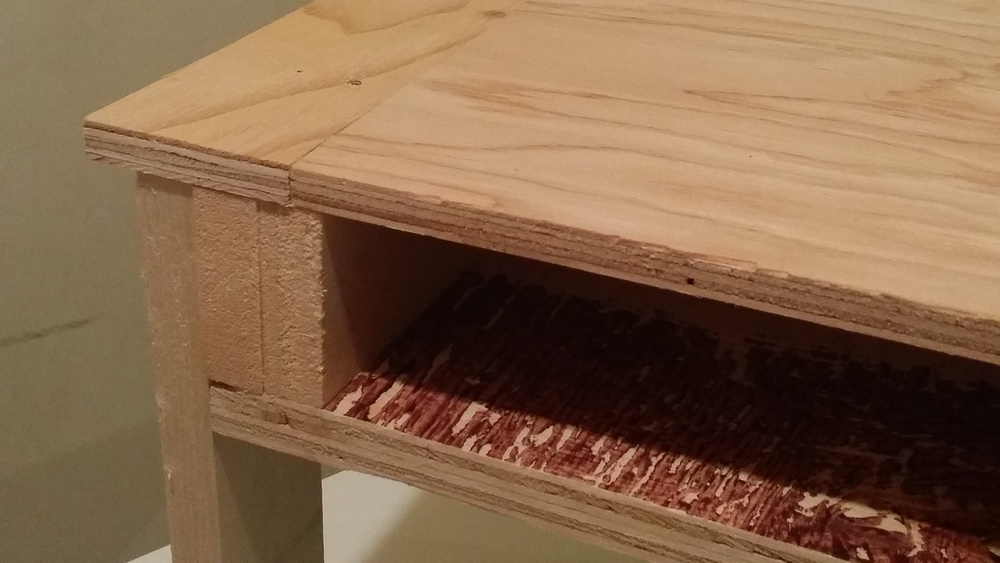
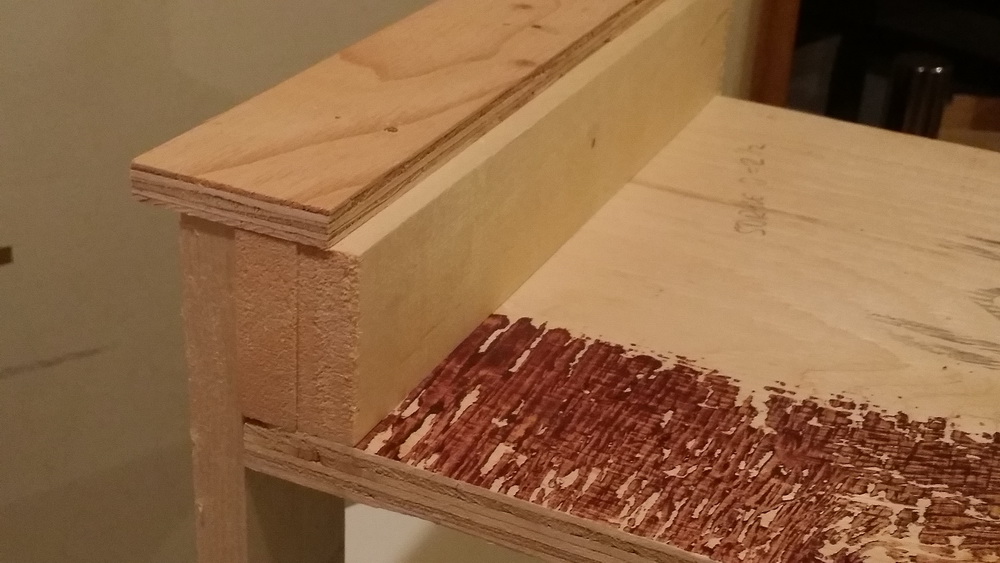
I liked this table top style because there are fewer seams for liquids to fall through if someone spills a drink when the table is closed. However the depth of the gaming cavity was too shallow (tall game pieces on boards wouldn’t fit)This one had a much better cavity depth, but a full covering table top would make it overall too tall, so I tried it with the table top as an insert. Another bonus of this design is that I will need less Red Oak (what i am using for outside layers) and probably don’t have to sand and finish as much. The edge is also wider so there is more to lean your elbows on.
Let’s get building …
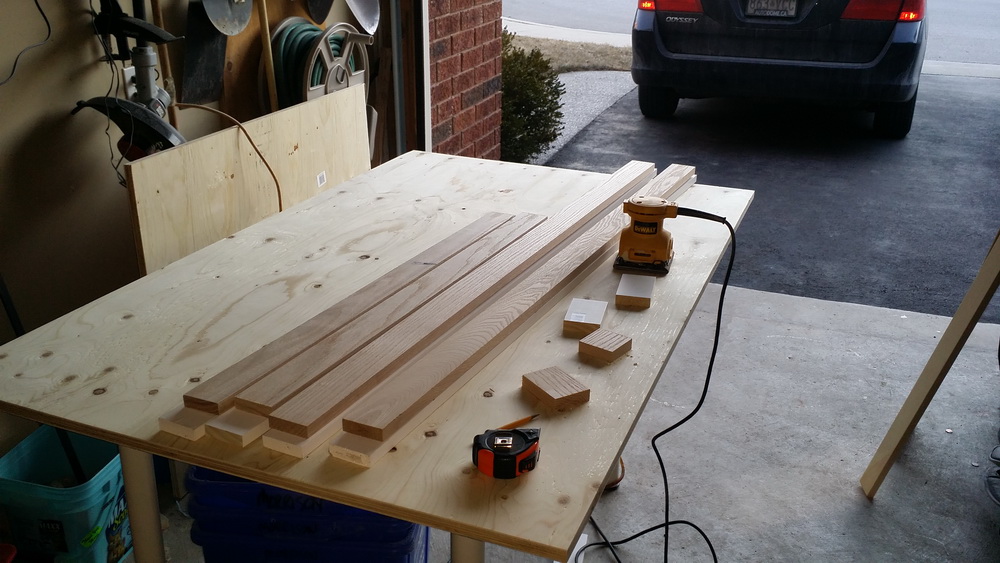
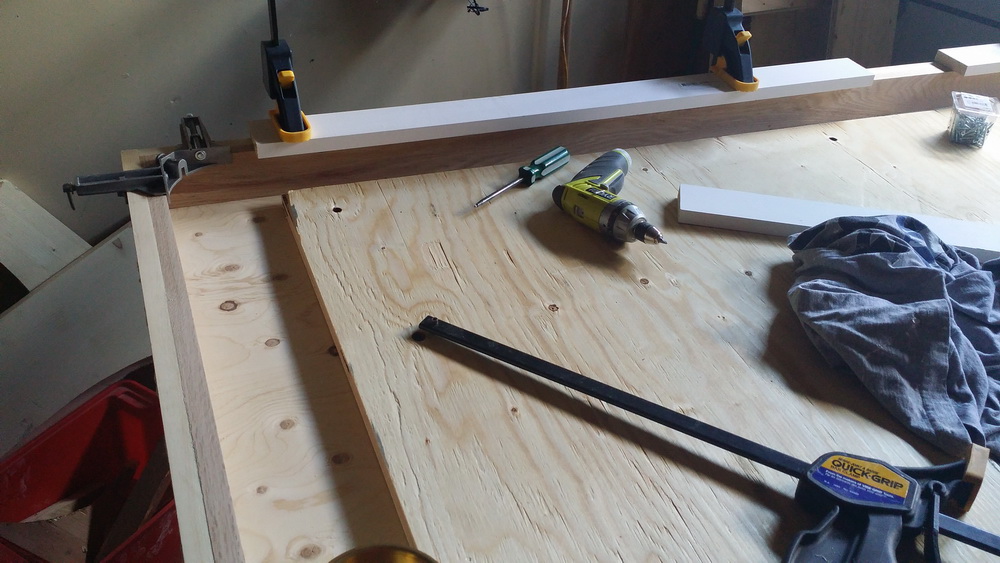
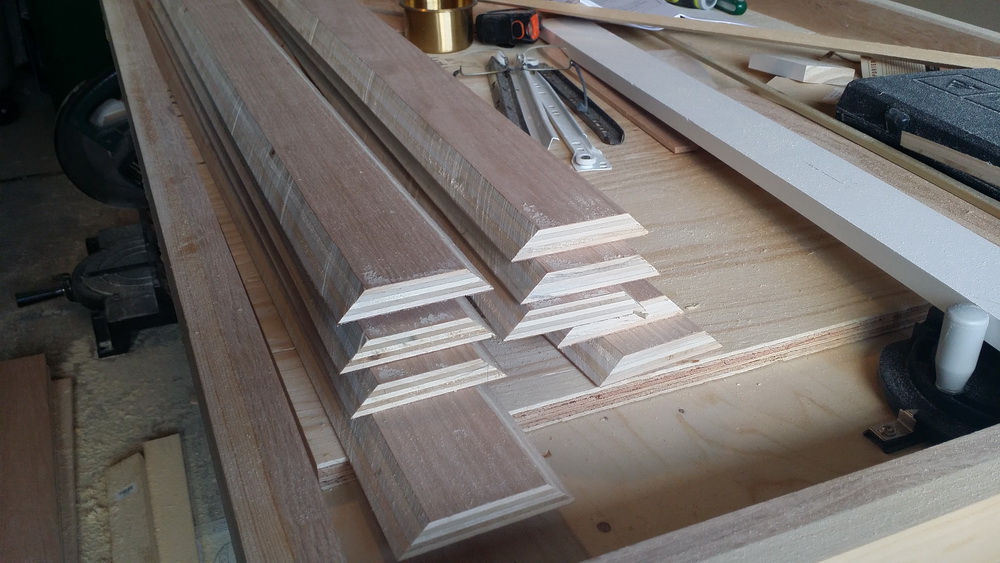
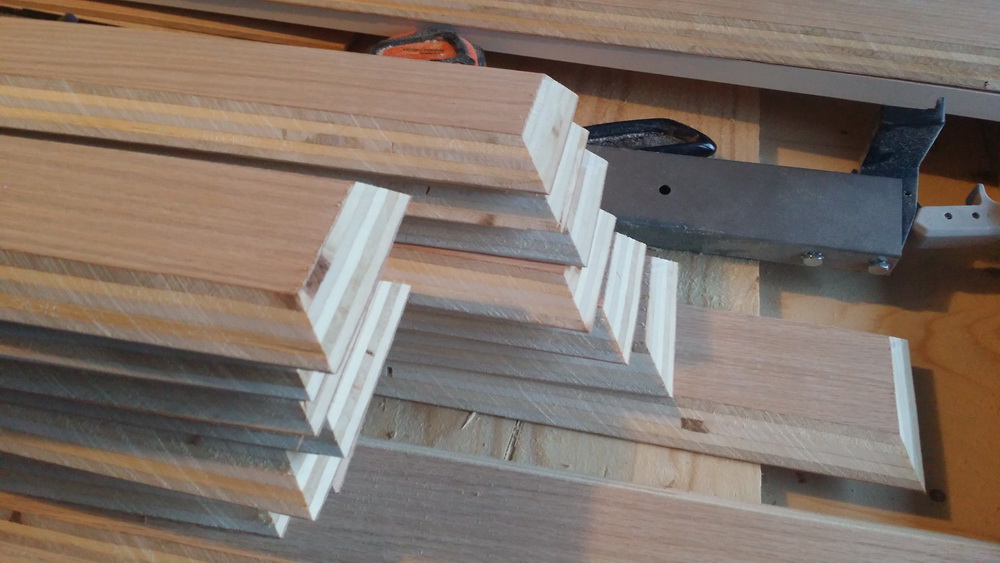
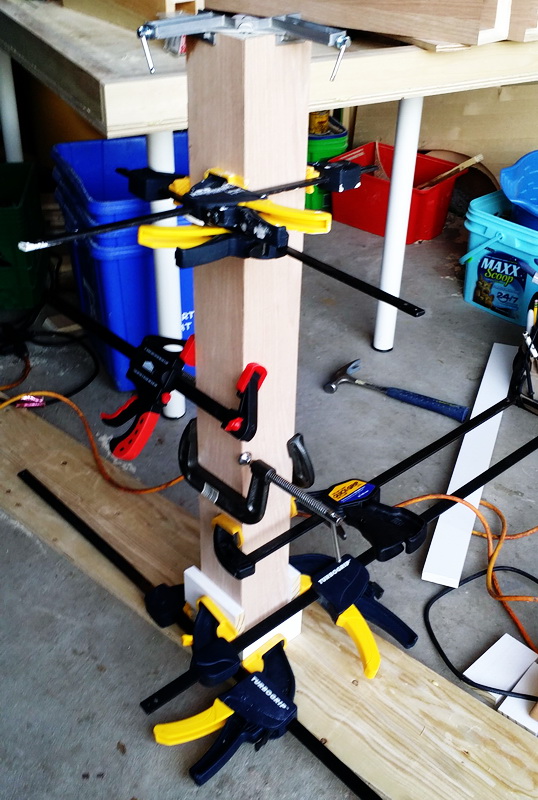
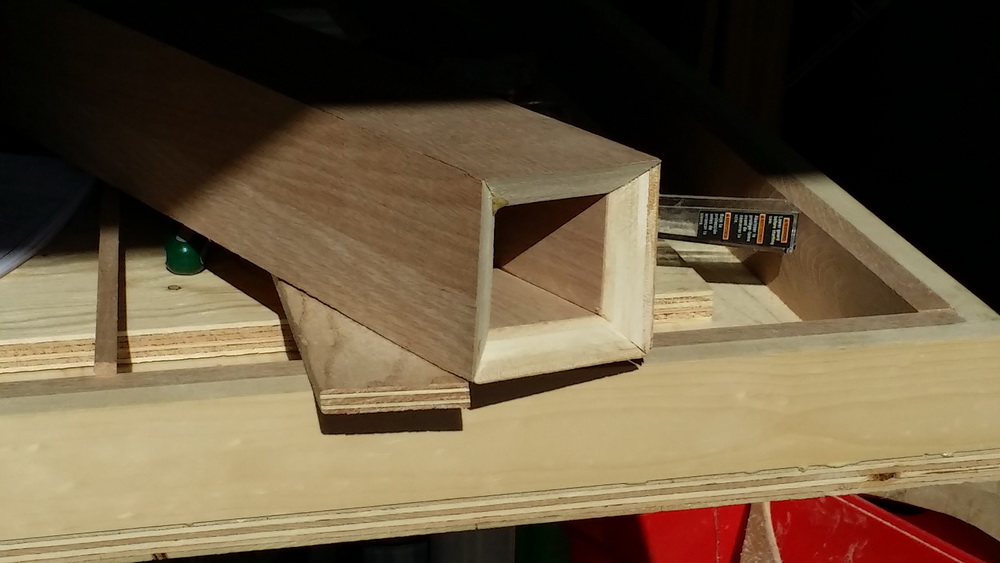
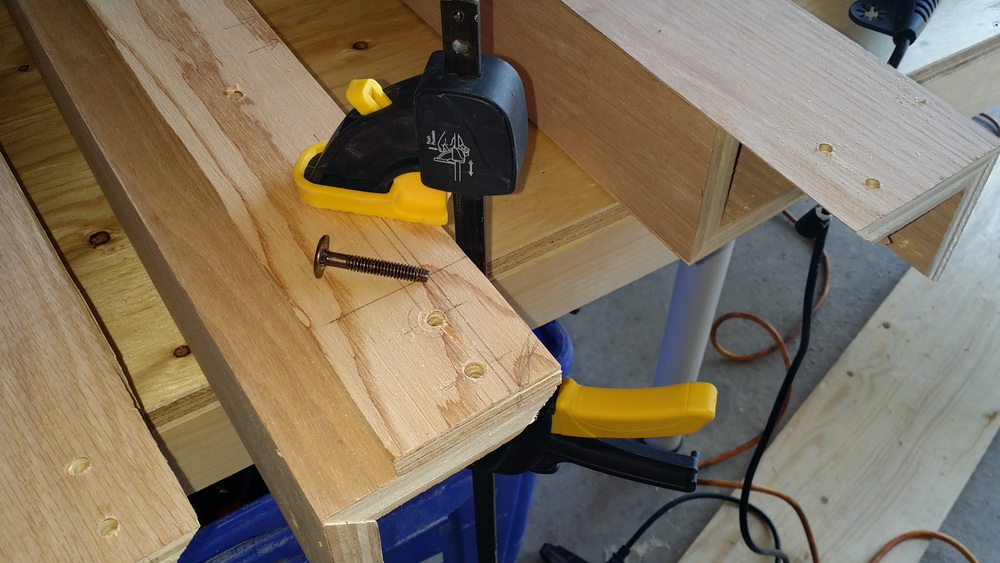
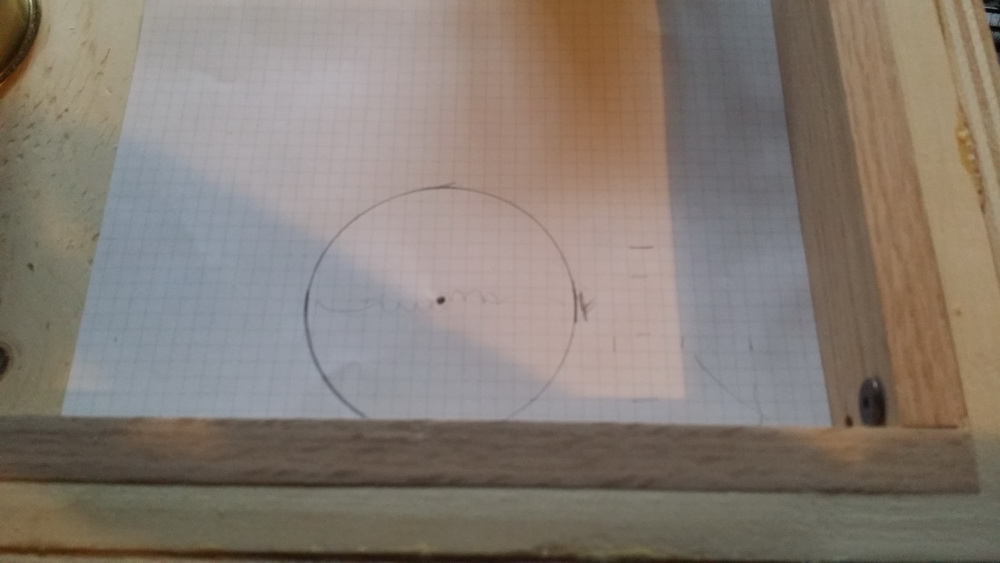
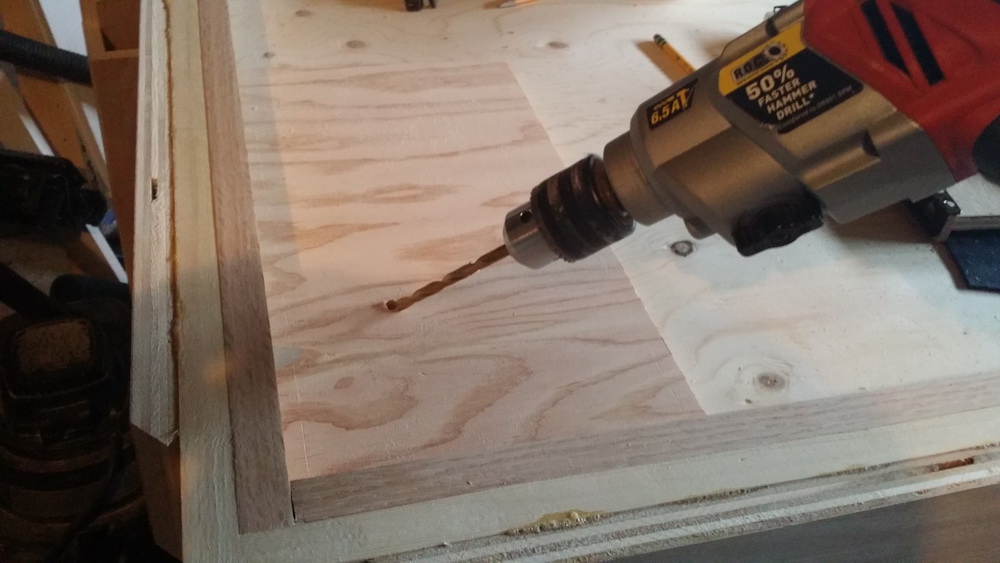
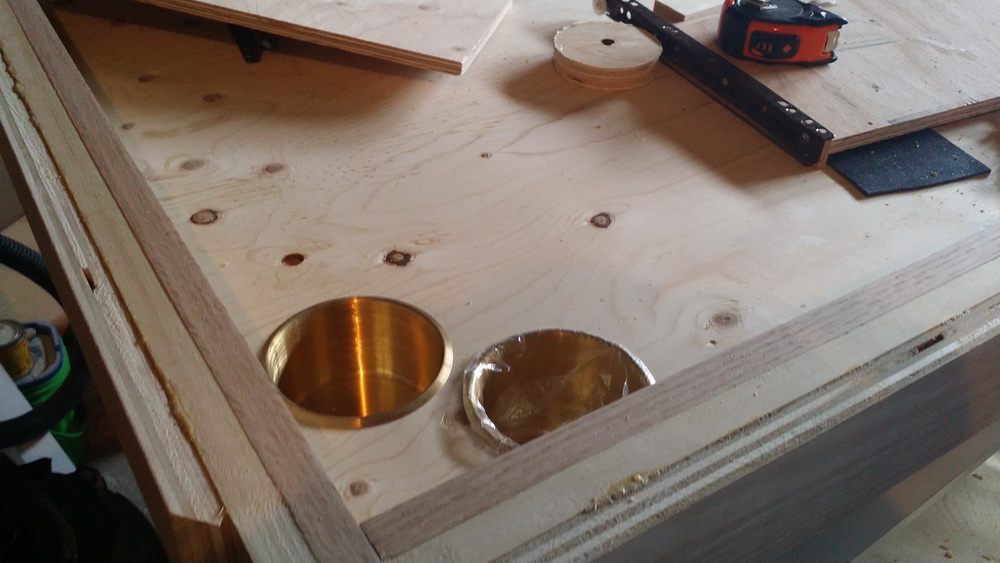
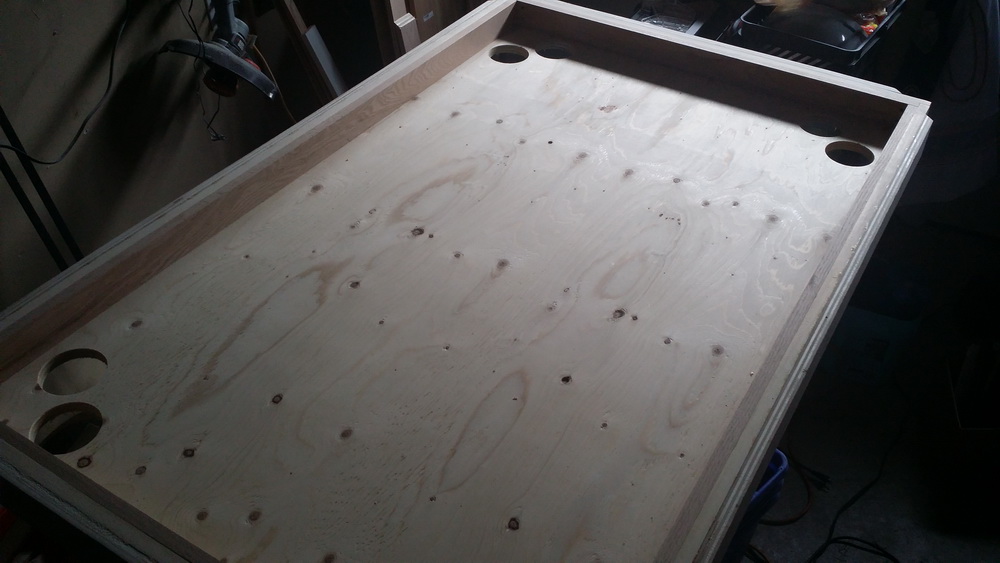
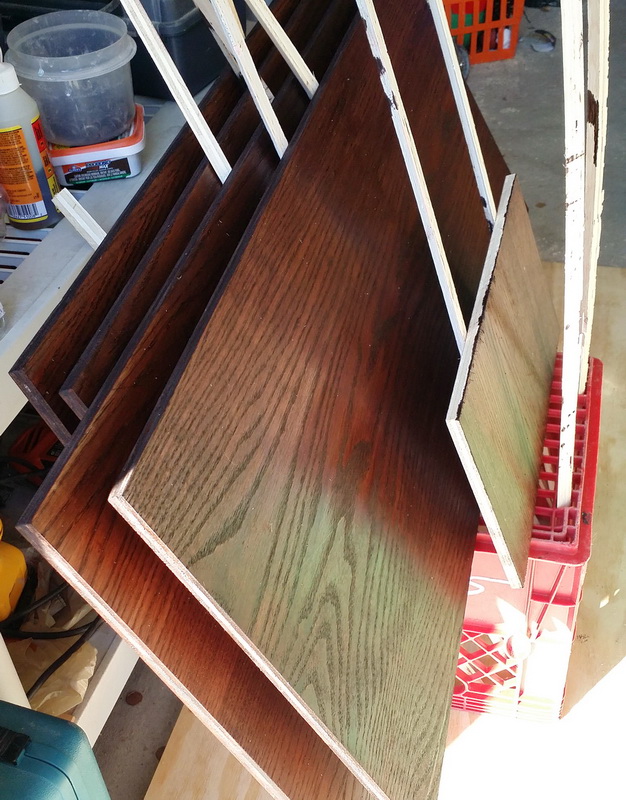
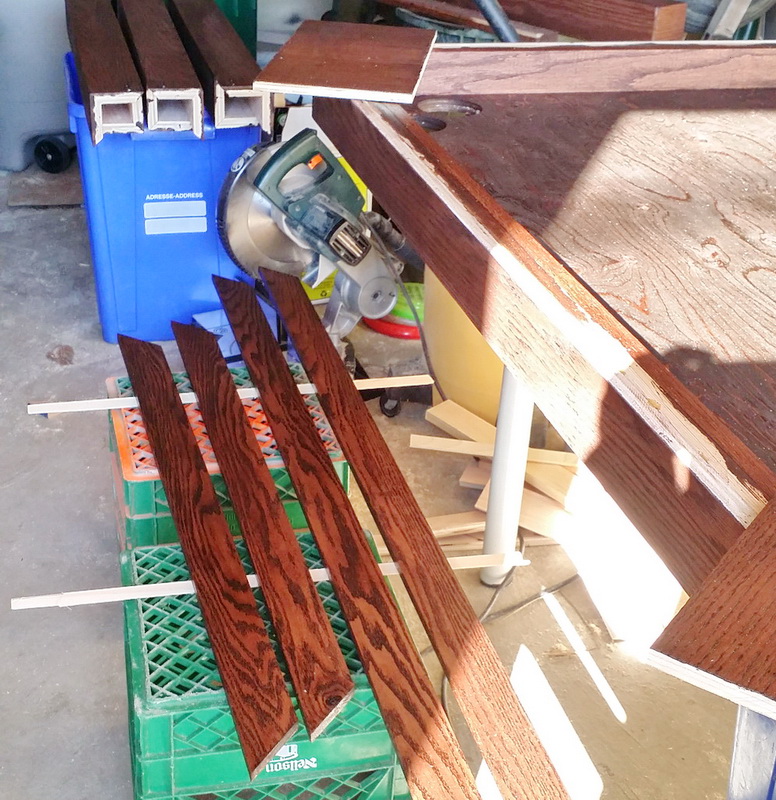
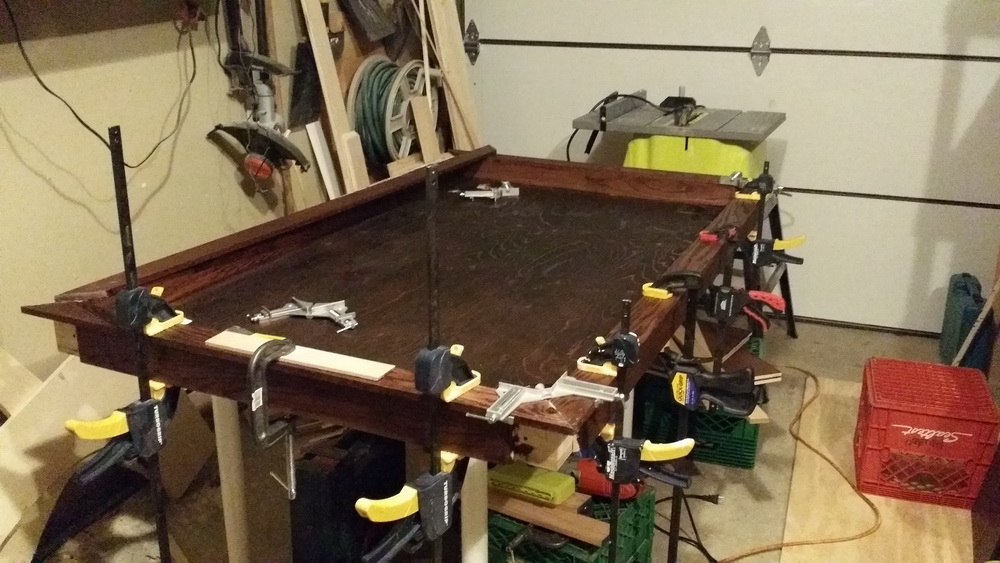
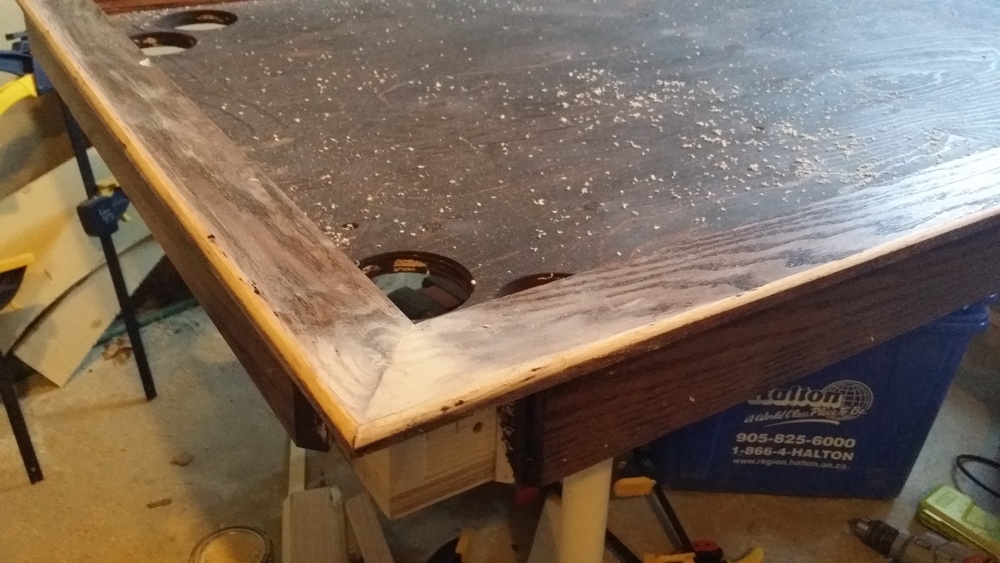
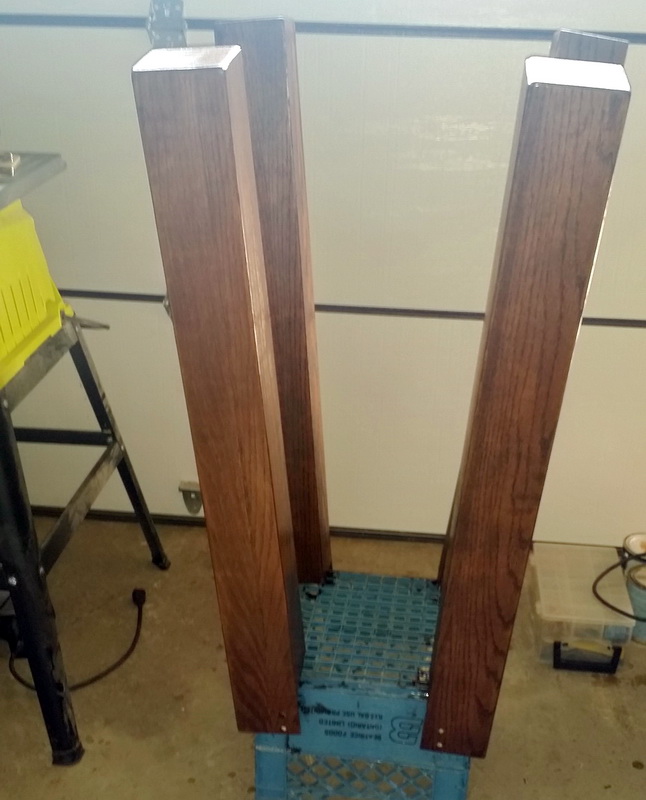
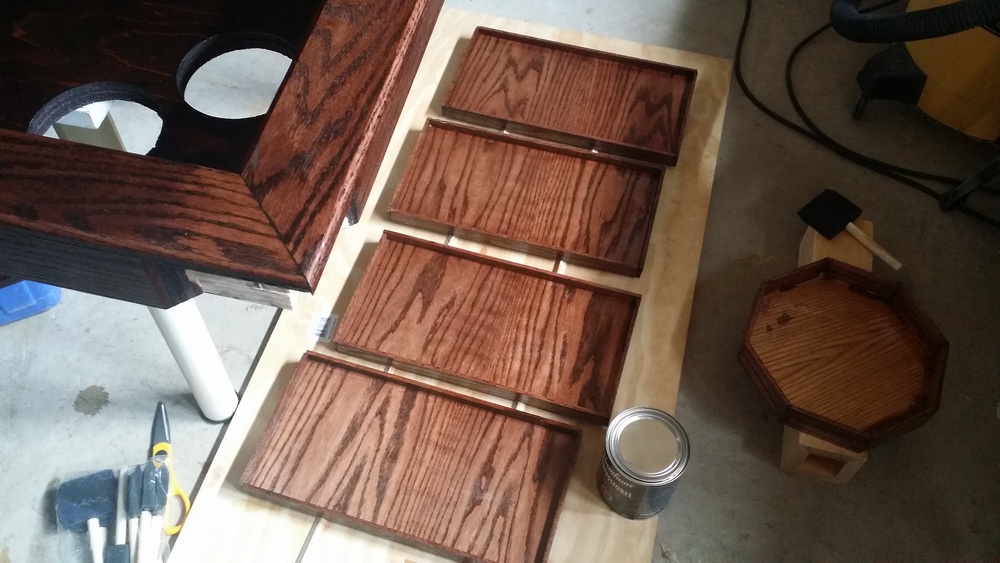
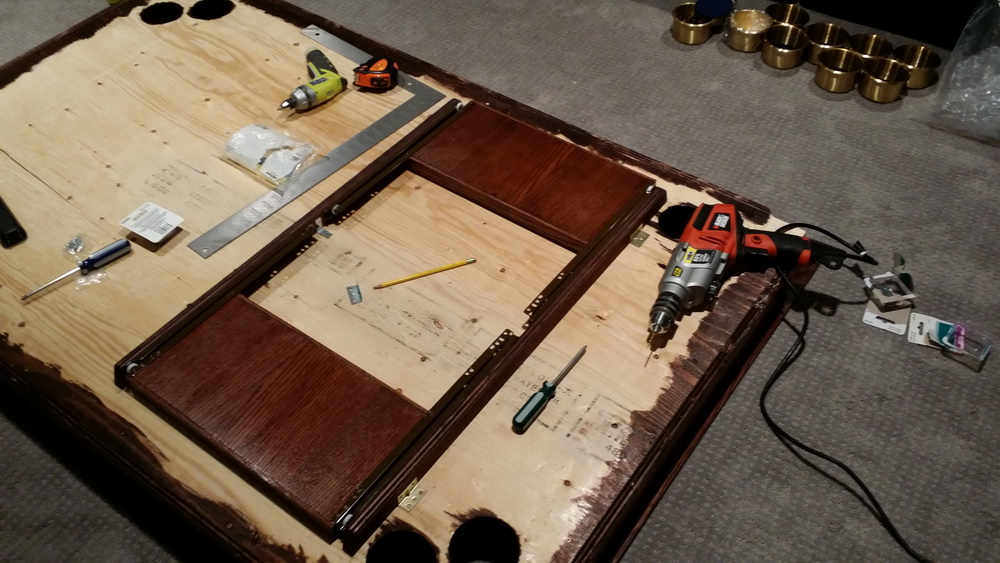
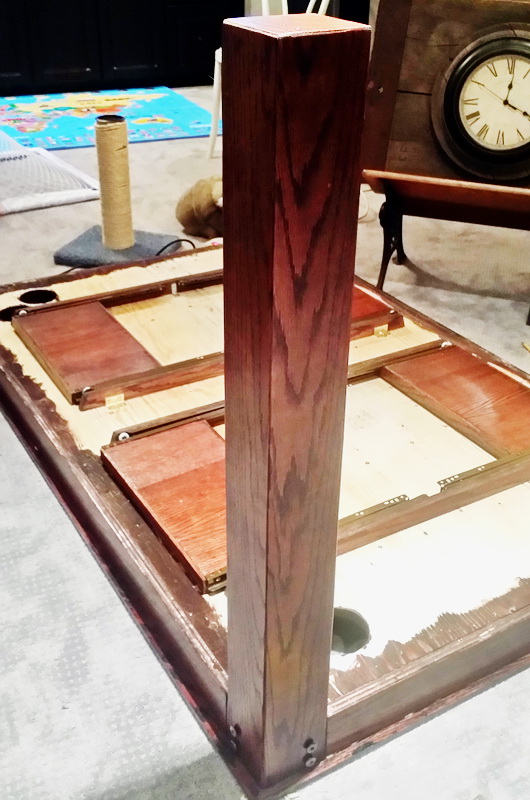
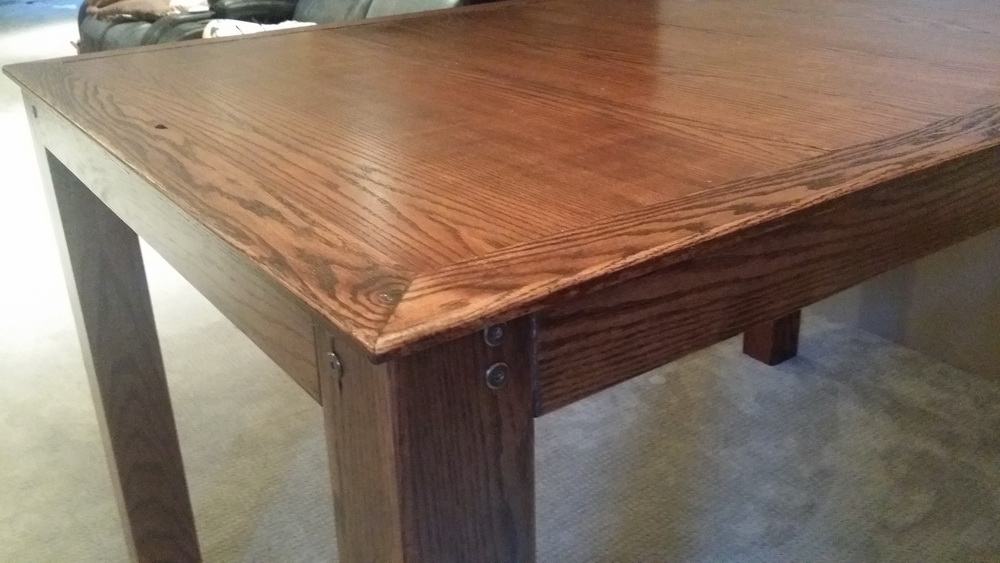
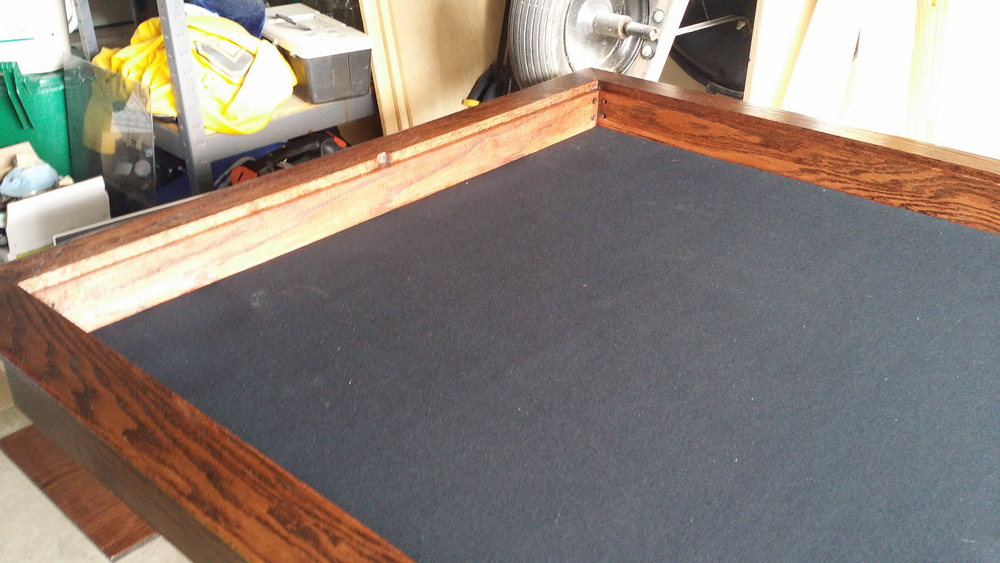
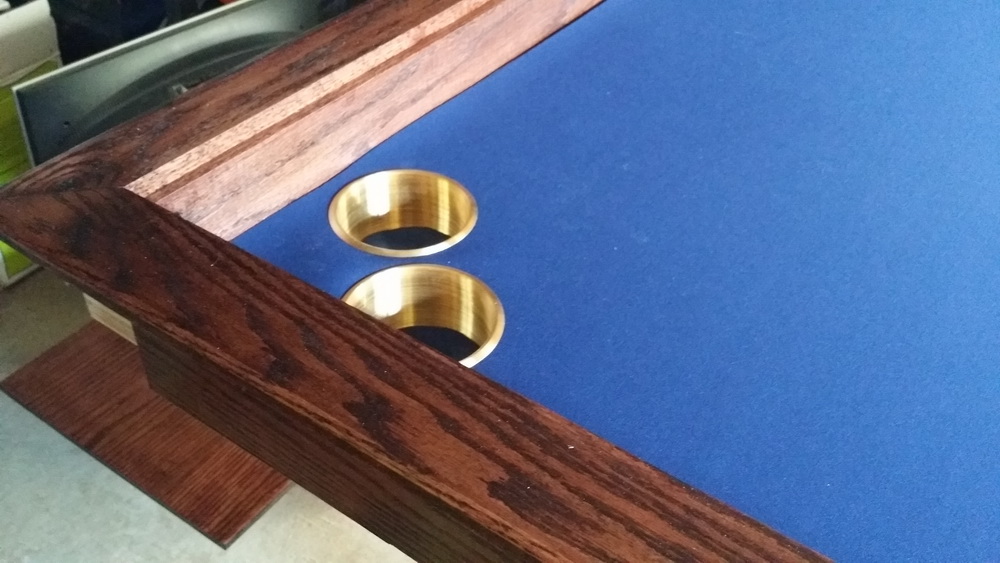
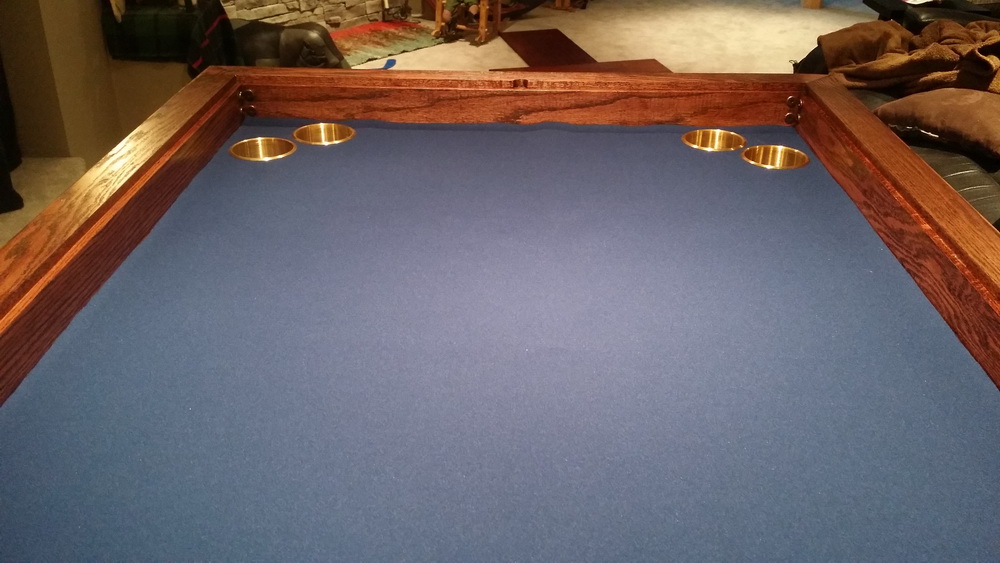
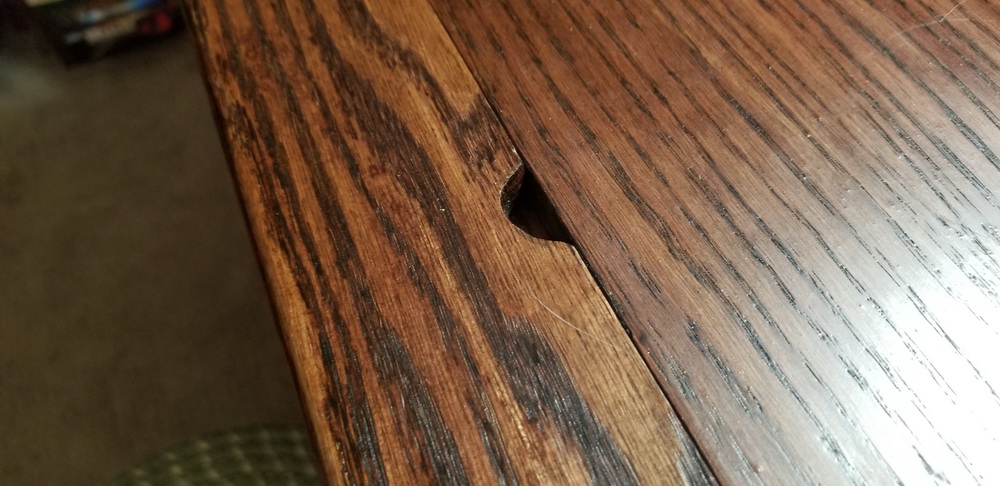
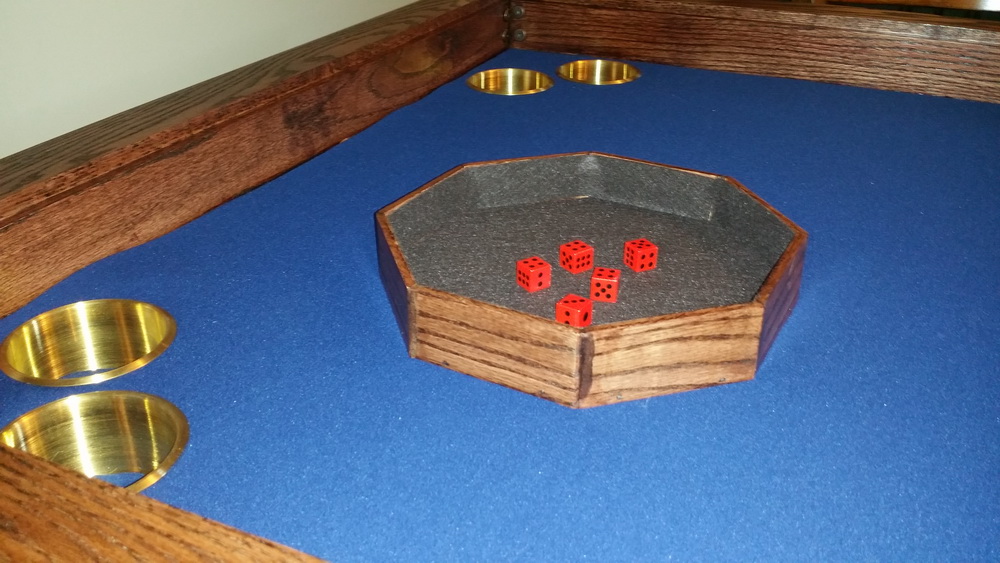
Ok – design settled. Great that i can buy the boards and they are already the correct width – just have to cut and sand them to the correct lengths. Nice strong plywood for the base.Gluing and clamping the table edges/walls along with the inner oak finishSaw something online about making the box-legs (without spending a fortune for solid oak). Four of these will form one leg. I was really worried about doing these angle rips because they have to be pretty symmetrical. (I think i only ruined 2 boards working on this)I also had to angle-rip the bottom ends so I can put a cap on it but still retain the illusion of it being solid.Just about every clamp I own gluing four of the angle-rip boards to make a leg. looks pretty good, and looked better after sanding the edges (hides the gaps). This is the bottom where I will put a square cap.To make sure that all holes are exactly the same on each leg (so I can put them on any corner) I made a drill-guide out of scrap wood.All legs assembled and attached to the table ! Note that the edges of the table each need a strip of red oak. Andrea has a test sliding drawer that will hide underneath.Gluing the oak trim on the sides (between the legs). Coming together !Got an 8 pack of these lovely little cup holders on amazon. I plan on putting 2 in each corner. I know serious gamers would be horrified that I am recessing them on the actual playing area, but this will be more convenient and I think there is less chance of knocking things over it they are actually in your field of vision (as opposed to being on the outside edge).Outlining one cup holder. I then flip the paper (around the table corner) and that makes both holes symmetrical about the corner…… and then doing the same thing with a scrap board to set the pilot hole. Drill, flip, drill.Looking good !With all the cup holder holes drilled, the table is mostly done. Time to stain (eech)Staining the table top panels and various bits for the drawers.Staining the edge trim and the main table.Clamping the trim on the table.Dang-it … something didn’t work out right and there is major lip on one of the corners. Sand sand sand.All stained and varnished. The pine of the plywood base is a bit dark / busy, but that is okay because it will be covered for the most part.Staining and finishing the legs. Another creative piece-holder made from four pieces of rebar stuck in a milk-crate Staining the drawers as well. on the right is the spare-parts project: a matching dice tray.Since I want the drawers to extend past the table (but don’t want to make mega huge drawers) I put on long sliders…I can fit two sliding drawers opposite each other, so four on the entire table. I could not figure out a way to get drawers for players on the table ends without having them hang too low where you would bang your knees.Assembling all the parts in the basement. Exciting !Table all assembled with the solid boards in place.Laying the neoprene mat in the playing cavity. Need to cut holes for the cup holders !One of the boys suggests putting the cut out holes of the neoprene in the bottom of the cup holders. Awesome idea. Looks great with the blue side of the neoprene.Rare shot of table surface with no cat fur……. Well that lasted 30 seconds.Woo hoo ! Secret drawers work great. Table looks awesome!Just like the main table, the drawers have neoprene mats that are reversible. And just like the main table it holds cat fur just as well.Showing how the leaves go in place. There are four boards that nestle into place.And luckily I thought of putting in the finger-notch before I glued all the parts together. Makes it much easier to open.And the spare parts project – the matching dice tray !
If I was to do it again, I would:
use thicker boards for the table top leaves
add a “card holding rail” (aka thin slot) along the edge
USB power in the leg (I might still do that LOL)
maybe LED lights. I thought long and hard about this in the design phase, but I didn’t want them visible so that would mean lots of extra boards and loss of playing real-estate. Kinda kitchy too.
put table-top leaf holders under the table instead of the drawers. The drawers don’t really get used that much, so they weren’t really worth the effort. (might be because they are so well hidden)
Over the years the table has had a lot of good use, especially when the boys have friends over for games and MTG.