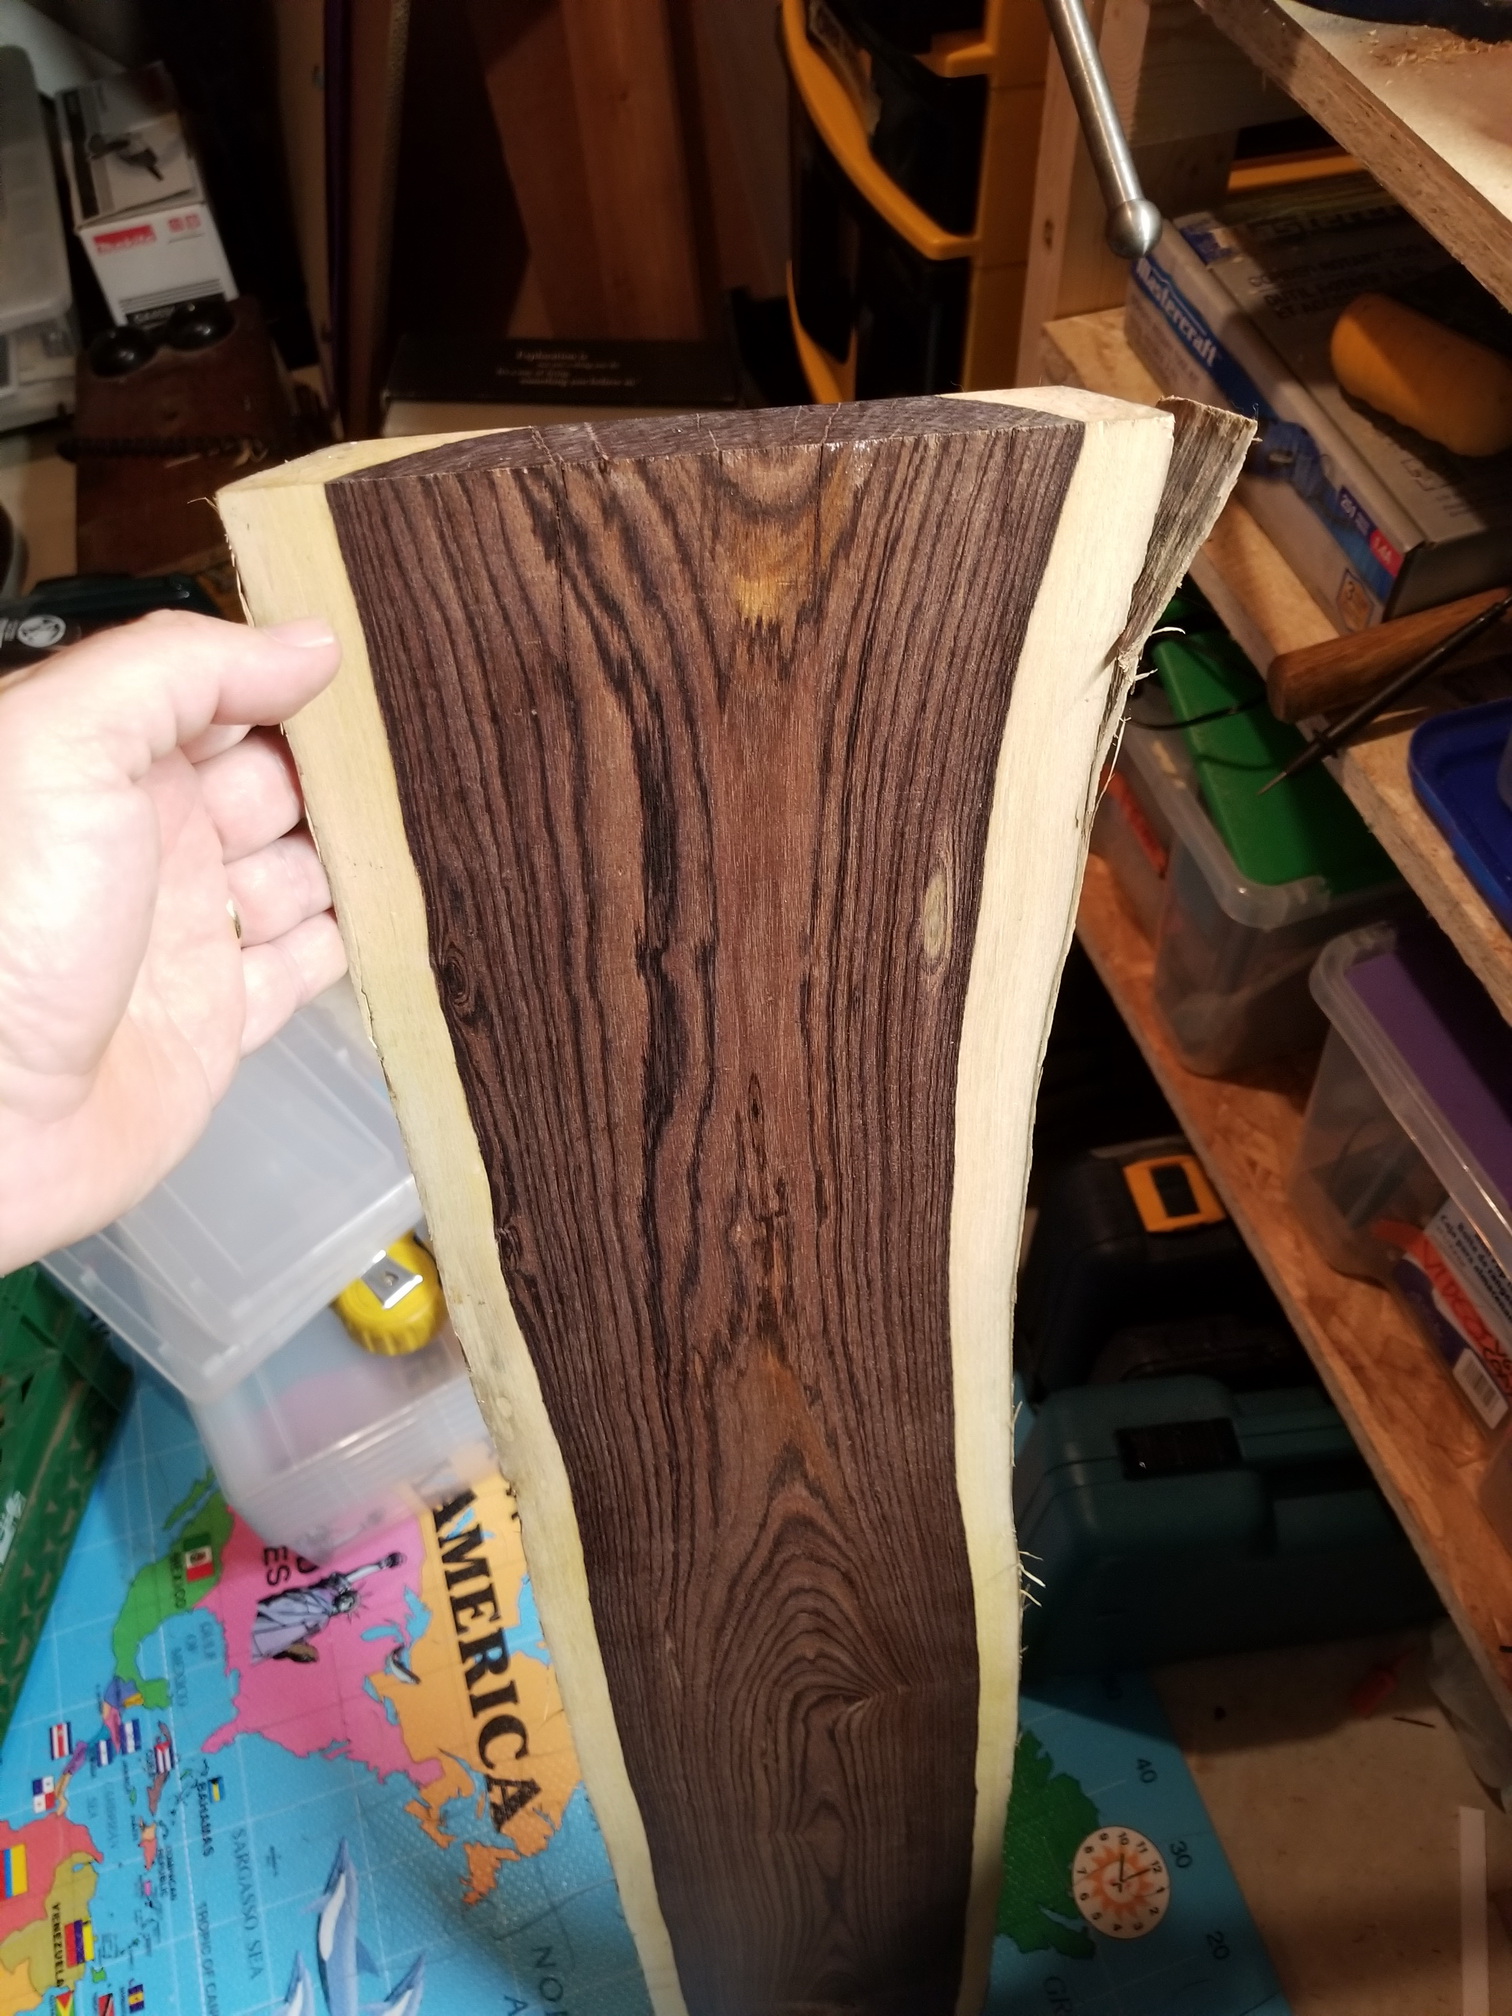
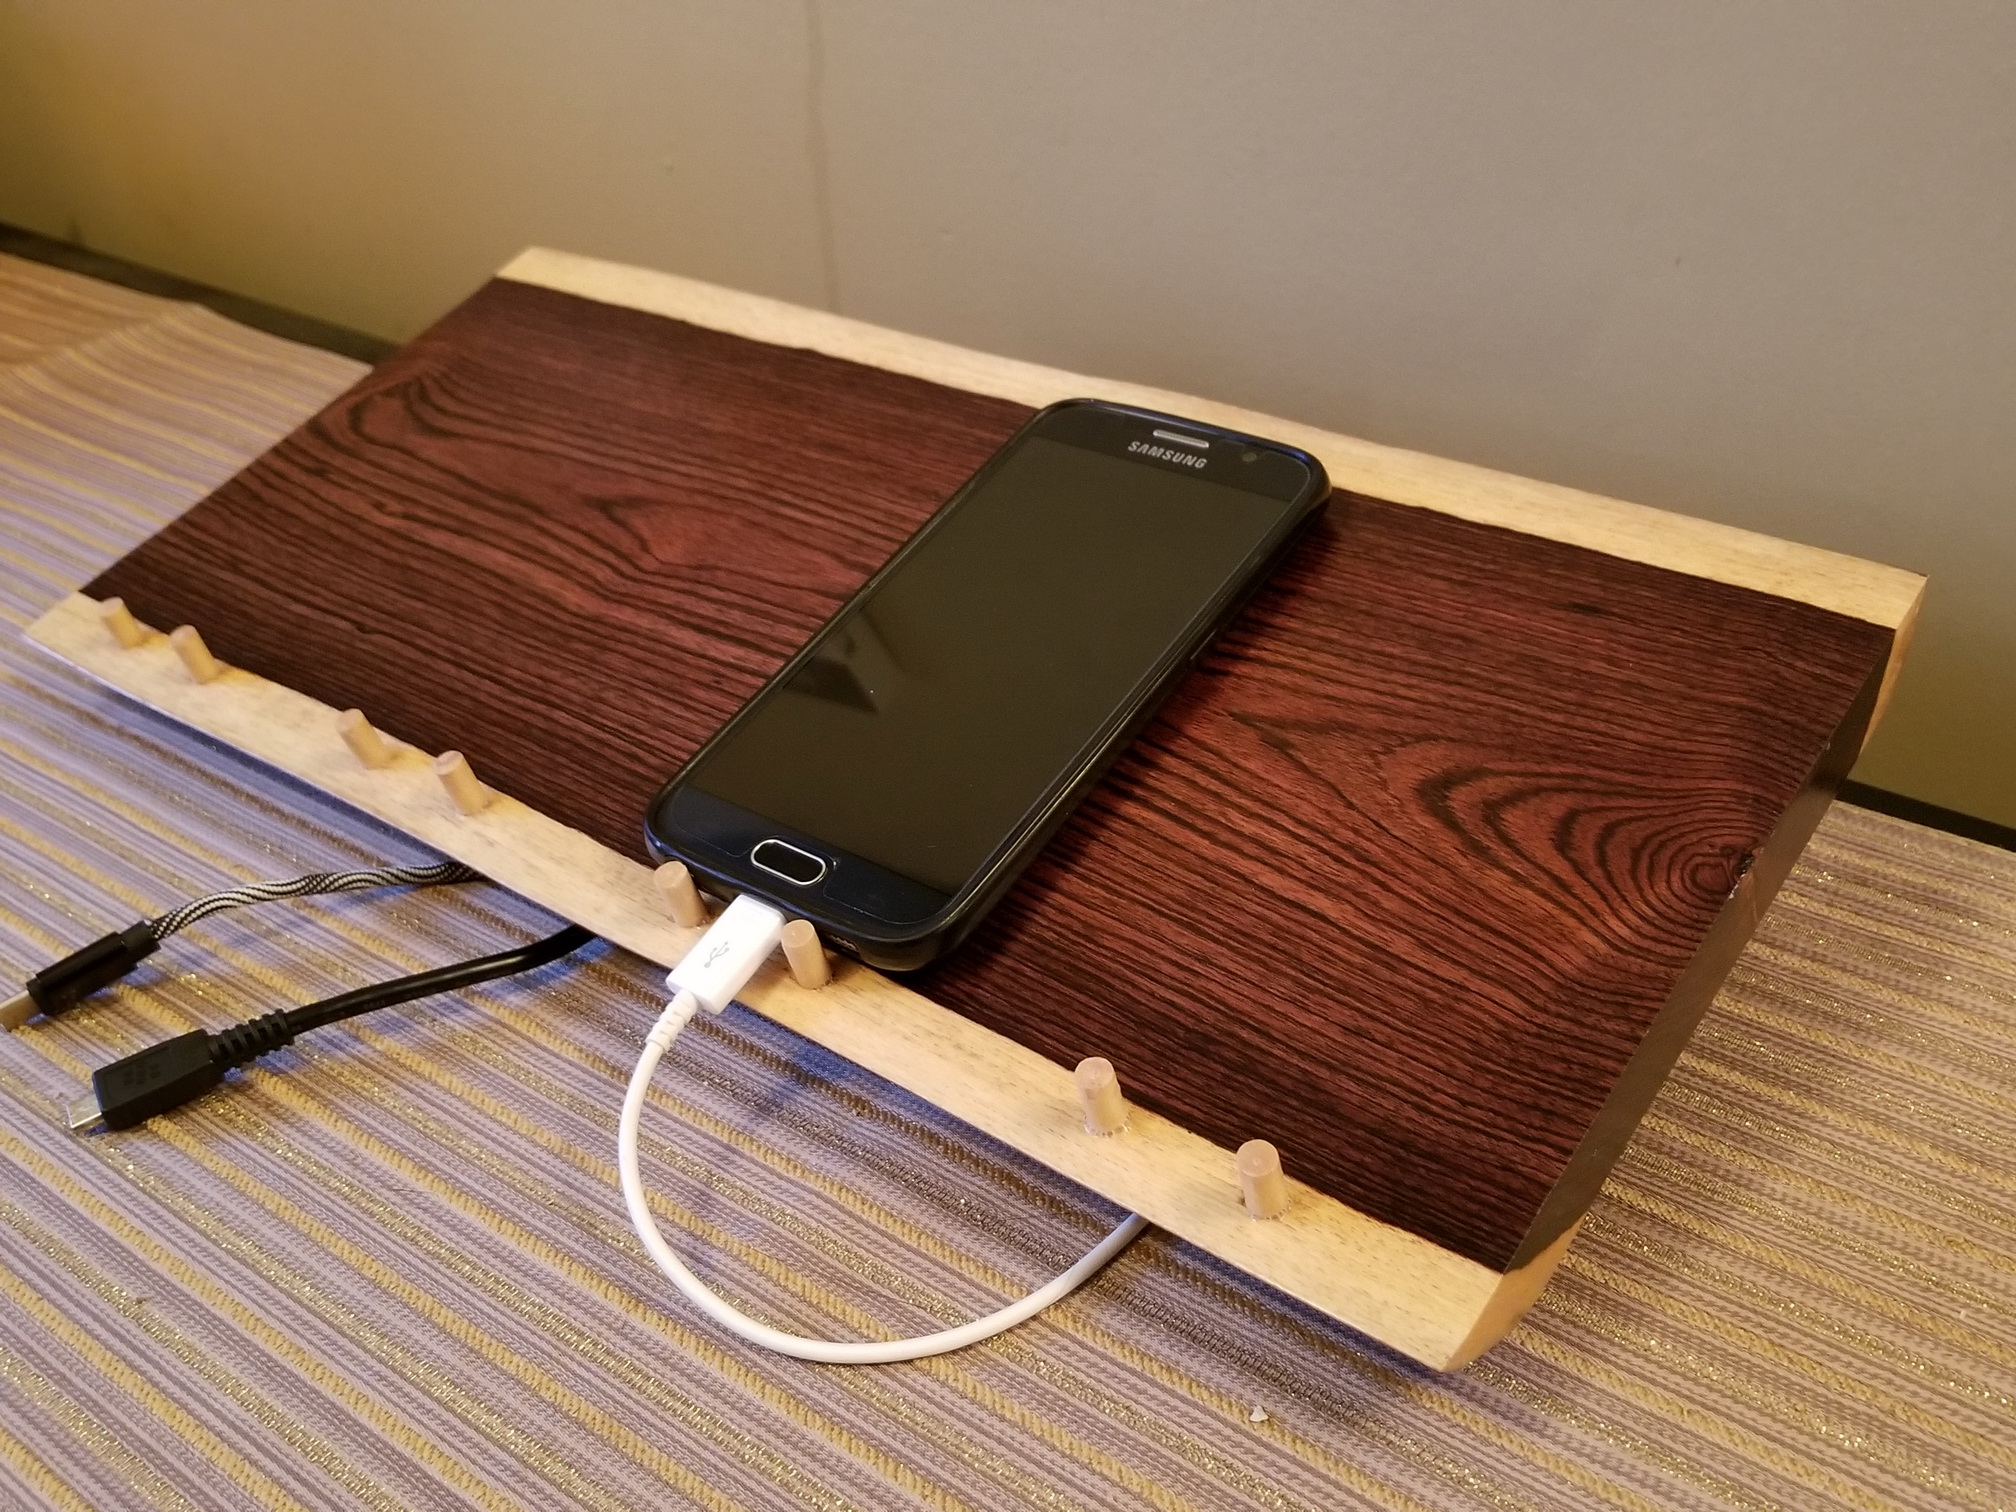
We had this corporate giveaway phone charging station that you put your phones on and ran your charging cables through. But it also had these little mail slots and storage things that just always collected junk. It was ugly, and it was a mess. So when I saw this little beauty slice of kingswood at our local specialty wood shop I knew what I wanted to do.
Compared to the Lazy Susan project, this was pretty quick.
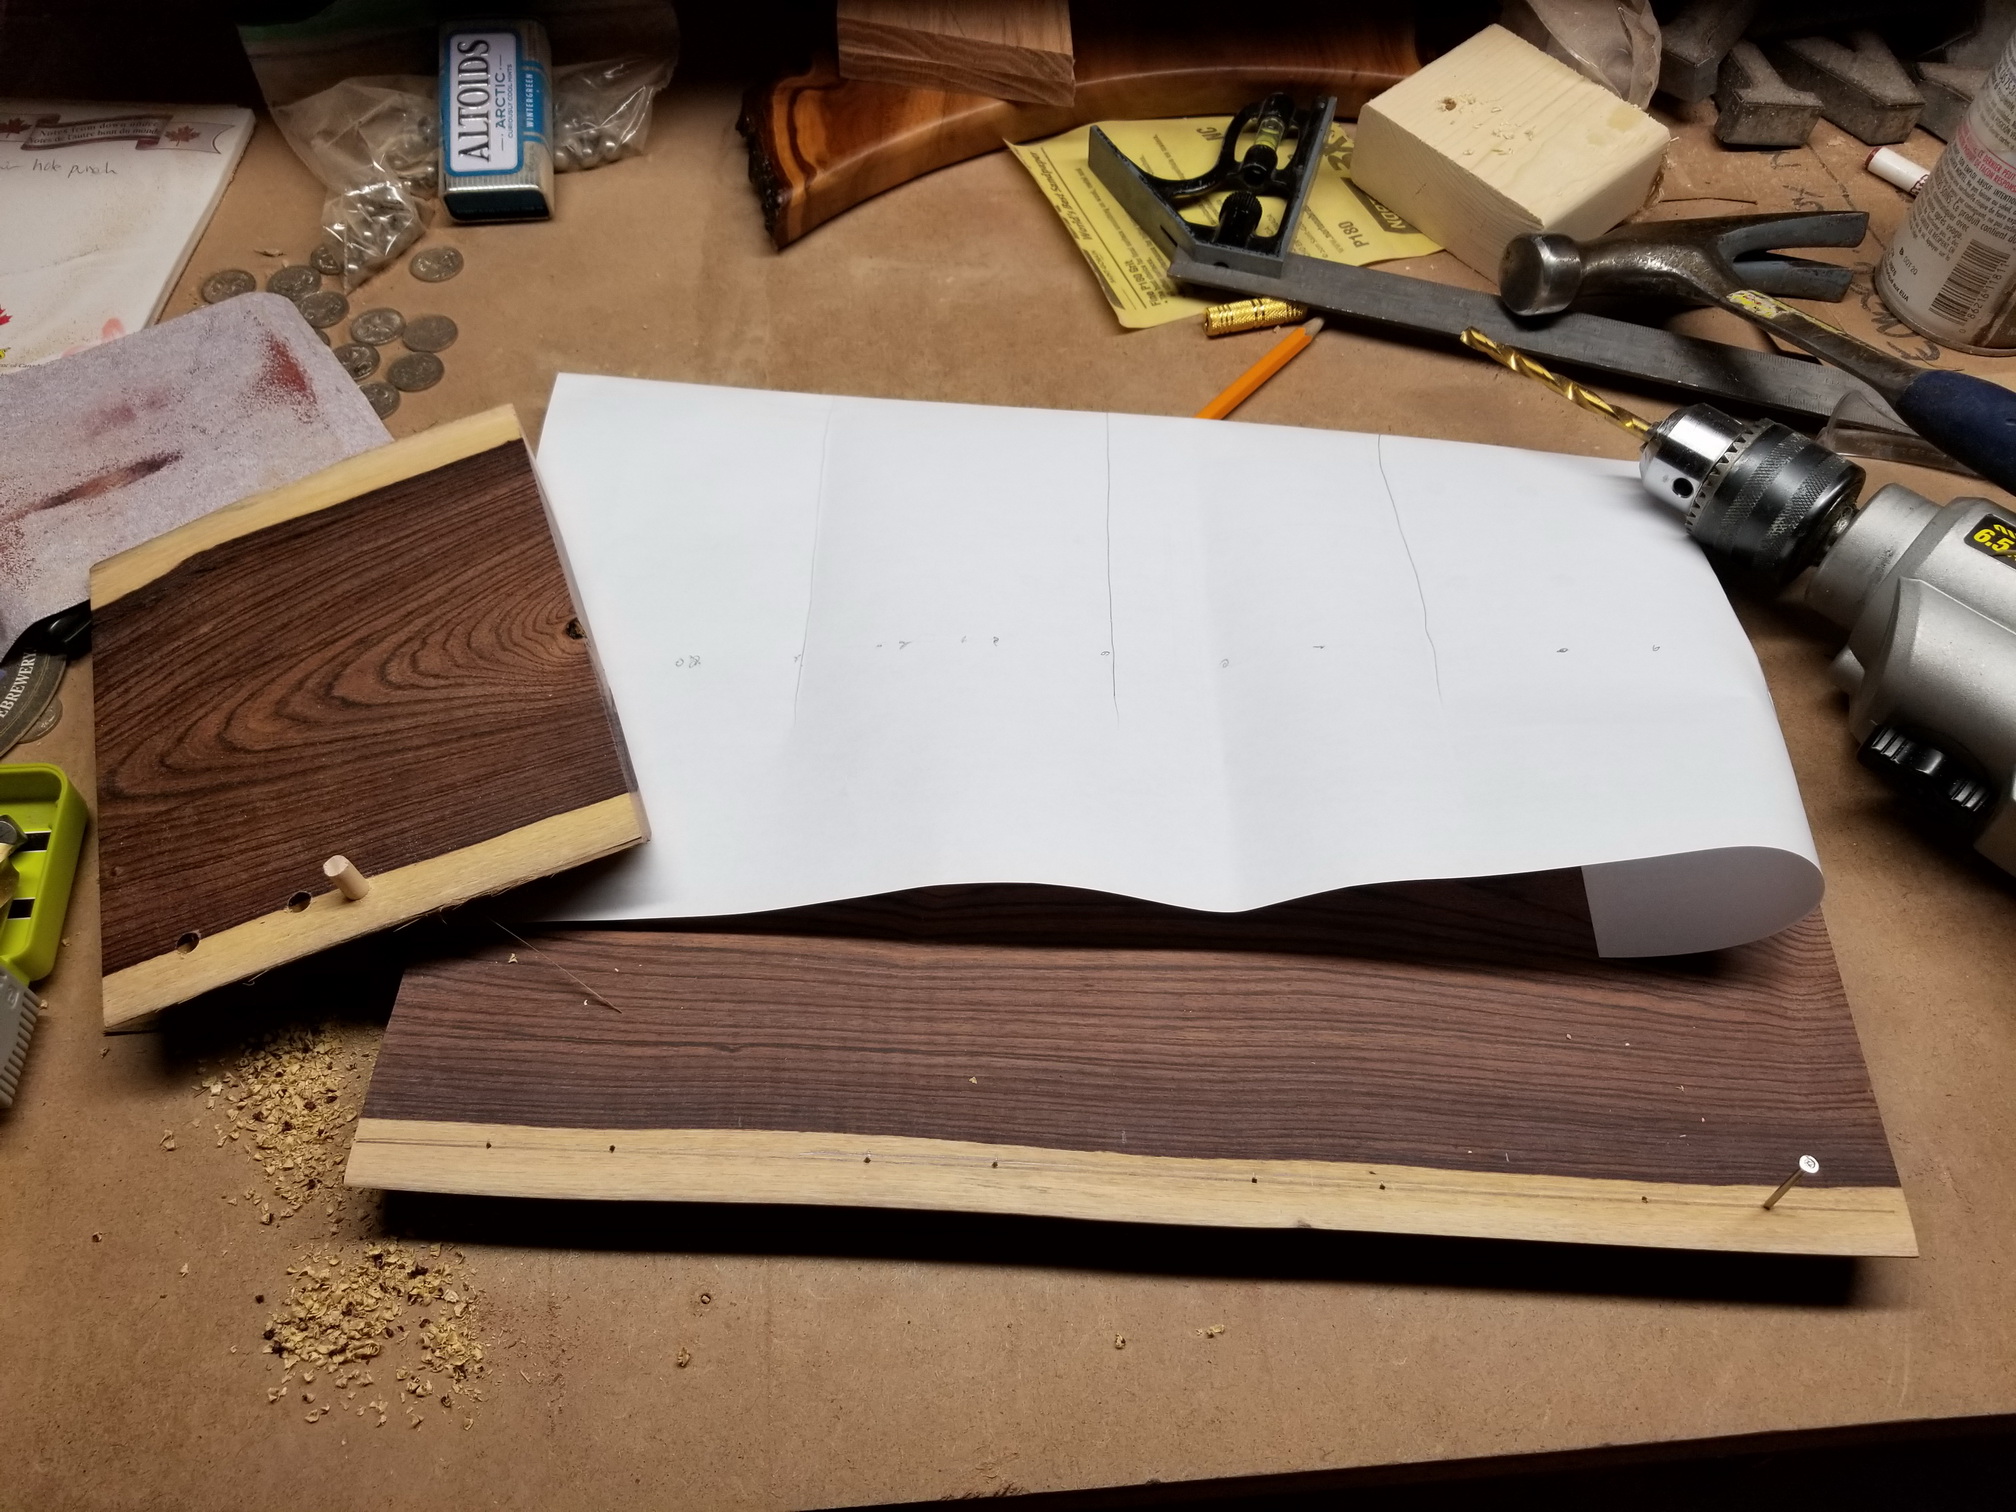
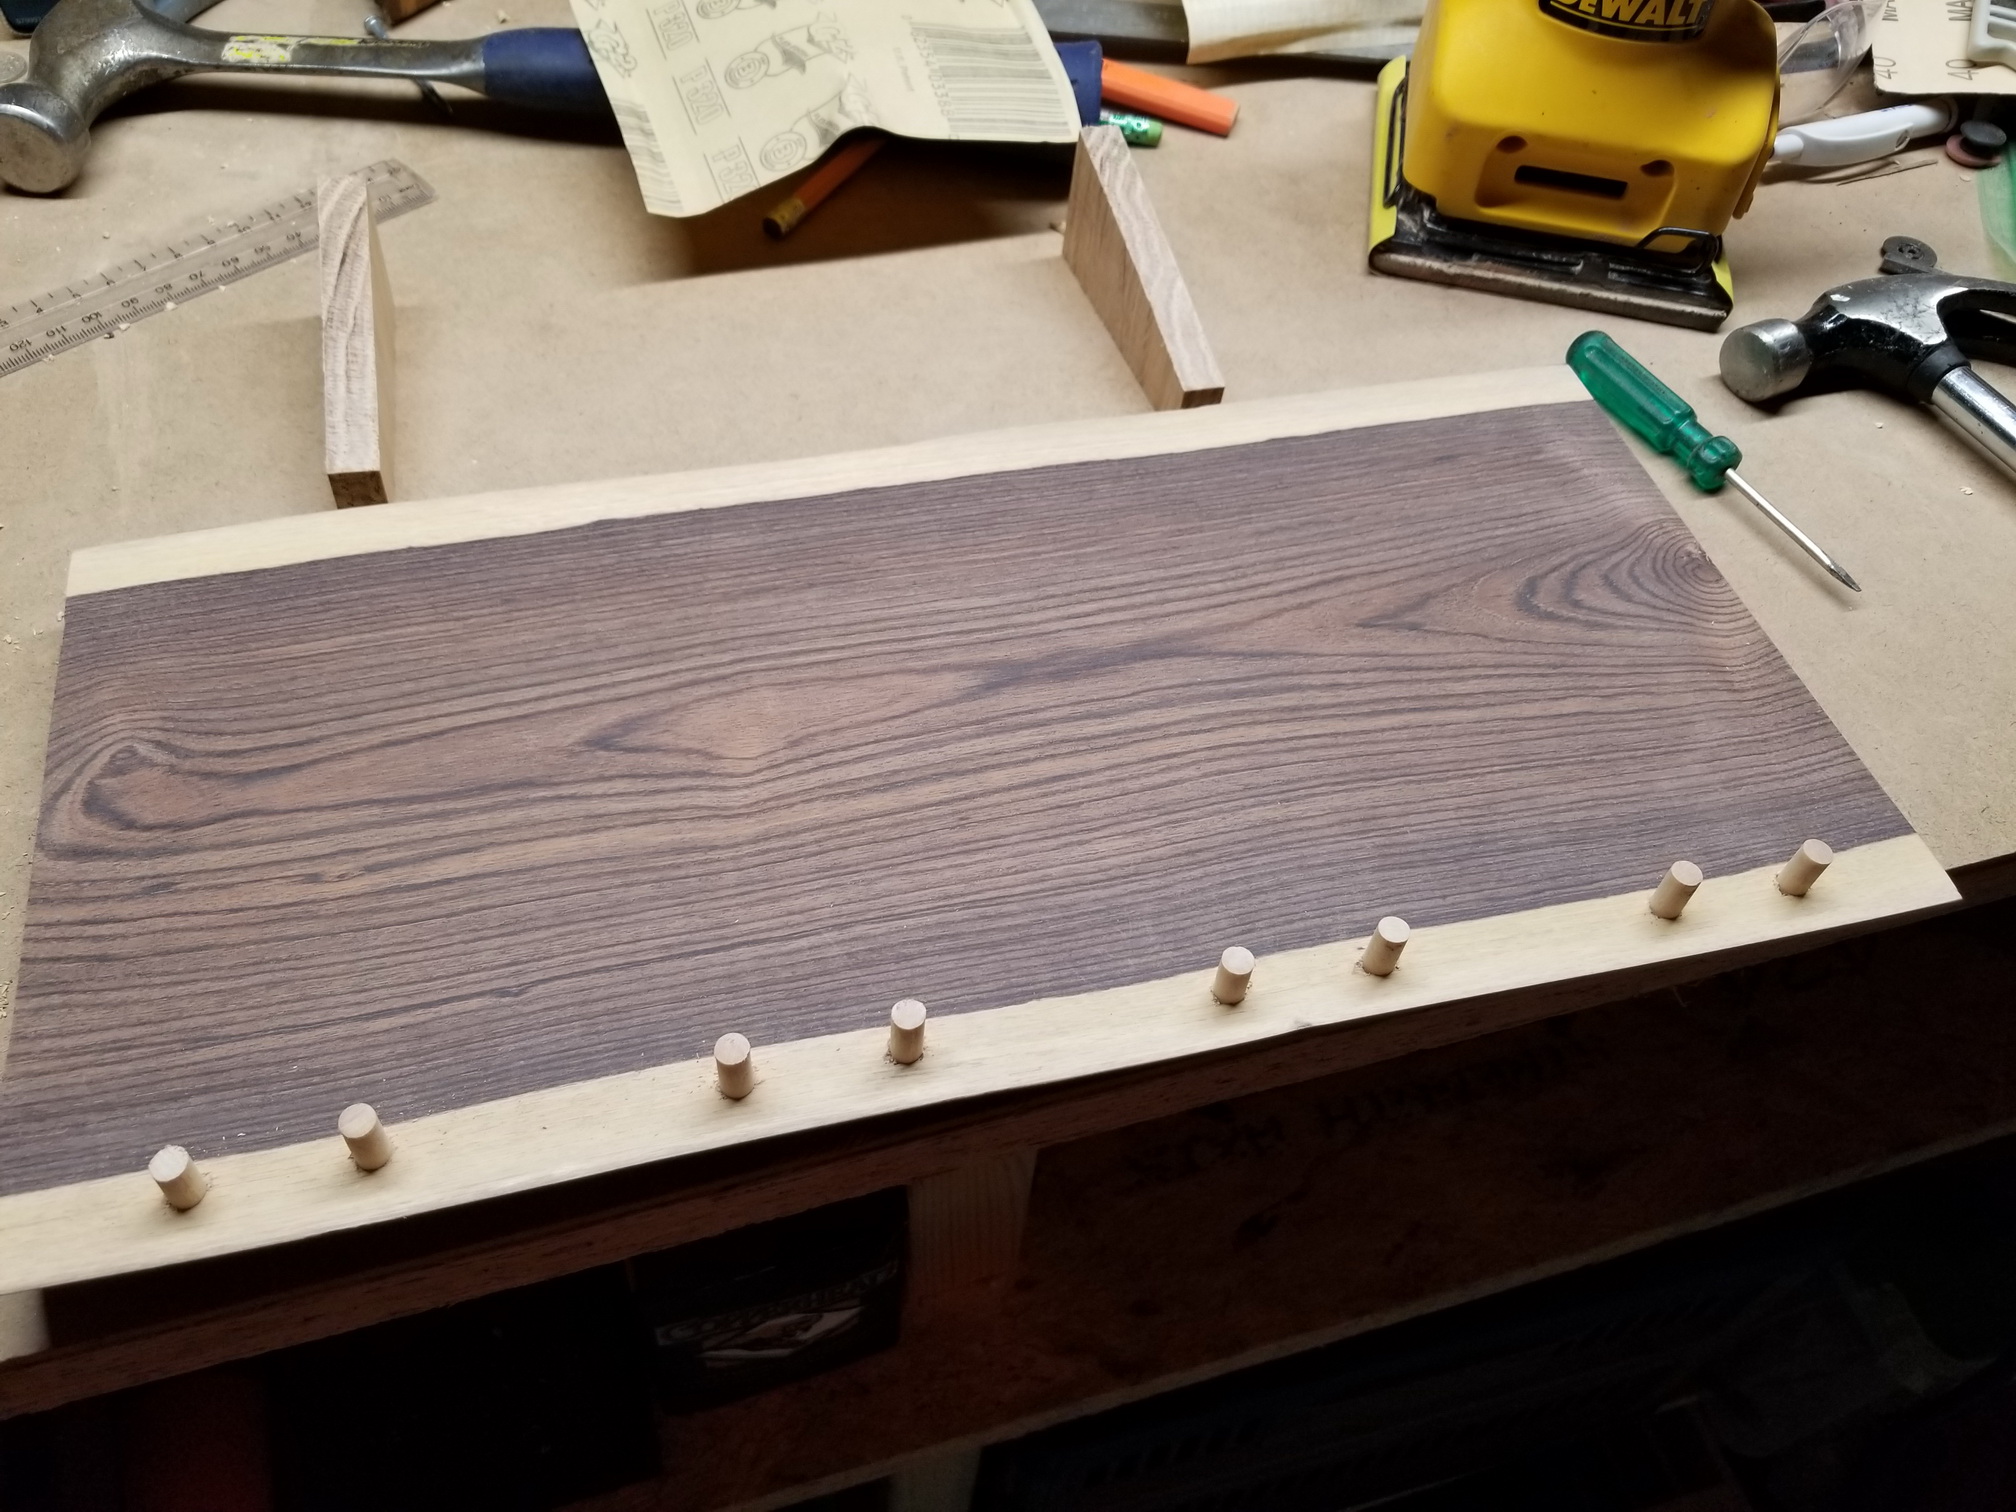
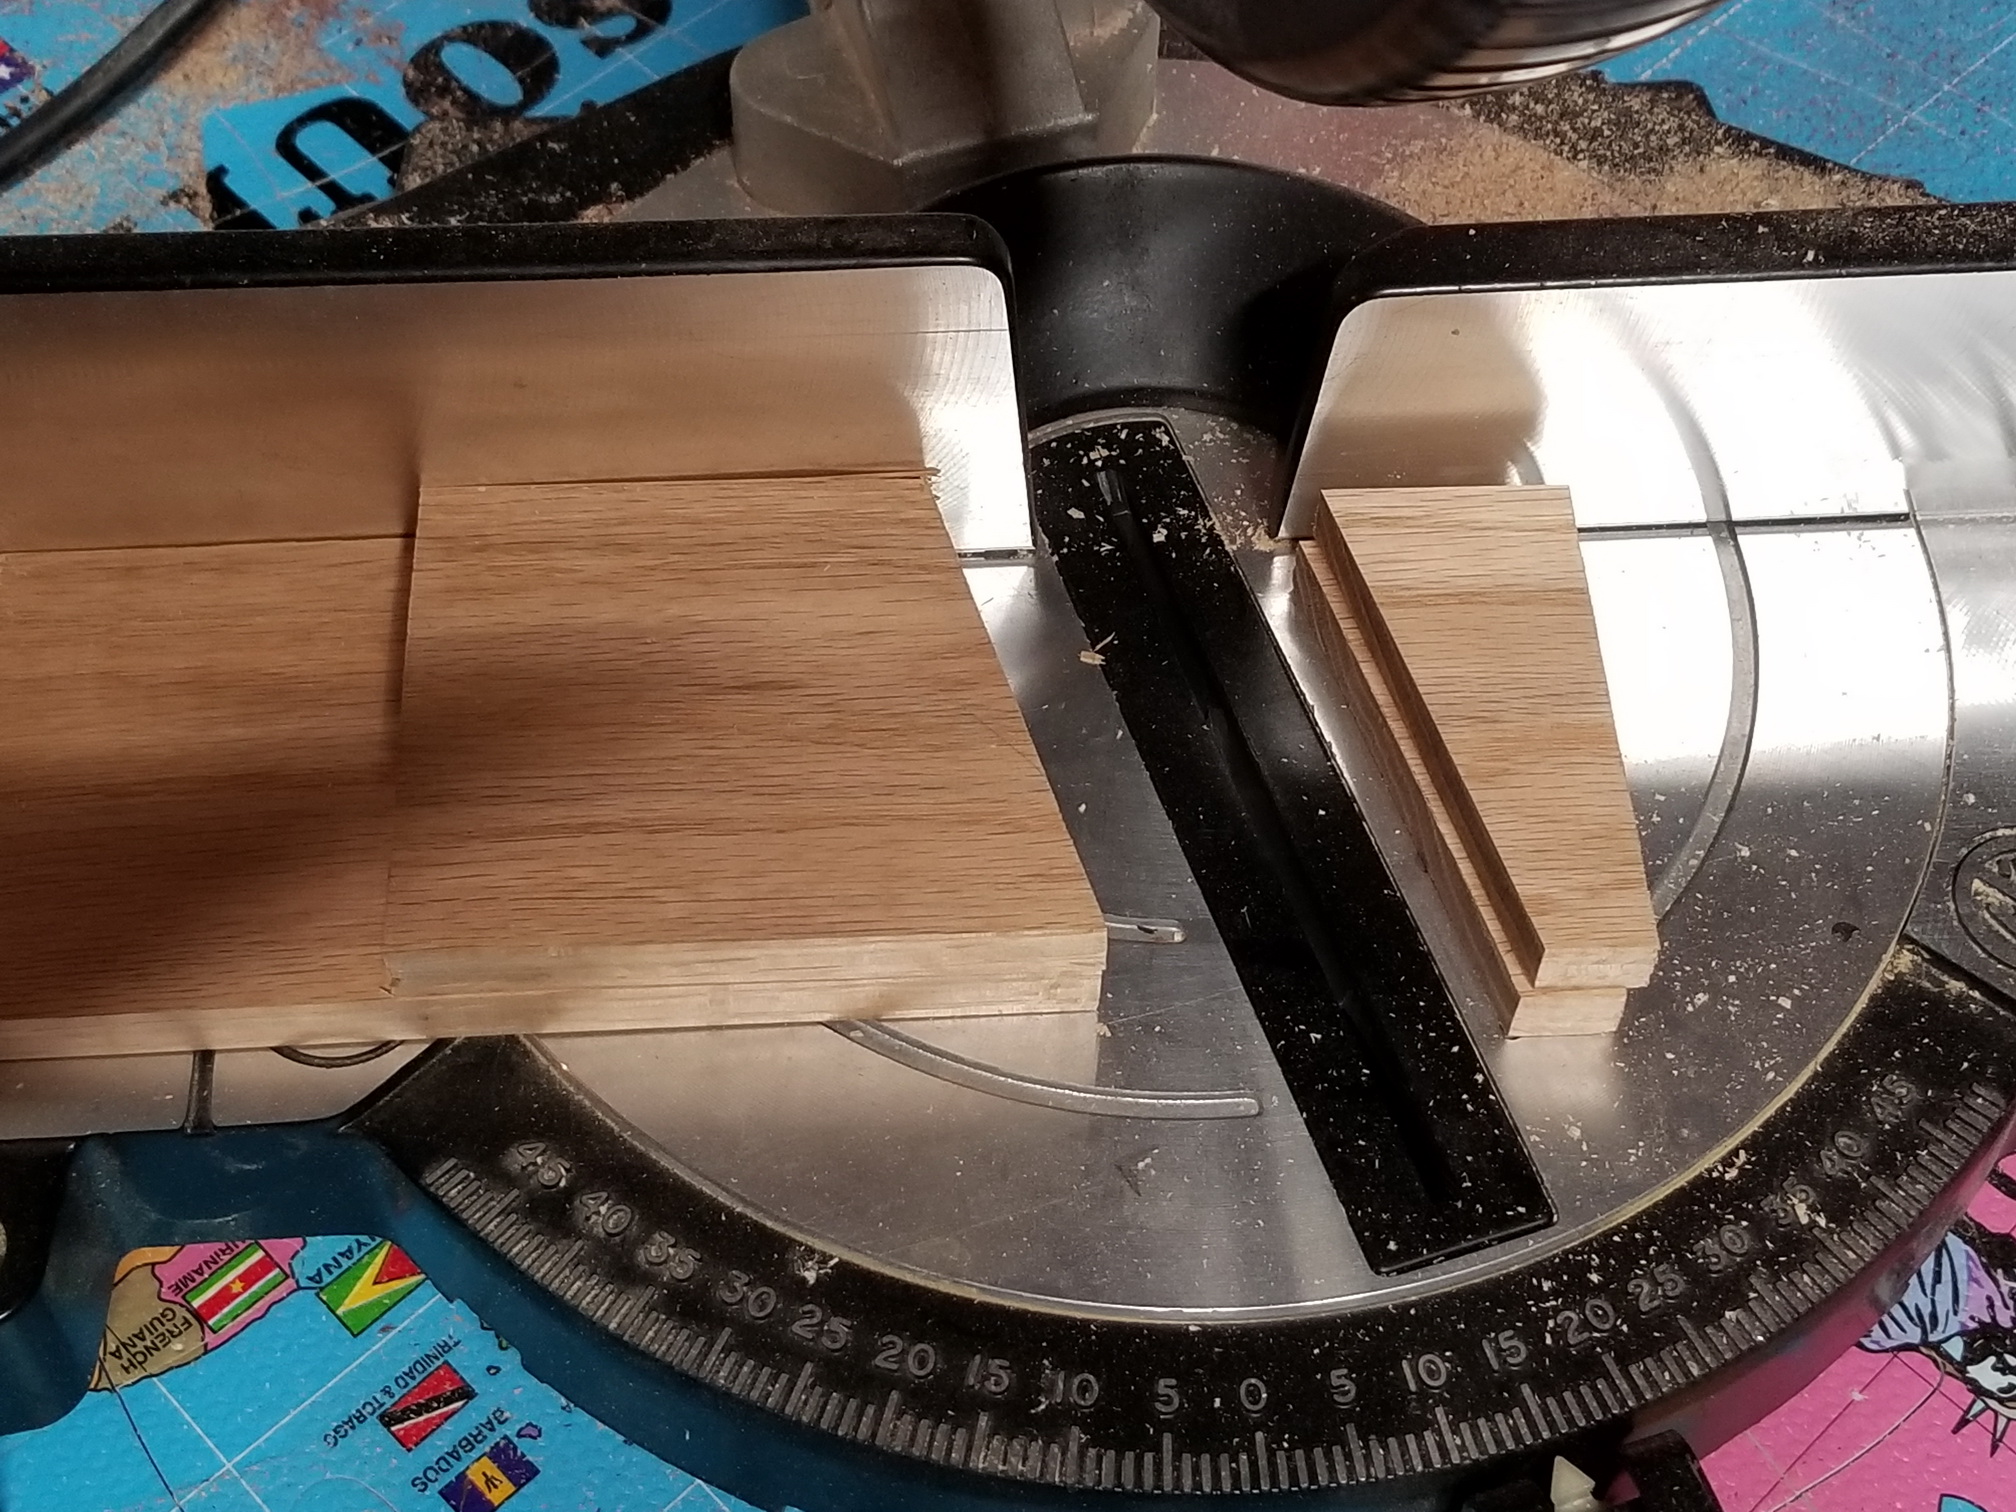
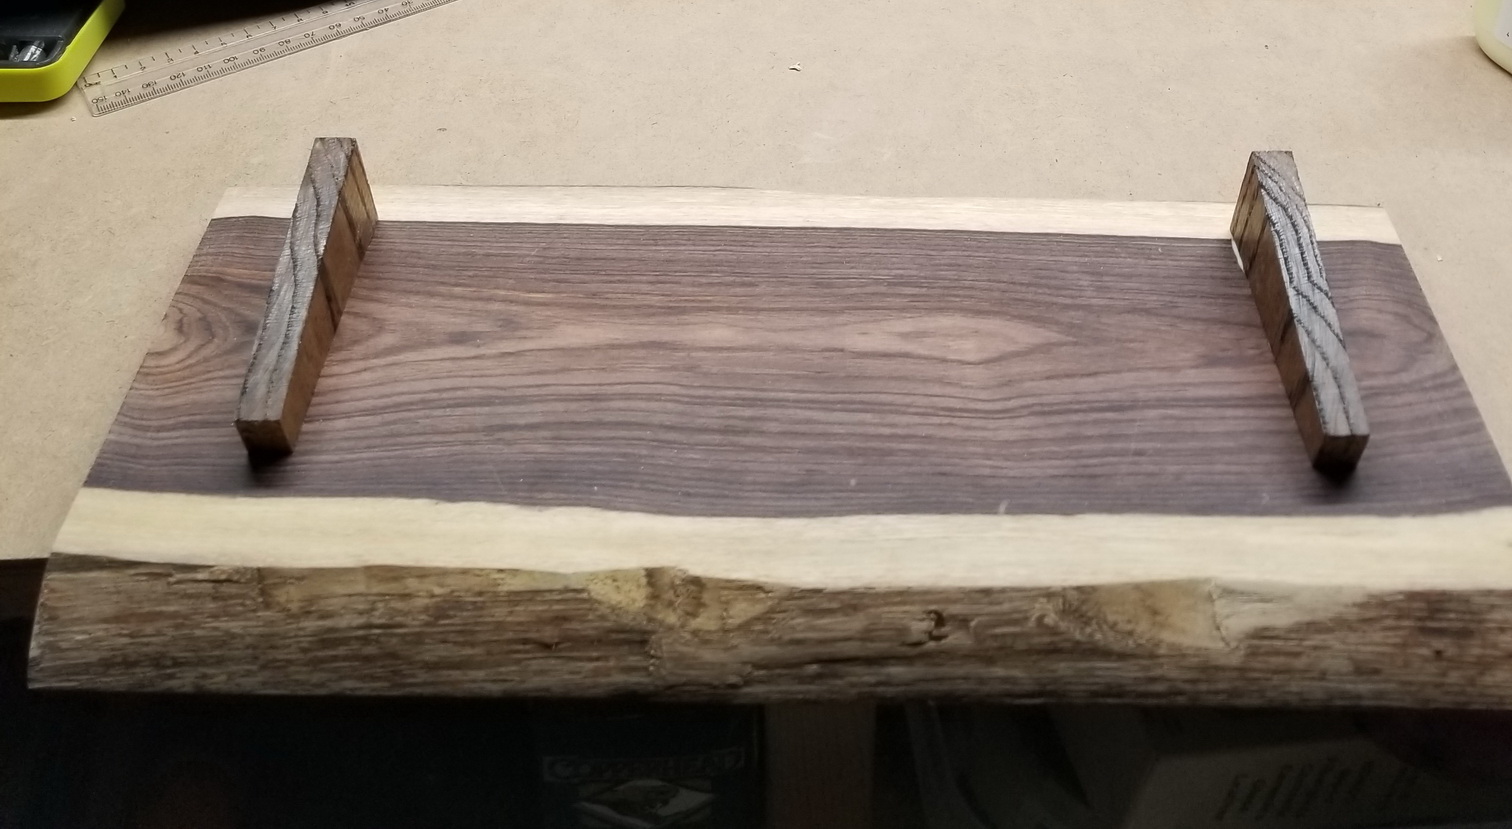
Slicing off a chunk, and planning for the pegs to hold the phones. Obligatory test chunk on the side.Pegs are in ! Cutting some angled feet from some leftover wood from the Game Table. The holder will have to hover a bit over the table so that the cables can loop in from underneath.Feet attached ! Also one of the few views where you can see the live edge of the board.Sealed and in-service ! No stains were used – the wood just looks that good.
There is a specialty
wood store in Burlington that is always dangerous for me to walk into. There are so many cool slabs and chunks of
wood in there. The good thing is that for
the most part it is fairly pricey, which keeps me from really buying anything.
Once in a while,
however, I find something really nice that is fairly small and reasonable and
it ends up coming home with me.
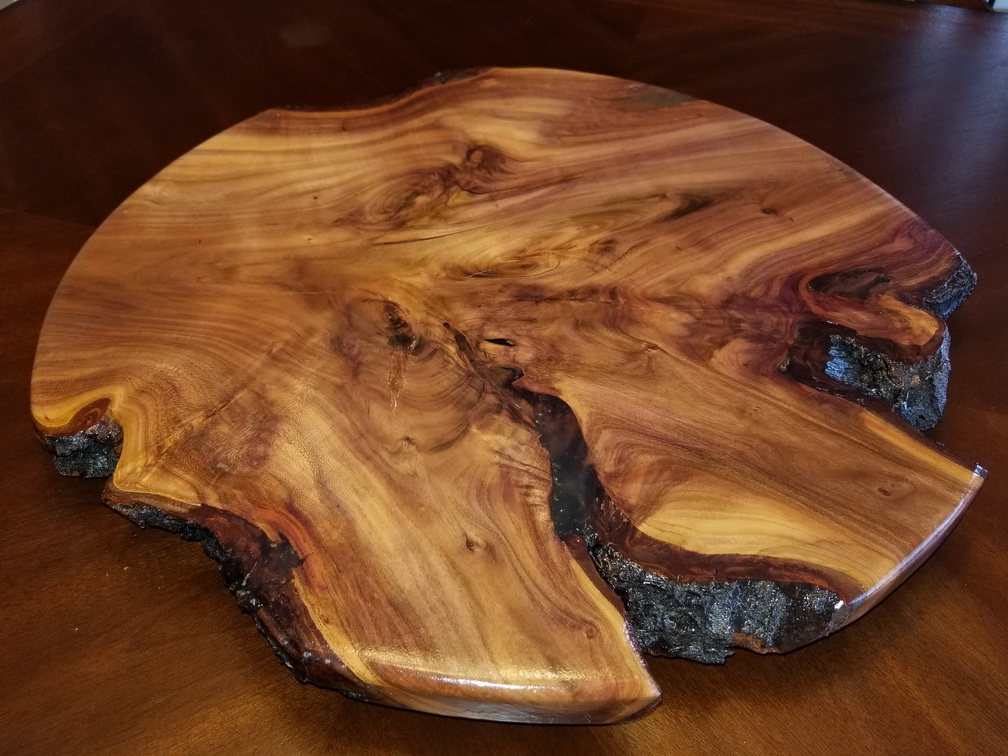
Slab of plum !
This time I found
this small slab of plum, and it was just about the right size I was looking for
to make a kitchen turntable (lazy susan).
Many meals at our kitchen table end up being a “pass the …”
exercise, and the small turntable I found at Cdn Tire seemed like a good idea
but was a bit too small to hold much.
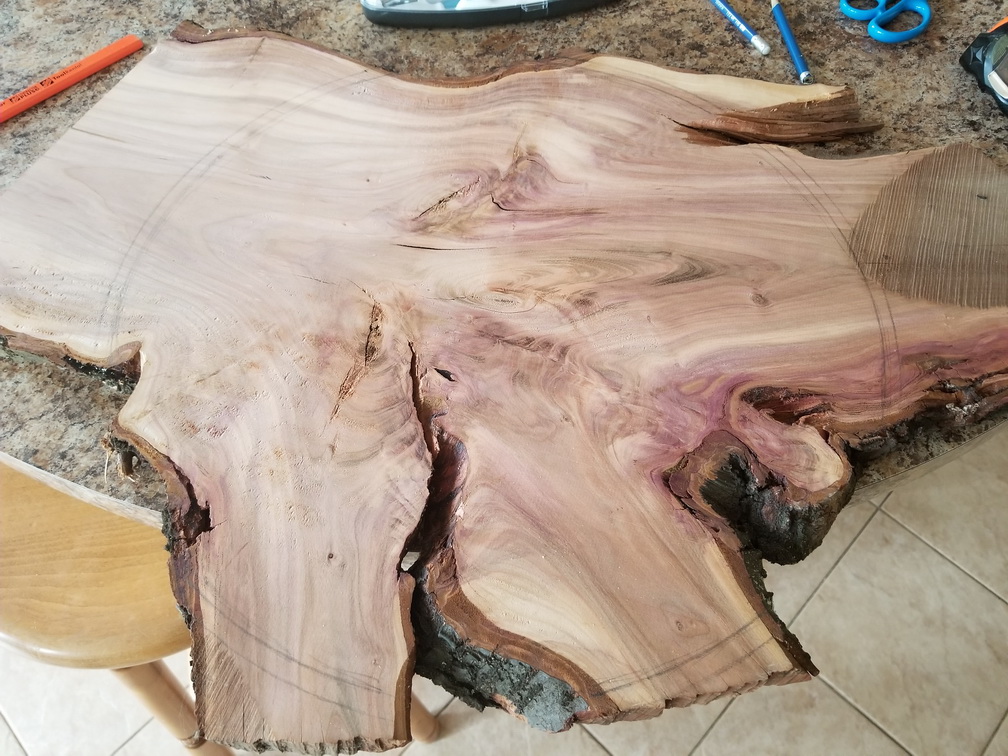
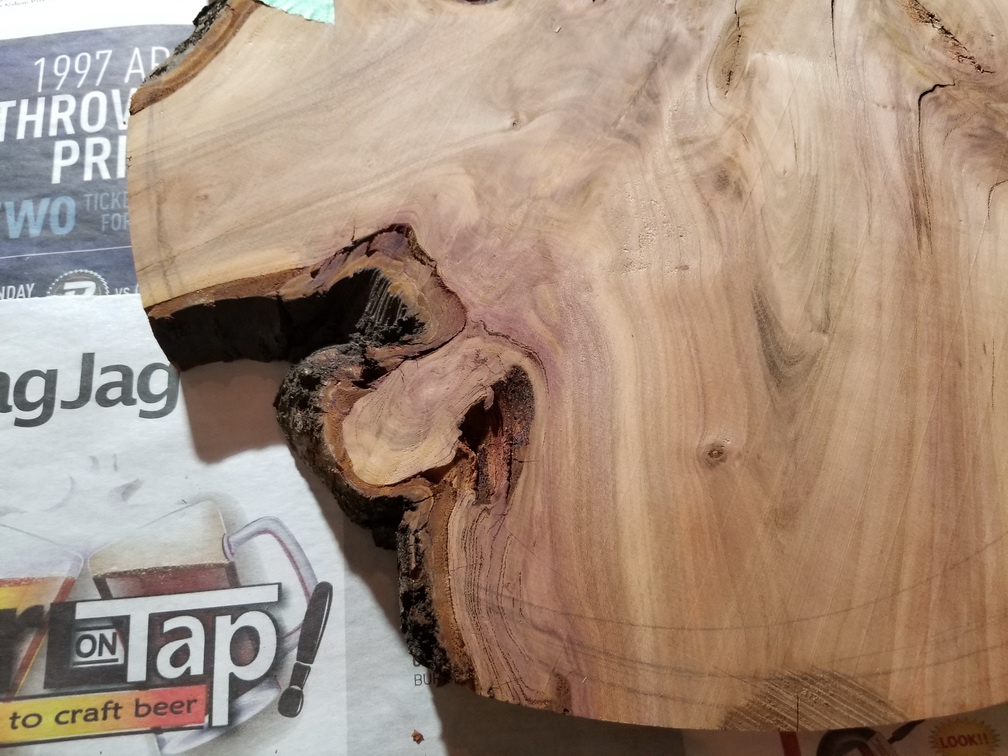
One of the trickiest
parts was positioning the circle that maximized the use of the cool bits, and
avoided some of the bad bits.
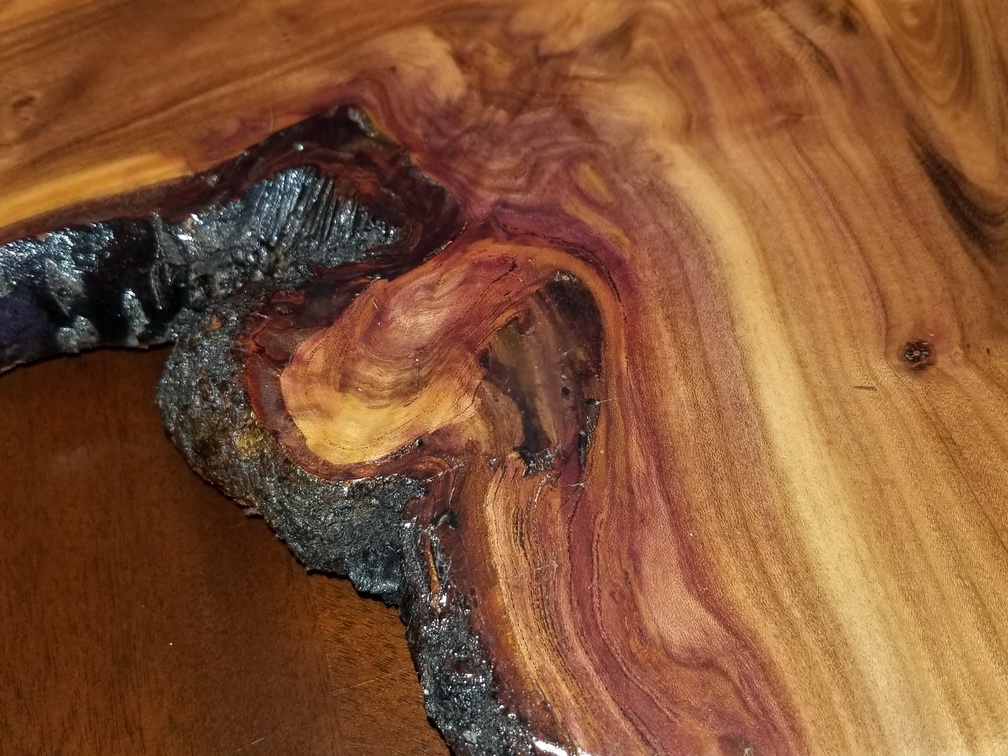
Cool looking section – but there is a bit of a hole there…
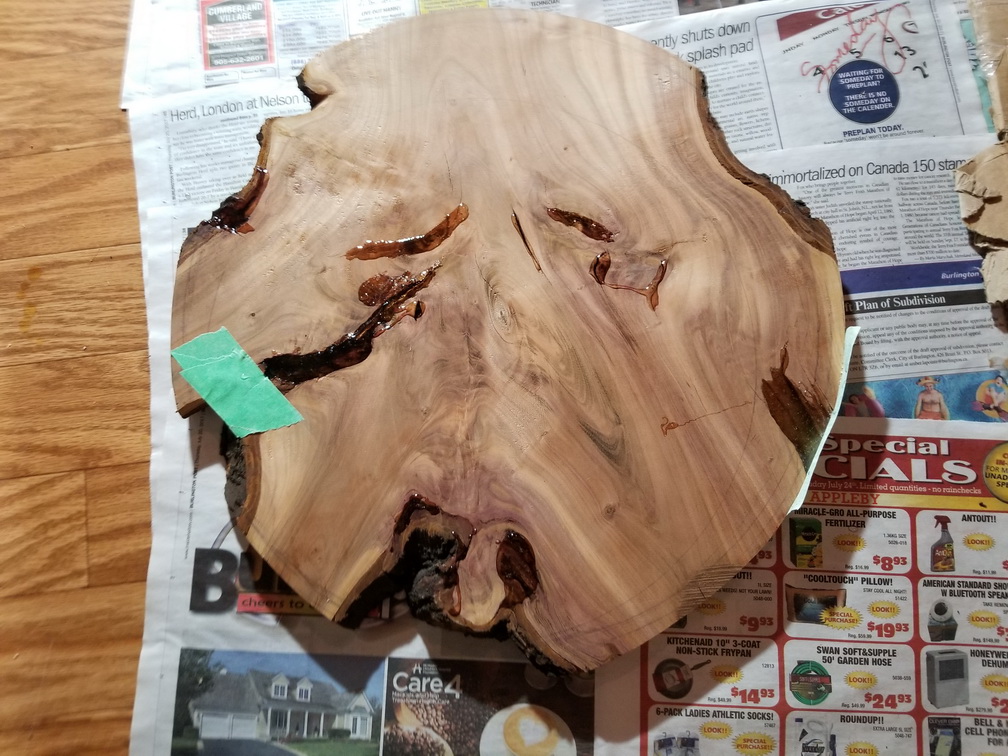
Next step was using epoxy to fill in the holes and gaps. I used tape and putty to block off any escape routes, and then poured in the epoxy. This is the first time I tried using this stuff and you don’t have a lot of time to work with it. At one point I was working a little too long with a batch (near the end, filling all sorts of little holes) and it got real hot !
Gaps and cracks filled with epoxy
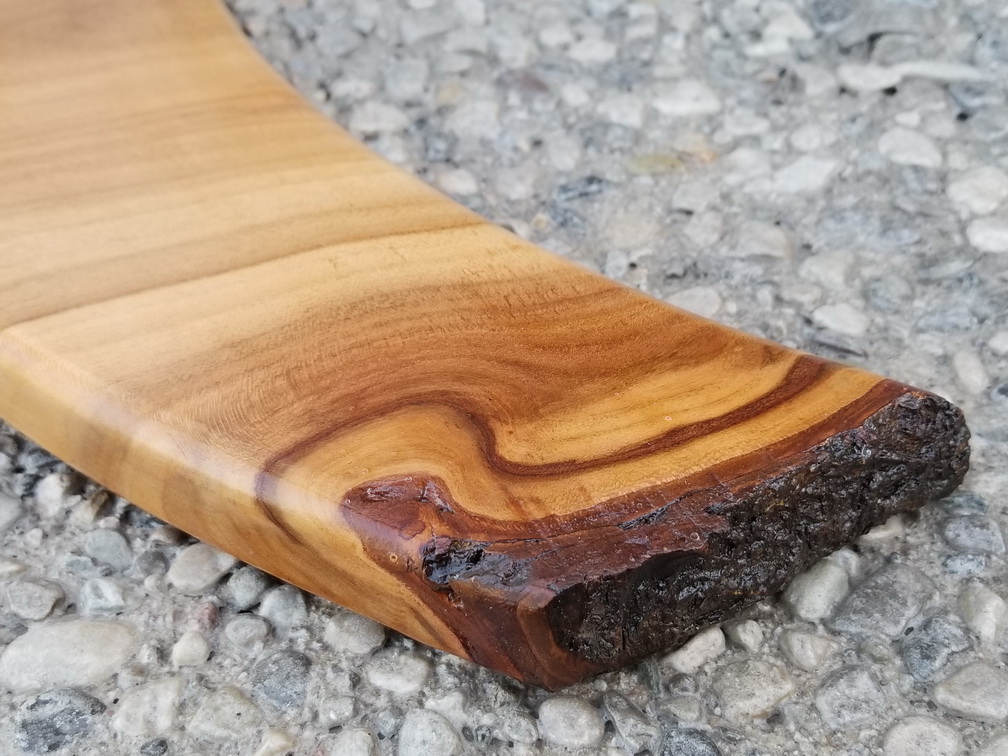
While the epoxy was drying I took one of the pieces that I cut off and used it for testing the varathane. Looking promising !
Test Piece – pretty ! (we still use this actually – it is now a small cheese board)
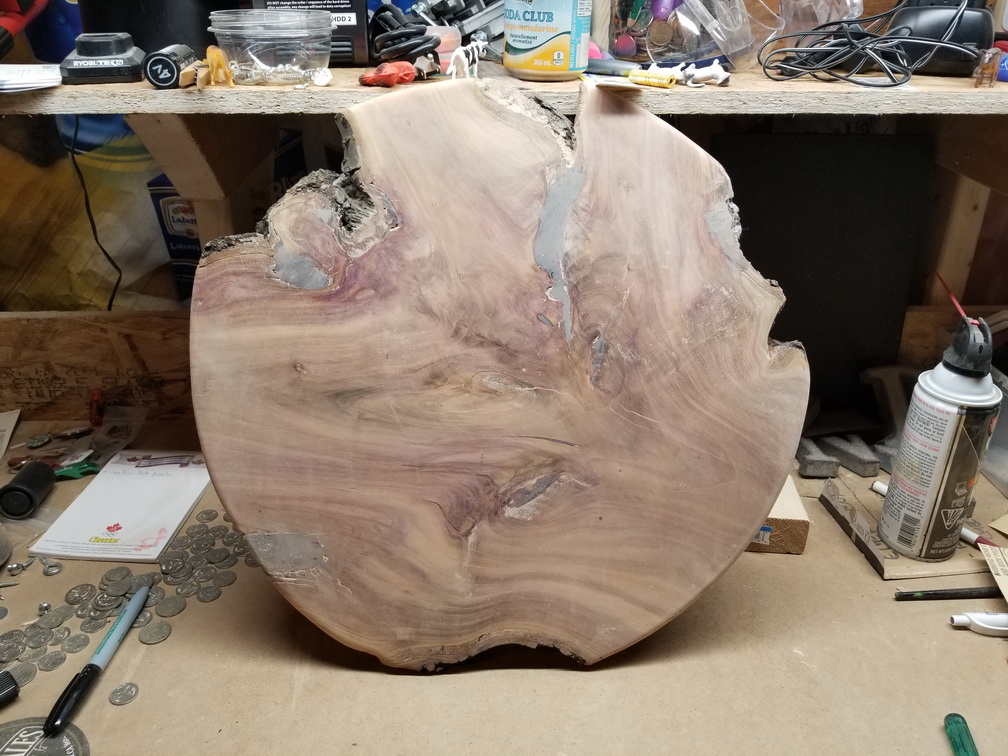
once all dried i sanded the whole thing and added the protective coatings.
All sanded – the epoxy needs to be cleaned prior to coating things…
The verathane really helped make the colours pop – it looks great! I picked up the turntable hardware from Lee Valley and voila.
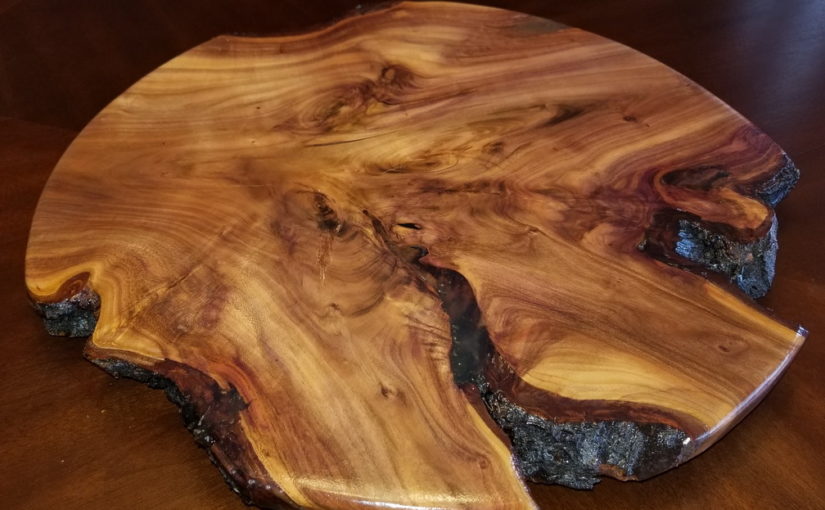
She’s a beaut ! Spins and everything cool section now filled with epoxy and varathaned.