At some point in the mid to late 90’s, we came into the possession of an old canoe. Although it probably still floated and you could probably have taken it out on the water for a paddle, it was in terrible shape. Particularly the gunwales. So when we moved from the country to the suburbs in the mid 2000’s it was time to commit to this thing being a future shelf and not a mode of transport.
So I cut it into two pieces, about 60:40 so it would be easier to move :
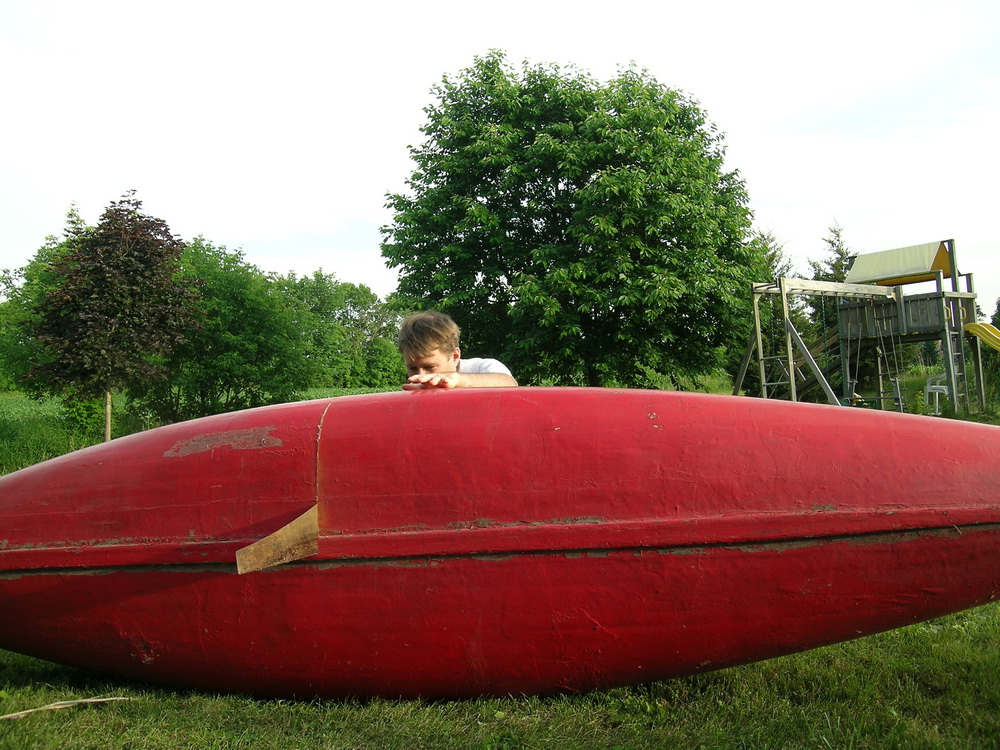
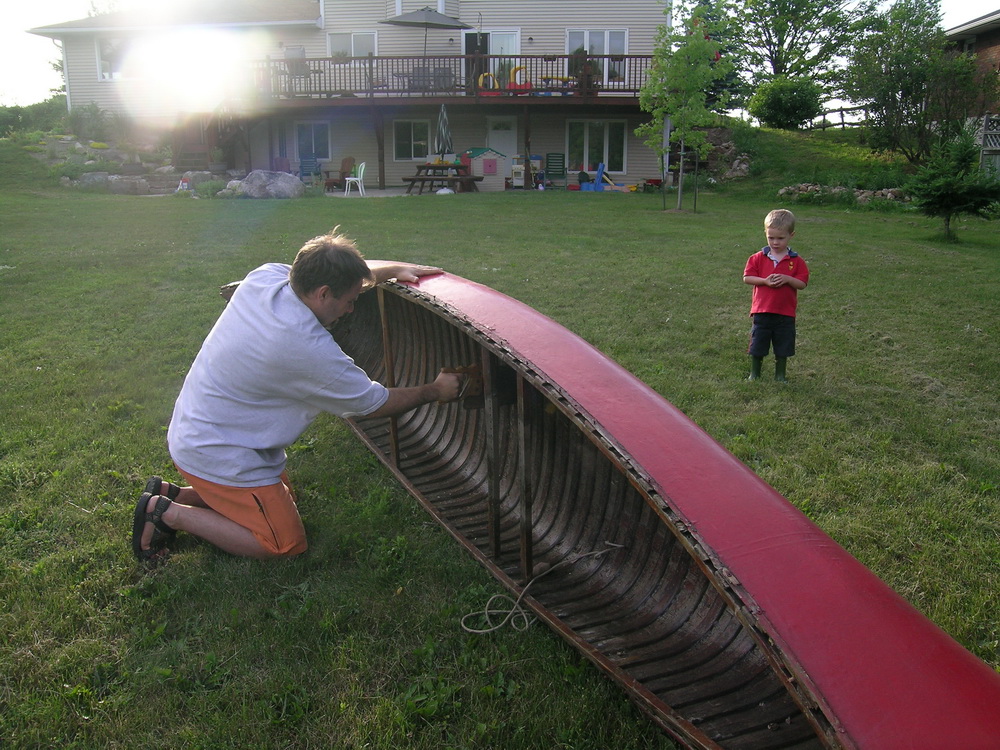
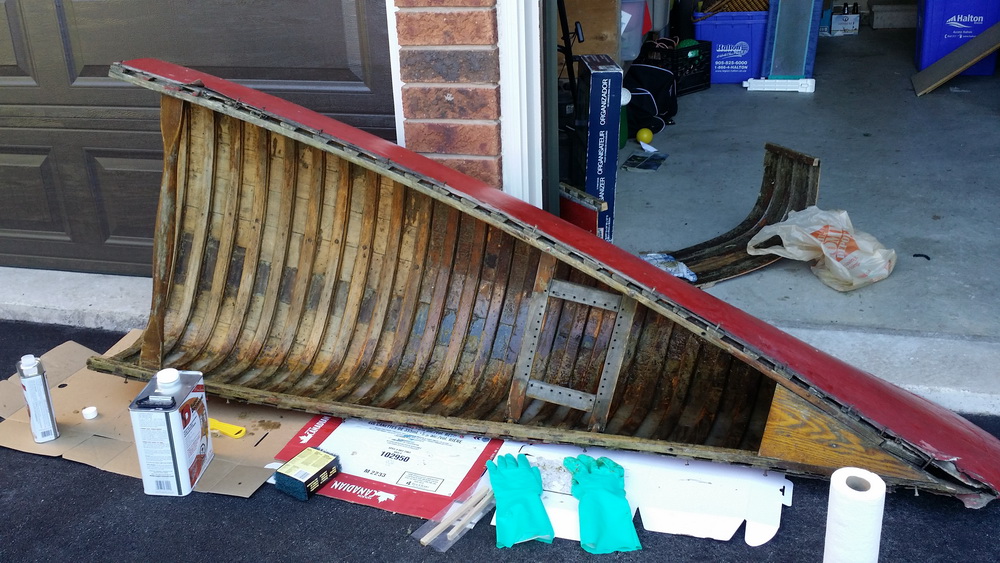
This was possibly the longest spanning project procrastination I had. Case in point, in this photo I have lots of hair and that kid is now in University:
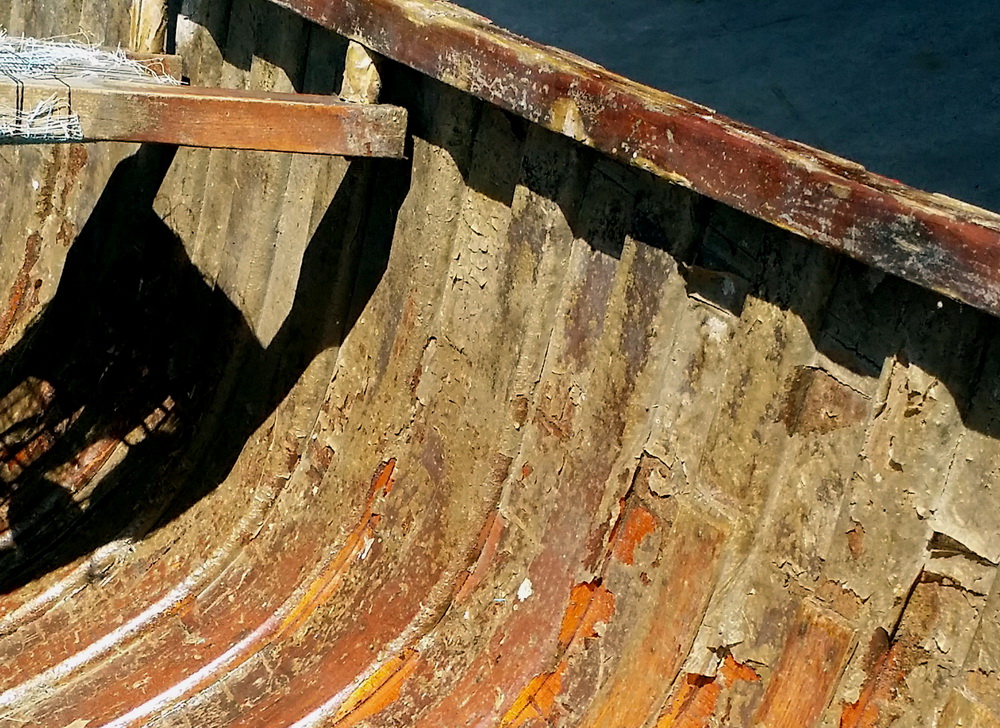
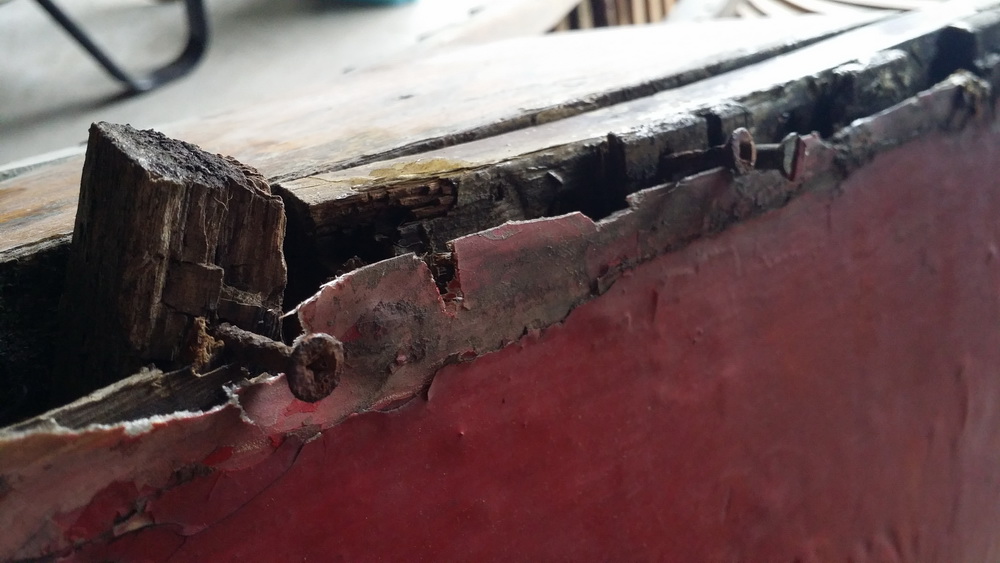
As you can see, it was quite rough around the edges but I used parts from both ends to build “one good half”. The gunnys are a write-off:

And the years have not been kind to the many coats of shellac that was on the inside. That will all have to come off:
So finally in 2014 – almost another 10 years later – with the canoe sections strangely at the side of our house in cramped suburbia, I promised my wife I would actually buckle down and make the canoe shelf for her. No real idea how I was going to go about it – just one step at a time.
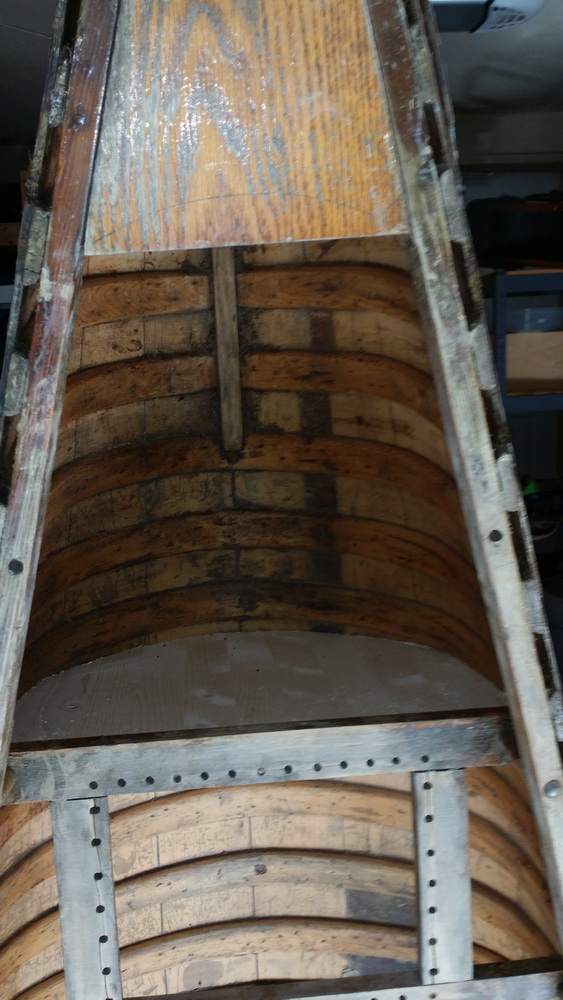
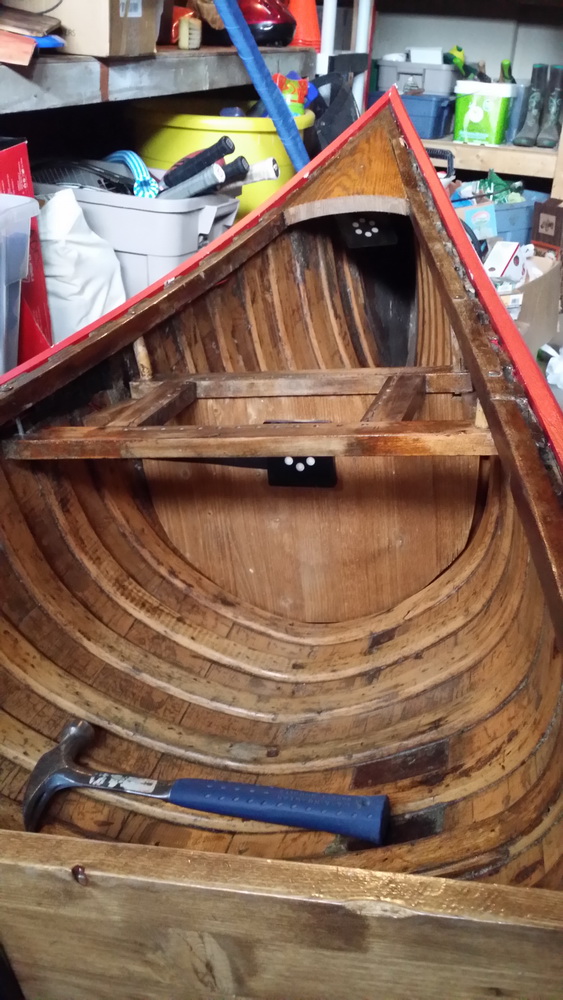
I left the stern seat in because I thought it might make a good built-in picture frame:
And the chemical warfare began. This stuff was nasty!
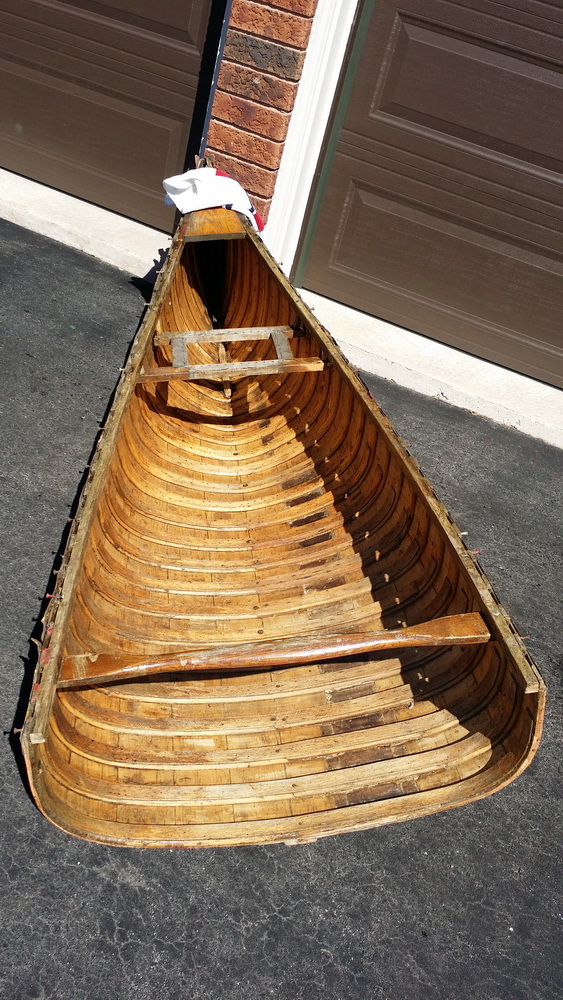
Lots of scrubbing and slowly the wood begins to emerge:

Wow – what a difference! The insides look great:
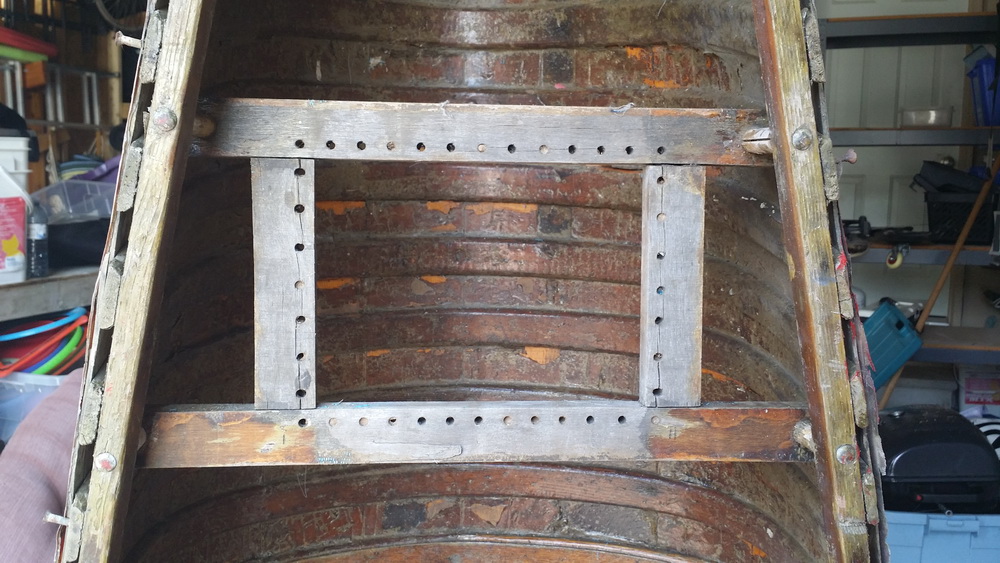
Now to work on the gunnys. I ended up filling a small box of rusted screws and rotted wood:
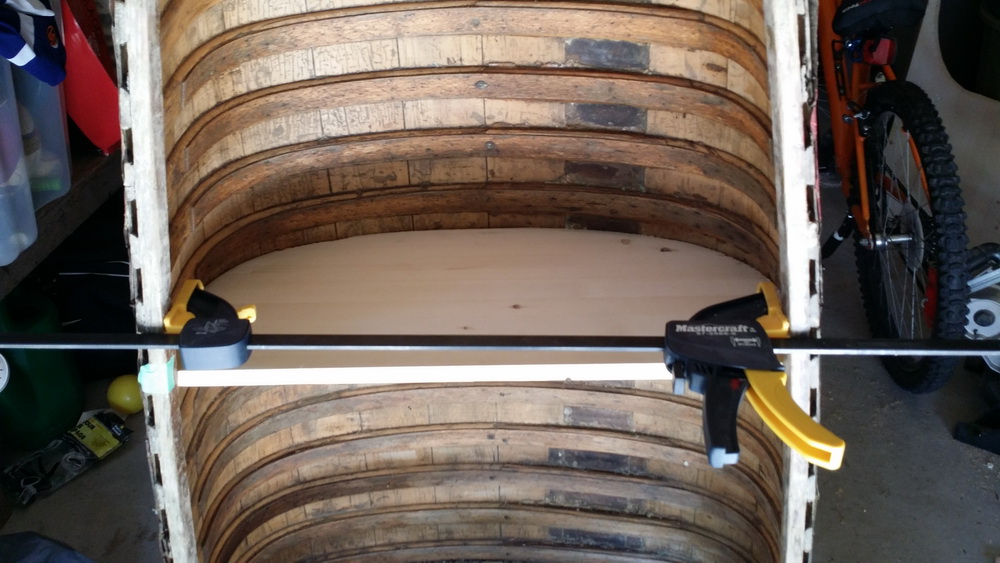
Now that it is reasonably safe to work without fear of getting stabbed, I cut some wood for the shelves. This one fits so perfectly between the ribs I won’t need anything to secure it. (I used the clamp to force the canoe wider to get the shelf in):
and a little upper shelf:
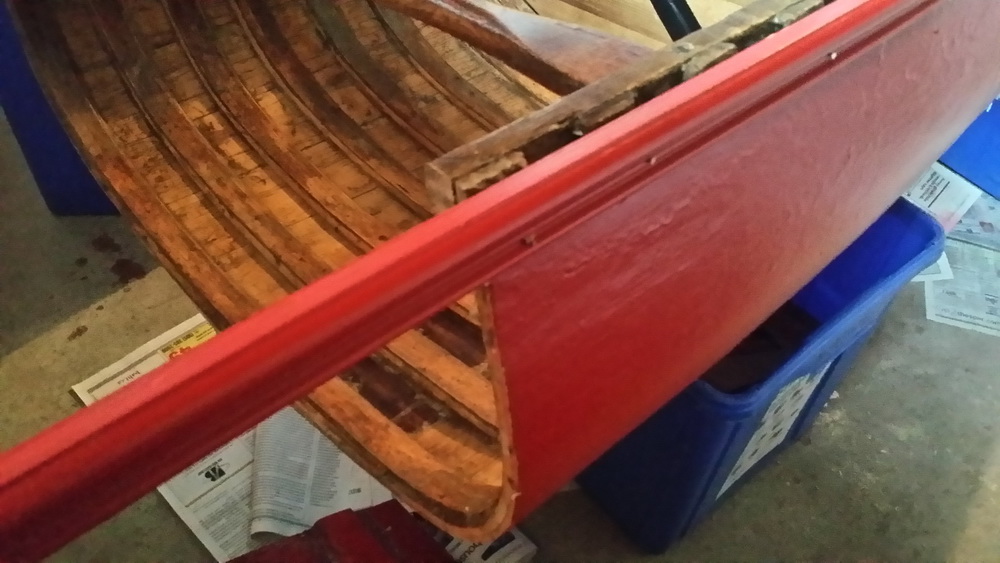
Some body restoration:
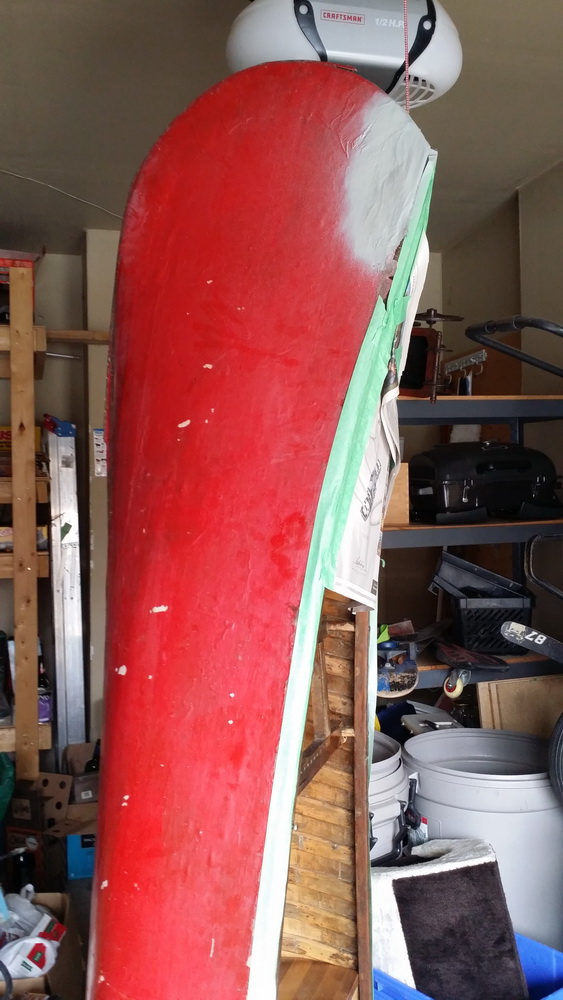
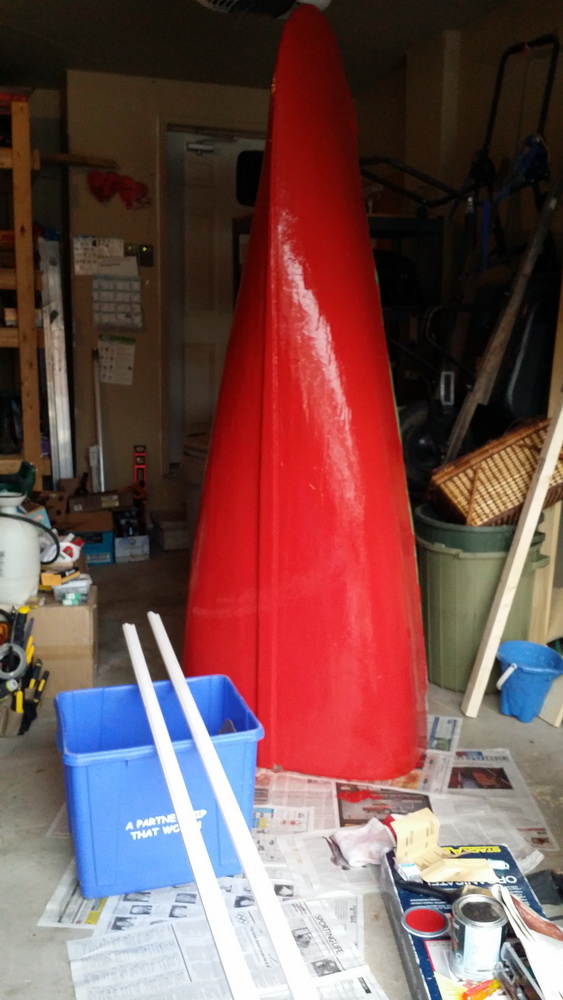
and a fresh coat of paint for the body:
by this time I had found some trim that I could use to replace the gunwales:
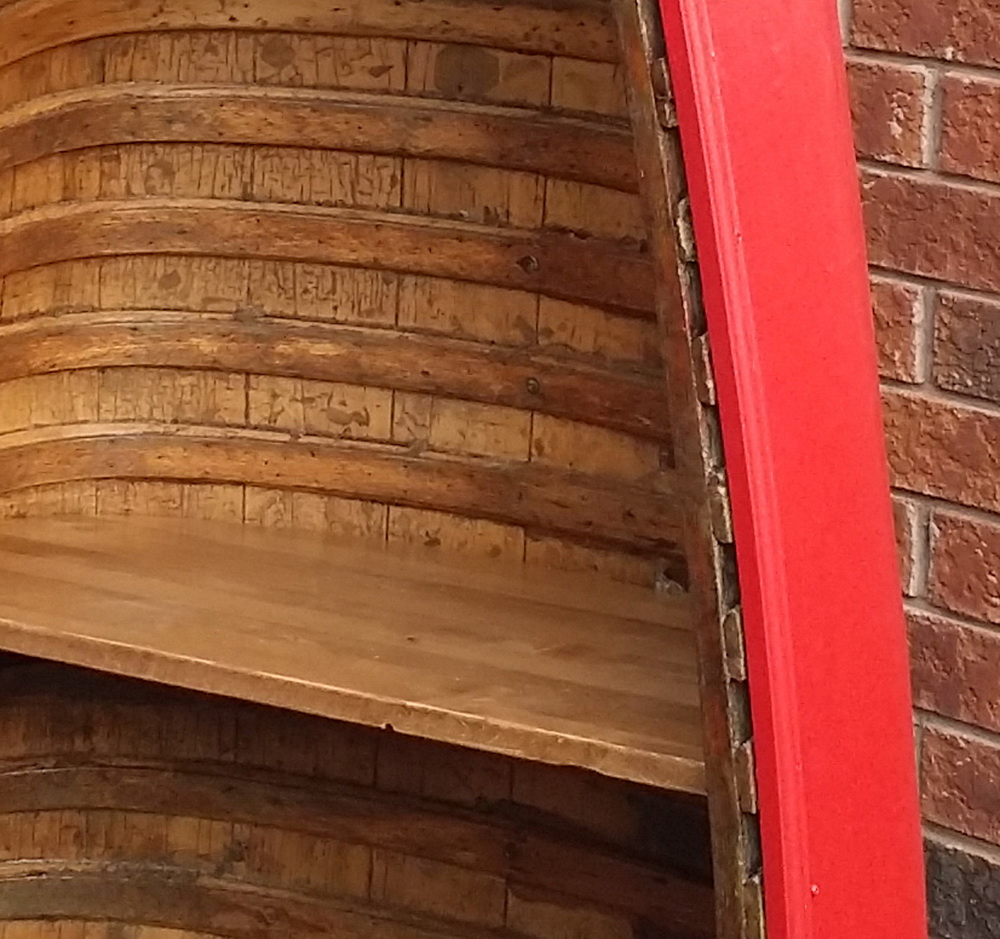
the top part was a little tricky:

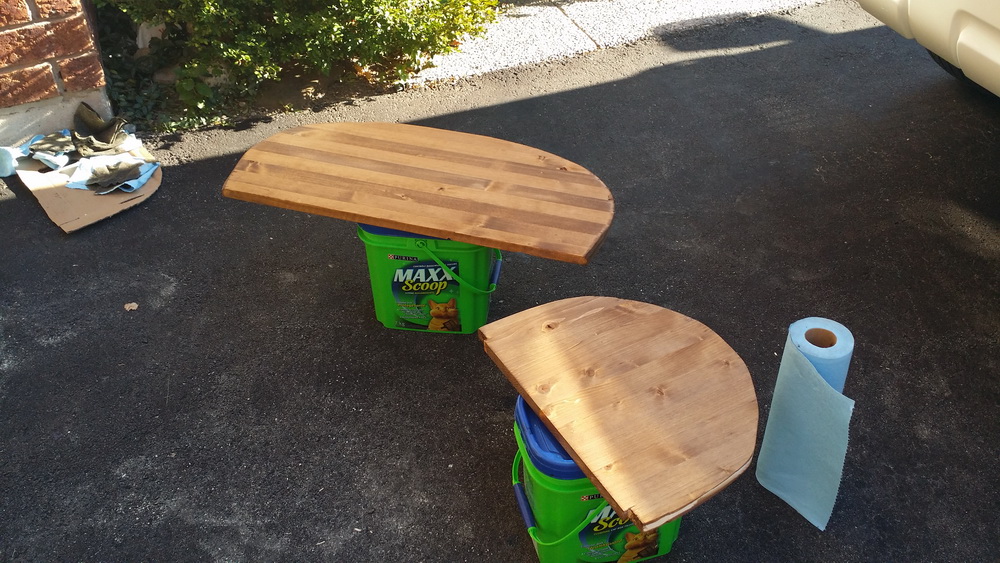
staining the shelves:
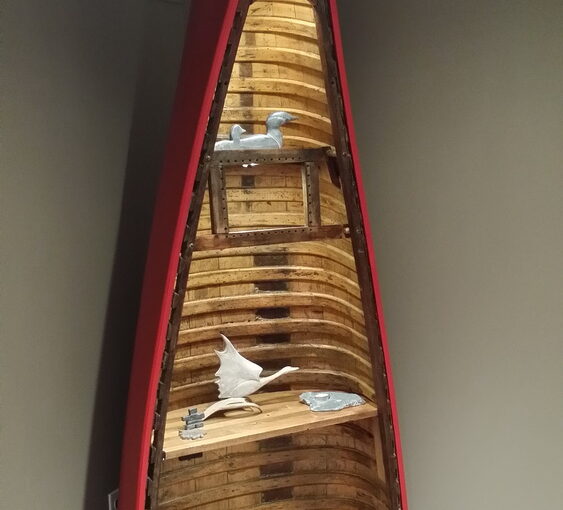
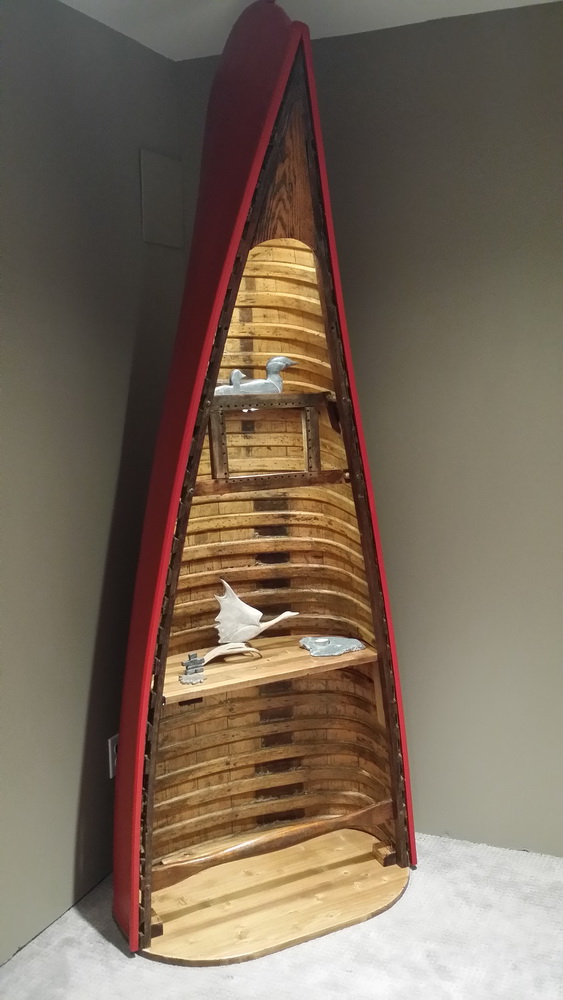
.. and putting them in for good. Looks awesome !
Now to wire it up and add some LED lights:
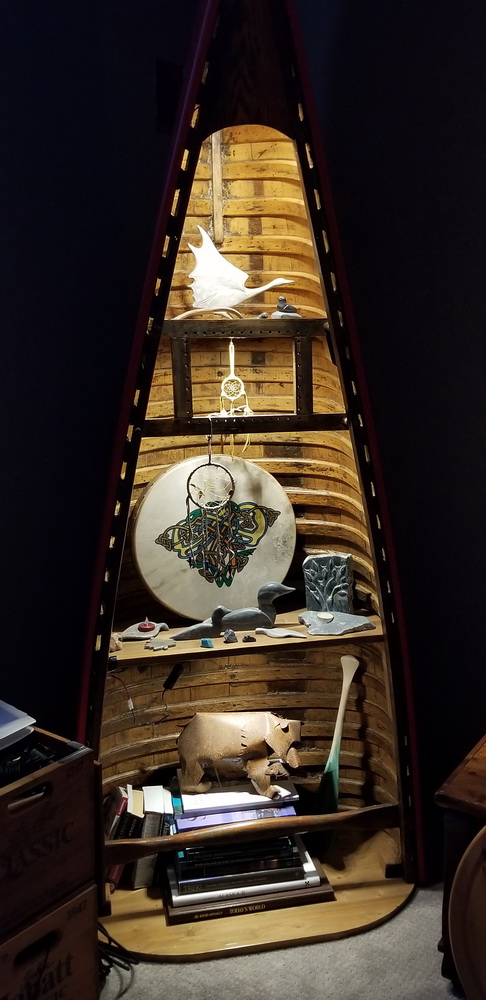
And somehow we got it down the stairs into the basement. Really happy with it:
Eventually I decided not to go with the photo in the seat frame because the back lighting would end up making it just a black shadow.
Once I started working on it, it only took a month or so (interspersed with life etc). Glad we lugged it around for a couple of decades ! LOL