Unfortunately the cat has finally discovered the shelf that holds the basement TV projector. I have no idea how this lasted so long (nice warm fan, good view) but it is time to finally do the projector shelf panel I have meant to do for a long time. Projectors do not mix well with cat fur !

One of the main reasons I have been putting it off is that it will likely involve fiddly hole cutting. But recently i have discovered that the main branch of our city library has a laser cutter, and this would be a good project to go try that sucker out.
The trick though, was that the maximum size sheet that the laser cutter can hold is 24″ x 12″, and my opening is much bigger. So I had to make it in two pieces, and use an overlapping frame to hold it together (and make it look nice). I had to do some fiddling in Inkscape to come up with the shapes that would overlap each other so that none of the joins would be in the same place. I also wanted to use as few sheets as possible, since there always seems to be a lineup for the laser cutter and i want to be as efficient as possible (and I pay by the minute). The result was something like this :
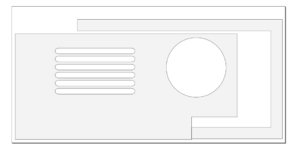

(if i am sending something to a machine i hate to waste an opportunity, so I put a bunch of test pieces for other projects in that blank space)
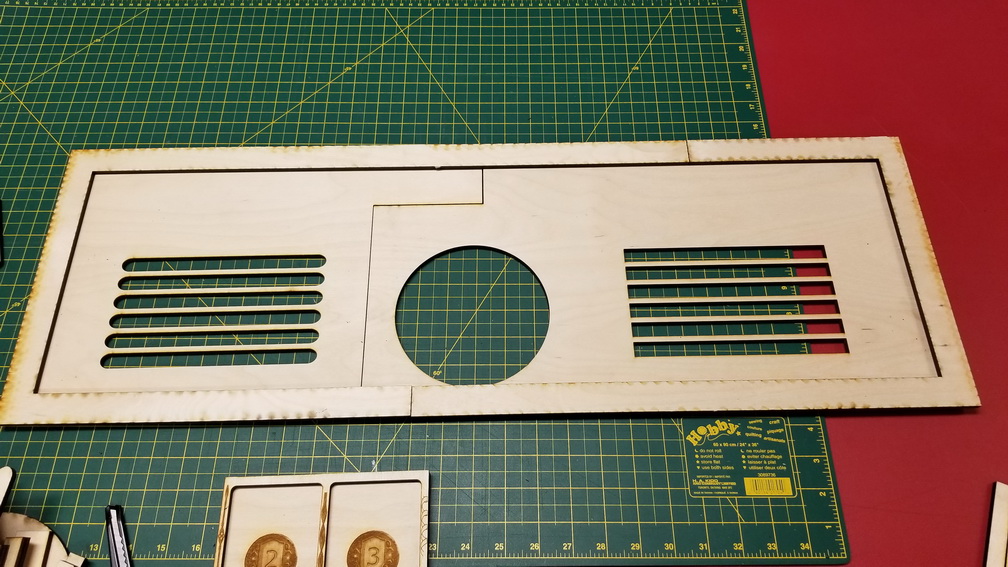
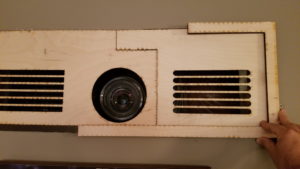
Once happy with the design, I put 1/4″ ply into the laser cutter and I am pleased with the results:

You may notice that the vents are not rounded on the right piece. That seems to be from a bug when I print to the laser directly from Inkscape. For some reason the rounding on some shapes disappears, so for the second piece i imported it into Corel and printed from there. All good learnings.
Everything fits well into the wall:
So I spray paint it flat black, glue it all together, and voila !
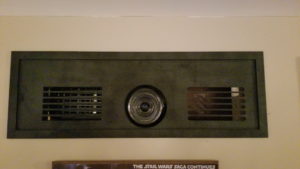
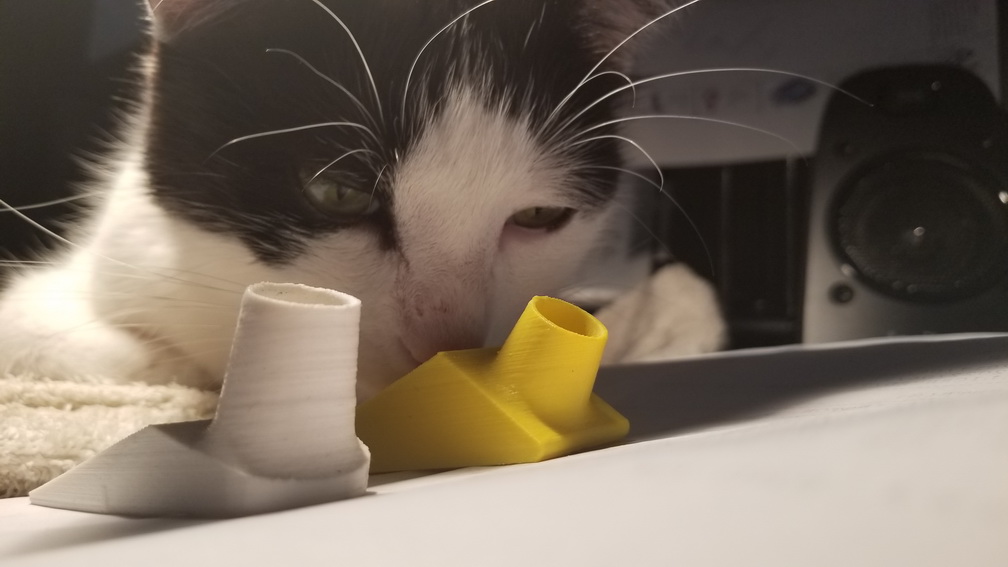
Looks great ! And the cat is not happy LOL :
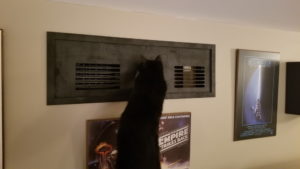
He was seriously trying every angle to see how to get past/remove it.
Good first laser cutting project. Working with the 1/4″ ply is not so great though since it is only a 40W laser. At that thickness little pockets of glue melt-then-rejoin after the laser goes by, so most of the pieces didn’t detach quite easily and I had to wrangle it with a box-cutter.